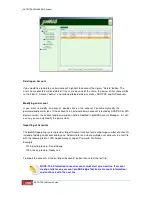
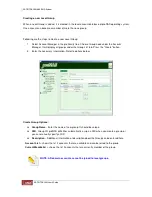


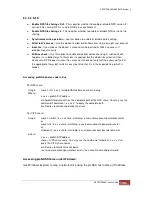


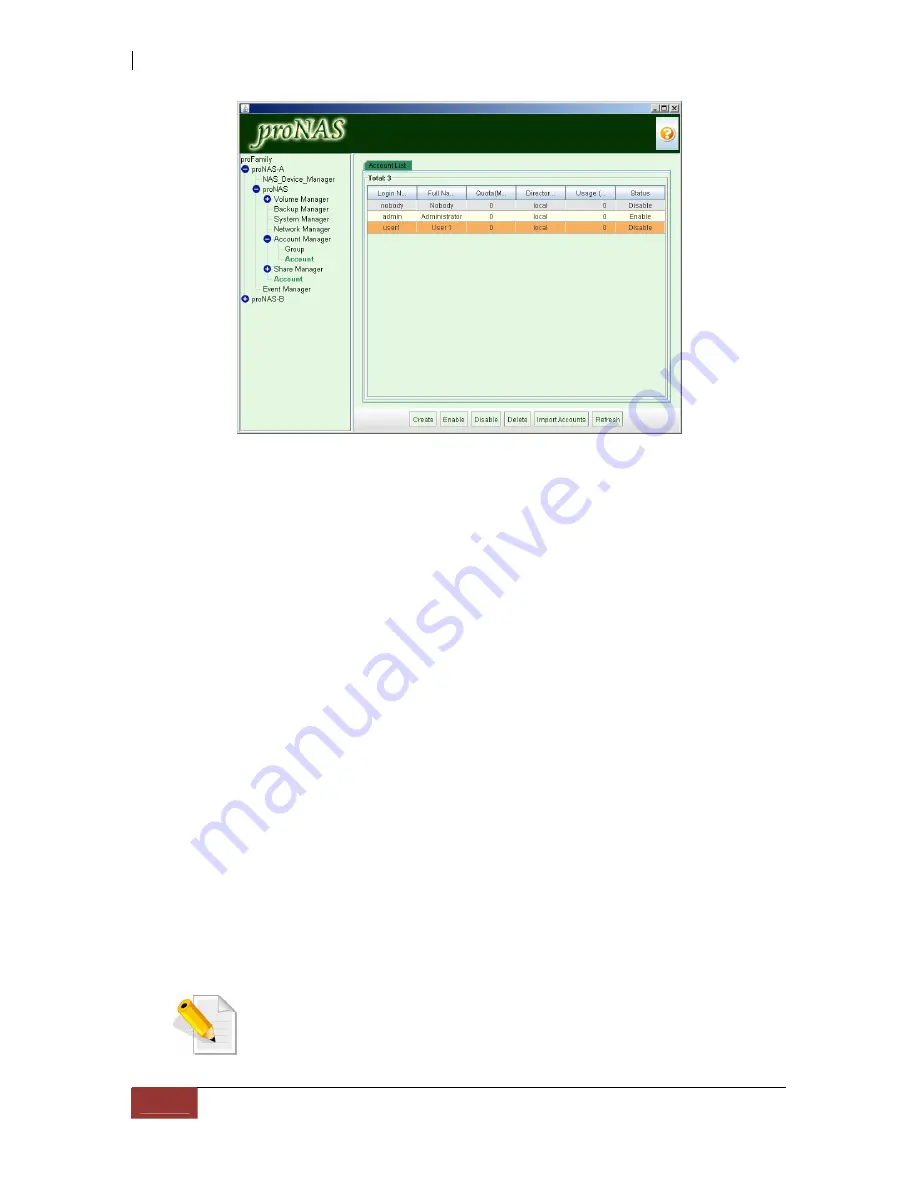
Deleting an Account
If you would like to delete a certain account, highlight the account then press "Delete" button. The
user's home directory will be deleted. If the user owns one of the share, the owner of that share will be
set to "admin". Account "admin" is not allowed to be deleted as well as ADS/PDC and NIS accounts.
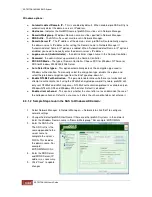
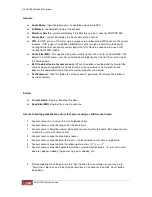
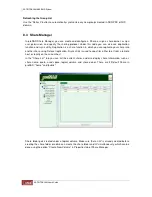
Modifying an Account
If you want to modify an account, double-click on the account. You can only modify the
password and permissions. If the account is an external domain account (created by ADS/PDC or NIS
domain server), the account and password can not be modified in proNAS Account Manager. In such
a case, you can only modify the permissions.
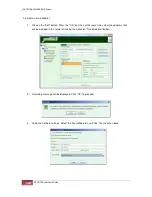
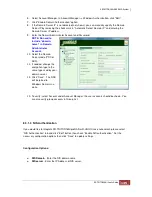
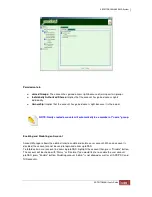
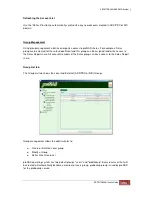
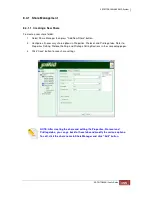
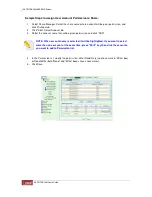
Importing of Accounts
The proNAS operating system provides Import Account function for creating large number of accounts
instead of adding an account one by one. Administrator can create multiple user accounts in a text file
with the following format: UID, Logon Account, Logon Password, Full Name.
Example:
1019, david, proware, David Huang
1020, rocky, proware, Rocky Lee
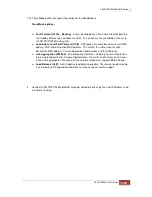
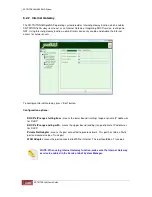
To import the accounts, click on "Import Accounts" button then select the text file.
NOTE: The information for each account must start on a new line. If account
creation fails for any account, proNAS skips that line (of account information)
and continues with the next line.
Содержание TRITON 16Ni
Страница 1: ...SurfRAID TRITON 16Ni User s Guide Revision 1 1...
Страница 40: ......
Страница 41: ......
Страница 42: ......
Страница 43: ......
Страница 67: ...5 3 7 Stop Volume Check Use this option to stop current running Check Volume Set process...
Страница 111: ...4 Verify the new LV size...
Страница 135: ...4 The iSCSI logical volume capacity is extended...
Страница 207: ...The proBackup page will be displayed Click Start Java Web Enter the login account admin and password 00000000...
Страница 216: ...10 5 Account Detail Under Plan Manager click the account name to view information about the account...
Страница 236: ...2 Select Set LAN Configuration and press Enter key 3 Setup LAN Configuration...
Страница 238: ...6 Press F10 to save configuration changes and exit setup With Ok selected press Enter key to restart system...
Страница 247: ......


