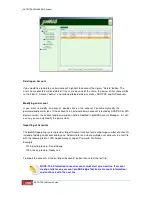


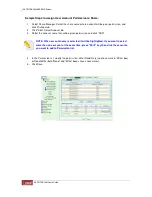
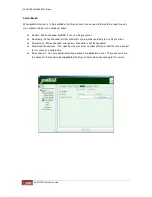


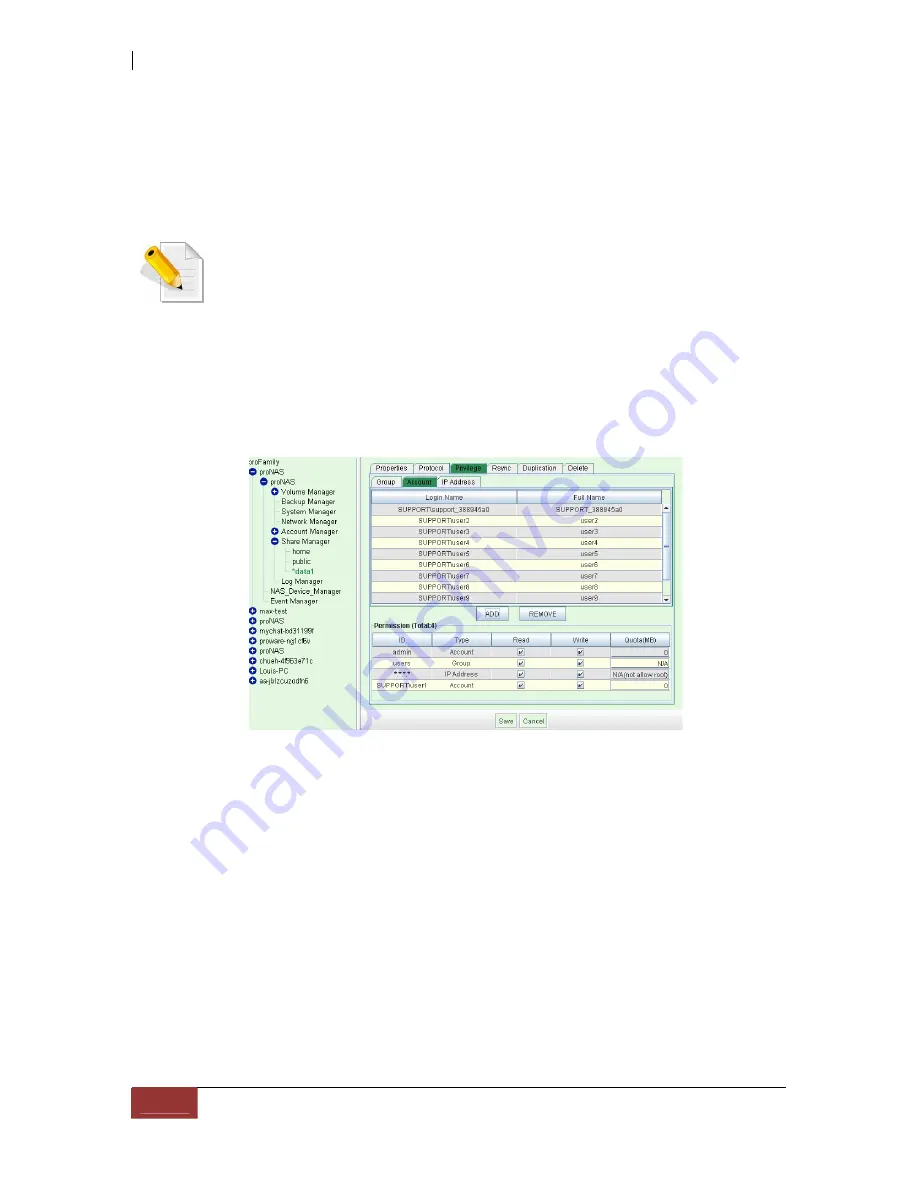
Sample Steps to Assign User Account Permission to Share:
1. Select Share Manager. Select the share name where account will be giver permission, and
click Privilege tab.
2. Click “Edit”. Select Account tab.
3. Select the account name that will be given permission and click “ADD”.
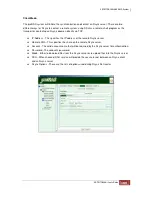
NOTE: When account name is selected, it will be highlighted. If you want to select
more than one account at the same time, press “Shift” key then click the accounts
you want to add to Permission list.
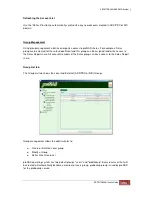
4. In the Permission list, modify the permission, either Read-Only (no check mark in “Write” box)
or Read/Write (both “Read” and “Write” boxes have check marks).
5. Click Save.
Содержание TRITON 16Ni
Страница 1: ...SurfRAID TRITON 16Ni User s Guide Revision 1 1...
Страница 40: ......
Страница 41: ......
Страница 42: ......
Страница 43: ......
Страница 67: ...5 3 7 Stop Volume Check Use this option to stop current running Check Volume Set process...
Страница 111: ...4 Verify the new LV size...
Страница 135: ...4 The iSCSI logical volume capacity is extended...
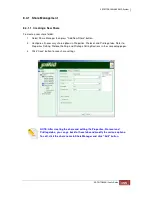
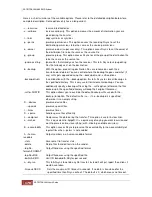
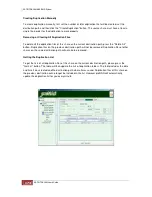
Страница 207: ...The proBackup page will be displayed Click Start Java Web Enter the login account admin and password 00000000...
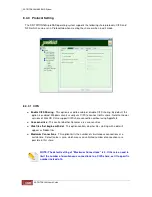
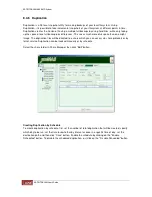
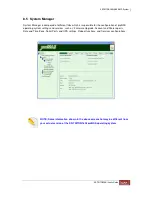
Страница 216: ...10 5 Account Detail Under Plan Manager click the account name to view information about the account...
Страница 236: ...2 Select Set LAN Configuration and press Enter key 3 Setup LAN Configuration...
Страница 238: ...6 Press F10 to save configuration changes and exit setup With Ok selected press Enter key to restart system...
Страница 247: ......