


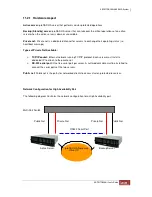


11.2.2 Procedure for Setting Up proNAS HA
Setting up a server cluster:
Below are the basic steps in setting up a server cluster:
1. Configure the hostname for both proNAS servers (must be unique).
2. Configure two static IP addresses for each proNAS server.
3. Set up private net. At least the private net IP must be configured to start cluster.
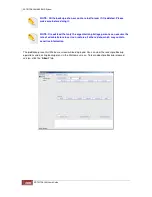
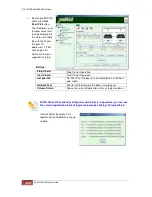
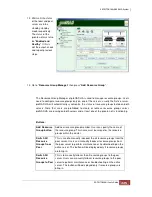
4. Start proNAS HA service for both proNAS servers. Select System Manager, and then
Services tab, and highlight proNAS HA service then click Start. proNAS HA node will then
appear on the left tree after the service starts successfully.
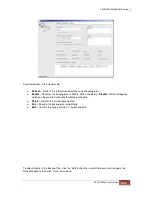
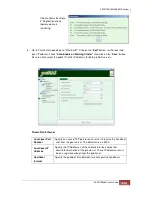
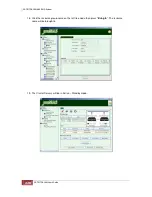
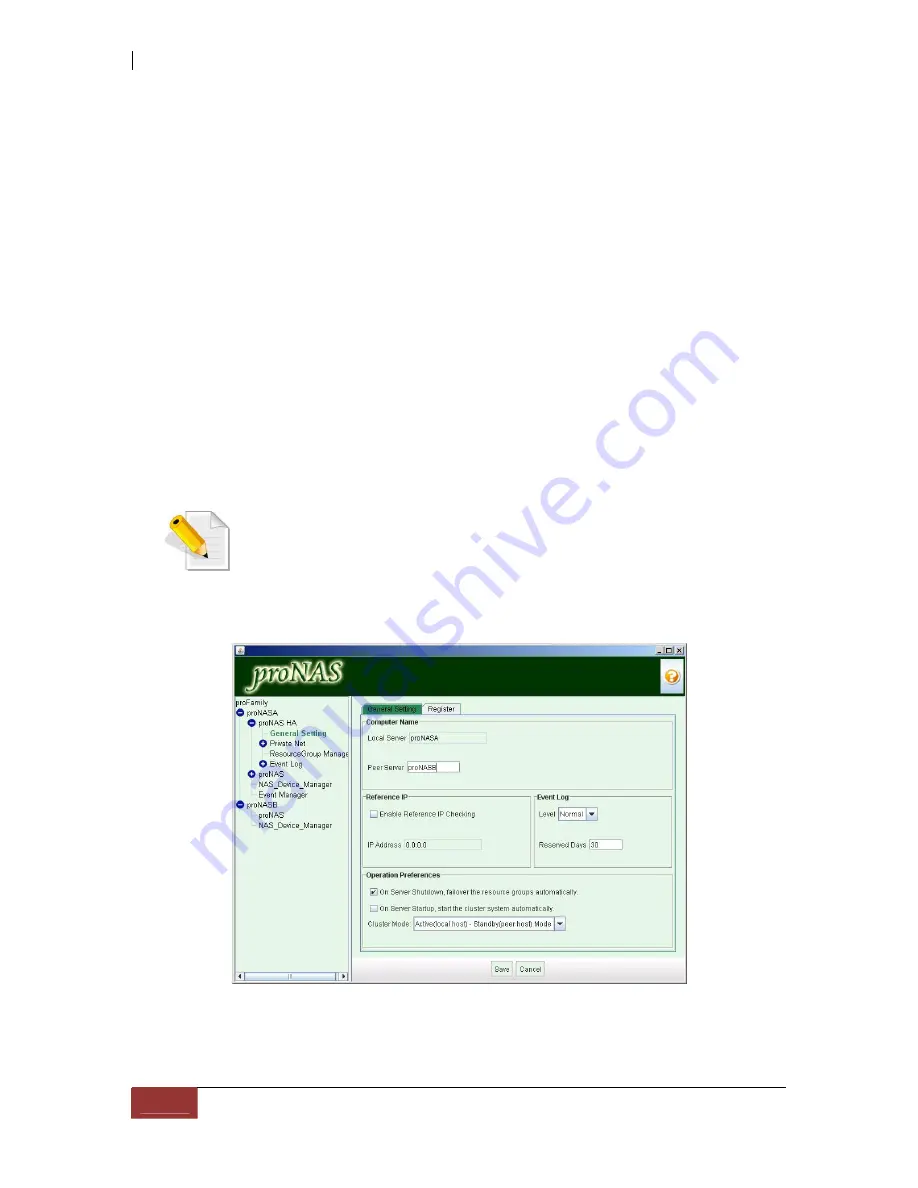
5. On the designated Active Server, go to proNAS HA->"General Settings".
6. On the "General Setting" tab, click "Edit" button. Input the Peer Server hostname then select
"
Active(local-host) – Standby(peer host) Mode
" under the Cluster mode. Click "Save".
NOTE: The Cluster Mode of Backup Server must be configured as
“Standby(local host) – Active(peer-host) Mode” (see Step 10).
Содержание TRITON 16Ni
Страница 1: ...SurfRAID TRITON 16Ni User s Guide Revision 1 1...
Страница 40: ......
Страница 41: ......
Страница 42: ......
Страница 43: ......
Страница 67: ...5 3 7 Stop Volume Check Use this option to stop current running Check Volume Set process...
Страница 111: ...4 Verify the new LV size...
Страница 135: ...4 The iSCSI logical volume capacity is extended...
Страница 207: ...The proBackup page will be displayed Click Start Java Web Enter the login account admin and password 00000000...
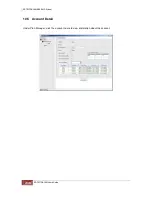
Страница 216: ...10 5 Account Detail Under Plan Manager click the account name to view information about the account...
Страница 236: ...2 Select Set LAN Configuration and press Enter key 3 Setup LAN Configuration...
Страница 238: ...6 Press F10 to save configuration changes and exit setup With Ok selected press Enter key to restart system...
Страница 247: ......