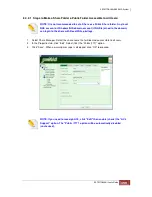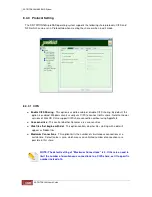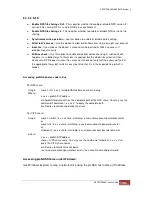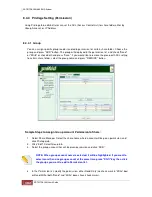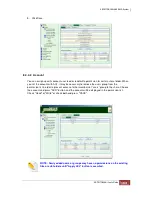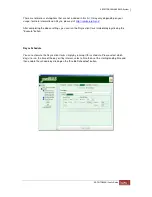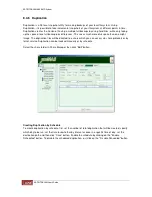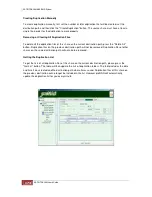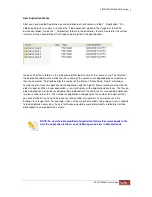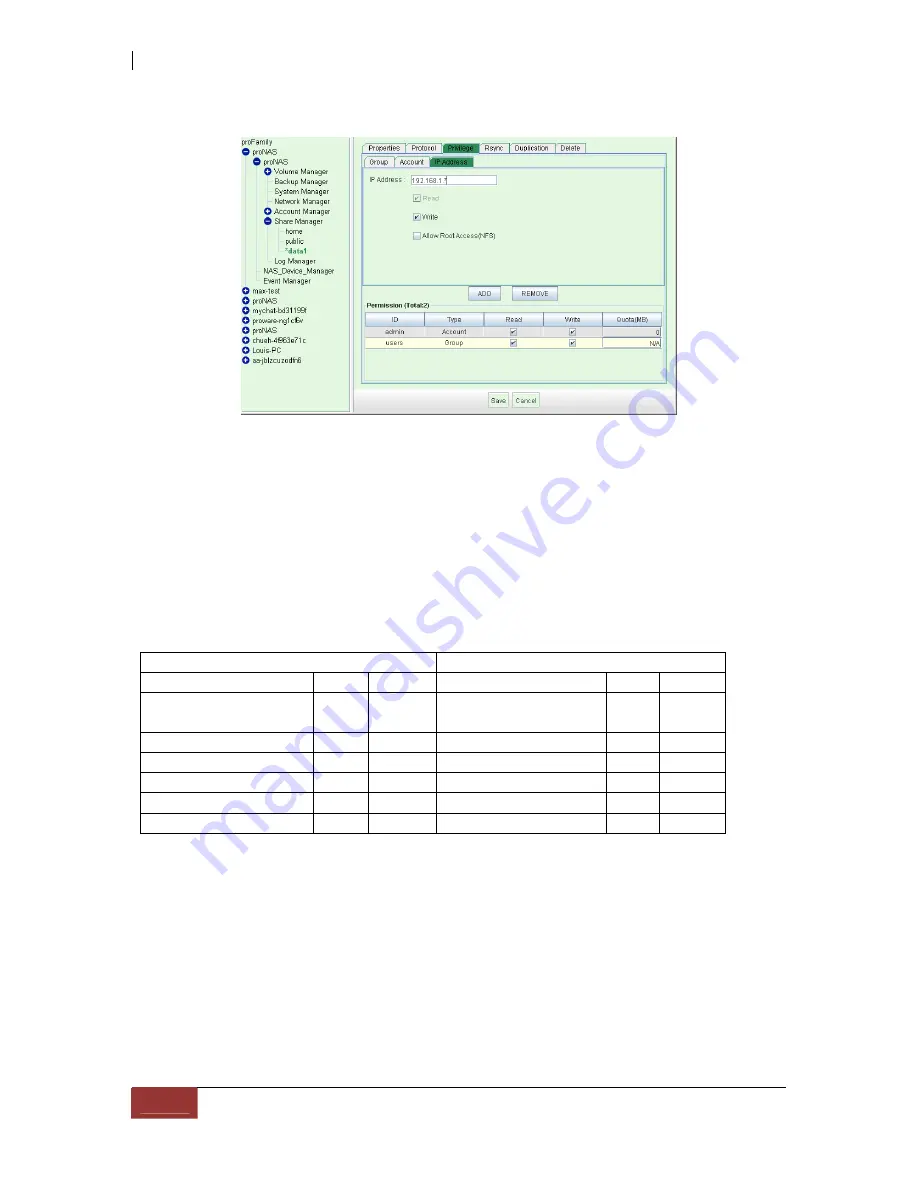
5. Click “Save” when done.
Permissions:
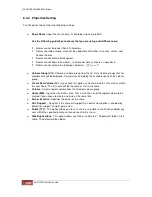
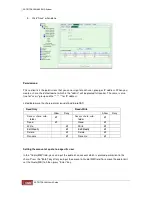
This section lists the permissions that you can assign for each user, group, or IP address. When you
create a share, the default owner which is the "admin" will be granted full control. The same is also
true for "users" group and the "*.*.*.*" for IP address.
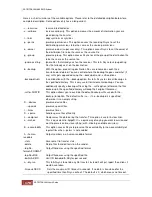
Listed below are the share permissions defined in proNAS:
Read Only
Read+Write
Allow
Deny
Allow
Deny
Access share, sub-
folder
Access share, sub-
folder
Read
Read
Write
Write
Edit/Modify
Edit/Modify
Delete
Delete
Rename
Rename
Setting the amount of quota to a specific user
In the "Quota(MB)" field, you can input the quota of an account which is granted permission to the
share. Press the "Enter" key after you input the amount in Quota(MB) field. To remove the quota limit,
set the Quota(MB) to 0 then press "Enter" key.
Содержание TRITON 16Ni
Страница 1: ...SurfRAID TRITON 16Ni User s Guide Revision 1 1...
Страница 40: ......
Страница 41: ......
Страница 42: ......
Страница 43: ......
Страница 67: ...5 3 7 Stop Volume Check Use this option to stop current running Check Volume Set process...
Страница 111: ...4 Verify the new LV size...
Страница 135: ...4 The iSCSI logical volume capacity is extended...
Страница 207: ...The proBackup page will be displayed Click Start Java Web Enter the login account admin and password 00000000...
Страница 216: ...10 5 Account Detail Under Plan Manager click the account name to view information about the account...
Страница 236: ...2 Select Set LAN Configuration and press Enter key 3 Setup LAN Configuration...
Страница 238: ...6 Press F10 to save configuration changes and exit setup With Ok selected press Enter key to restart system...
Страница 247: ......

