Setting the Conditions for Each Object Type
3-11
3
3. Select the "
SET EXTRACT COLOR" and
press the SET key. On the sub-menu, specify
details of color extraction function.
EXTRACT COLOR NO.
Enter the register number of the extracted
color that is used for measurement (enter 0
in this example). Eight colors from 0 to 7
can be registered as reference colors.
These can be used for each measurement,
independently.
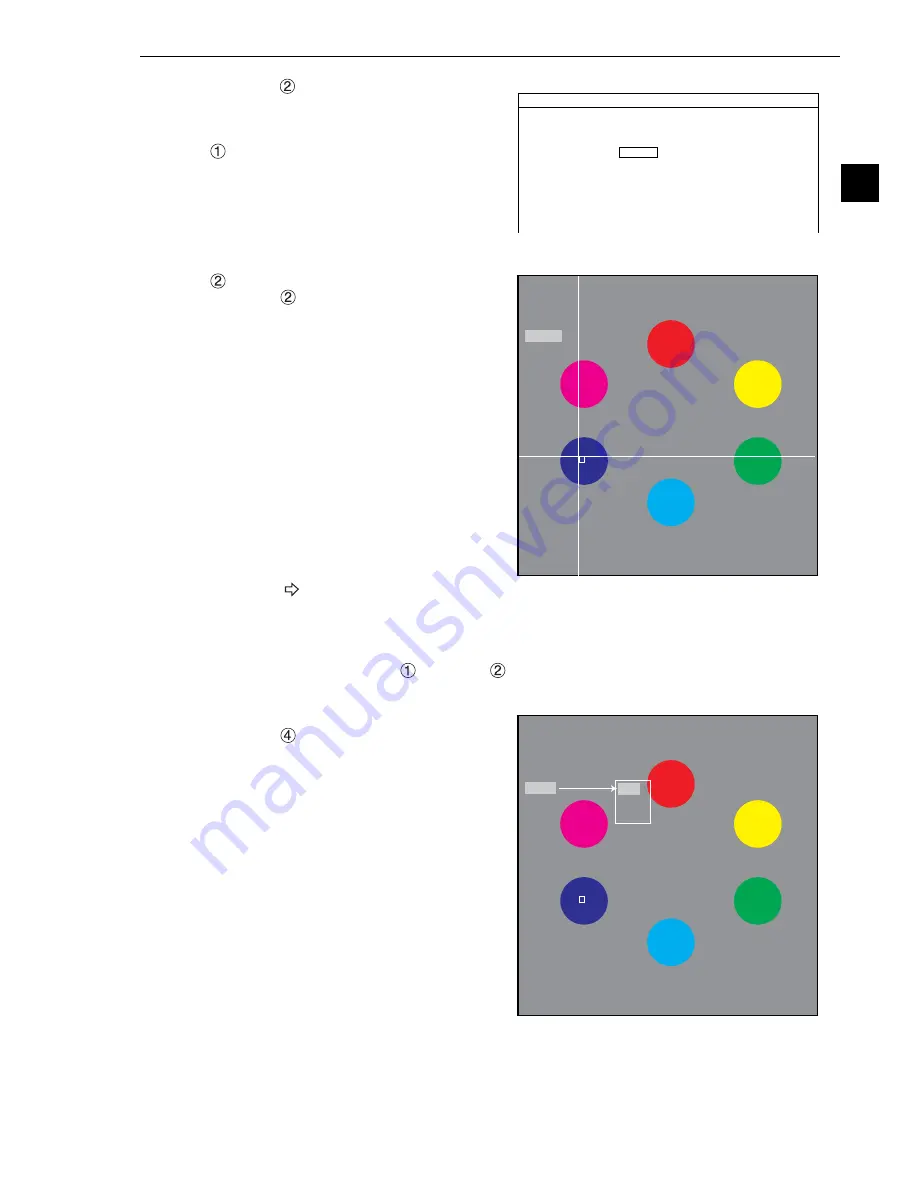
COLOR EXTRACTION AREA
Select "
COLOR EXTRACTION AREA"
using the up and down arrow keys, and
press the SET key to enter the setting
screen.
1. Press the SEL key and move the cursor
to the "F" (freeze image) item. Press the
up and down arrow keys to change "F"
to "T" (through image) to capture the
current image, and adjust position of a
workpiece.
Note: If the captured image after
selecting "T" is black, the shutter
speed may not appropriate. In this
case, change the shutter speed
on the "OBJ TYPE I/O" to make
the image brighter.
For details about the shutter
speed, see page 3-50.
2. Change the image from "T" to "F" and press the SEL key.
3. Move the coordinate of "
UP.L" and "
LO.R" to determine position and size of the color
extraction area, and press the SET key.
Register extracted color
Select "
REG" using the up and down
arrow keys and then press the SET key.
From the popup menu, select "NEW" or
"ADD."
1
EXTRACT COLOR NO
0 (0
〜
7)
2
COLOR EXTRACTION AREA
SET (248, 232)
〜
(263, 247)
3
FINE ADJUSTMENT
(TO NEXT SUB-MENU)
COLOR F C1 BRT
SET EXTRACT COLOR SCREEN COND SAVE
HUE
(START PNT080 END PNT060)
CHROMA
(U.LM130 L.LM110)
BRIGHT LEV
(U.LM130 L.LM110)
1
UP. L
(098, 293)
2
LO. R
(113, 308)
3
MOVE
4
REG
SET
=MOVE ESC=BACK SEL=CHNG IMG TRG=FUNC
COLOR F C1 BRT
RECTANGLE RESET RETURN
X: 098 Y: 293
1
UP. L
(098, 294)
2
LO. R
(113, 308)
3
MOVE
4
REG
SET
=DECISION ESC=BACK SEL=CHNG IMG TRG=FUNC
COLOR F C1 BRT
RECTANGLE RESET RETURN
X: 098 Y: 294
NEW
ADD
UNDO


