32
2. Software Installation
Installing the driver
A locally connected machine is a machine directly attached to your computer
using a USB cable. If your machine is attached to a network, skip the following
steps below and go on to installing a network connected machine’s driver (see
"Installing driver over the network" on page 47).
•
The installation window in this
User’s Guide
may differ depending on the
machine and interface in use.
•
Only use a USB cable no longer than 3 meters (118 inches).
1
Windows
1
Make sure that the machine is connected to your computer and
powered on.
2
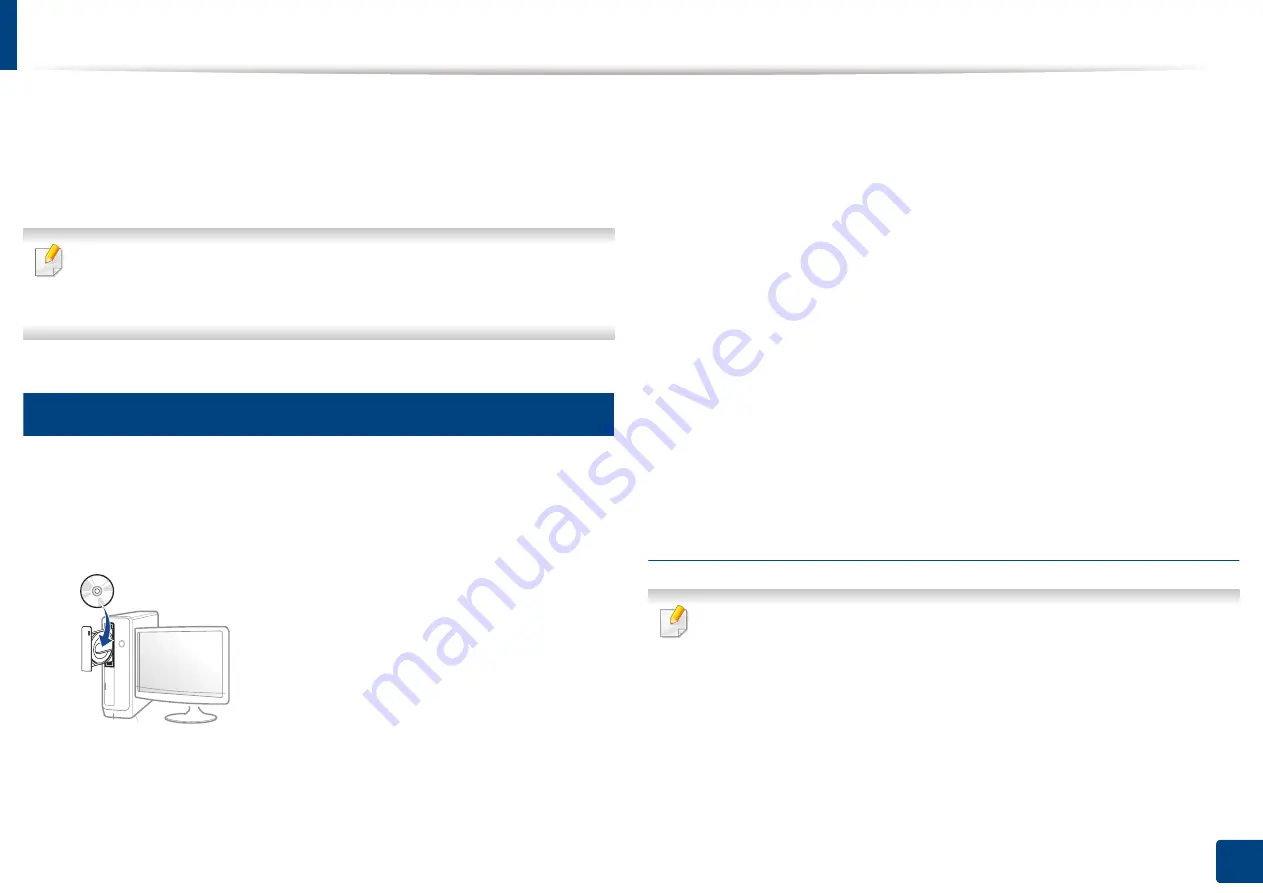
Insert the supplied software CD into your CD-ROM drive.
If the installation window does not appear, click
Start
>
All programs
>
Accessories
>
Run
.
X:\
Setup.exe
replacing “X” with the letter, which represents your CD-
ROM drive and click
OK
.
•
For Windows 8,
If the installation window does not appear, from
Charms
, select
Search
>
Apps
and search for
Run
. Type in X:\Setup.exe, replacing
“X” with the letter that represents your CD-ROM drive and click
OK
.
If “
Tap to choose what happens with this disc
.” pop-up window
appears, click the window and select
Run Setup.exe
.
3
Review and accept the installation agreements in the installation
window, and then click
Next
.
4
Select
USB
on the
Printer Connection Type
screen, and then click
Next
.
5
Follow the instructions in the installation window.
From the Windows 8 Start Screen
•
The V4 driver is automatically downloaded from the Windows Update if
your computer is connected to the Internet. If not, you can manually
download the V4 driver from Samsung website,
www.samsung.com
>
find your product > Support or downloads.
•
You can download Samsung Printer Experience app from the Windows
Store. You need have a Microsoft account to use the Windows Store
.
1
From
Charms
, select
Search
.
2
Click
Store
.
3
Search and click
Samsung Printer Experience
.
Содержание ProCpress M408 Series
Страница 282: ...Redistributing toner 278 14 Maintenance ...
Страница 284: ...Replacing the toner cartridge 280 14 Maintenance 2 1 ...
Страница 285: ...Replacing the toner cartridge 281 14 Maintenance ...
Страница 289: ...Installing accessories 285 14 Maintenance 1 2 ...
Страница 293: ...Cleaning the machine 289 14 Maintenance 1 1 2 2 ...
Страница 301: ...Clearing paper jams 297 15 Troubleshooting If you do not see the paper in this area stop and go to next step 1 2 2 1 ...
Страница 302: ...Clearing paper jams 298 15 Troubleshooting 2 In optional trays The procedure is same for all optional trays ...
Страница 303: ...Clearing paper jams 299 15 Troubleshooting If you do not see the paper in this area stop and go to next step ...
Страница 304: ...Clearing paper jams 300 15 Troubleshooting If you do not see the paper in this area stop and go to next step ...
Страница 305: ...Clearing paper jams 301 15 Troubleshooting 3 In the multi purpose tray ...
Страница 307: ...Clearing paper jams 303 15 Troubleshooting 2 1 1 2 ...
Страница 308: ...Clearing paper jams 304 15 Troubleshooting If you do not see the paper in this area stop and go to next step ...
Страница 310: ...Clearing paper jams 306 15 Troubleshooting If you do not see the paper in this area stop and go to next step ...
Страница 312: ...Clearing paper jams 308 15 Troubleshooting 6 In the duplex unit area 1 2 1 2 1 2 ...
Страница 317: ...Clearing paper jams 313 15 Troubleshooting If you do not see the paper in this area stop and go to next step ...


