138
7. Scanning
Scanning and sending to your computer
This option allows you to scan an image on the machine and send it out to your
network-connected computer.
10
For a network connected machine
Make sure the scanner driver is installed on your computer.
1
Make sure that your machine and the computer are connected to a
network.
2
Place the originals face up in the DSDF or place a single original face
down on the scanner glass and close the DSDF (see "Loading originals"
on page 64).
3
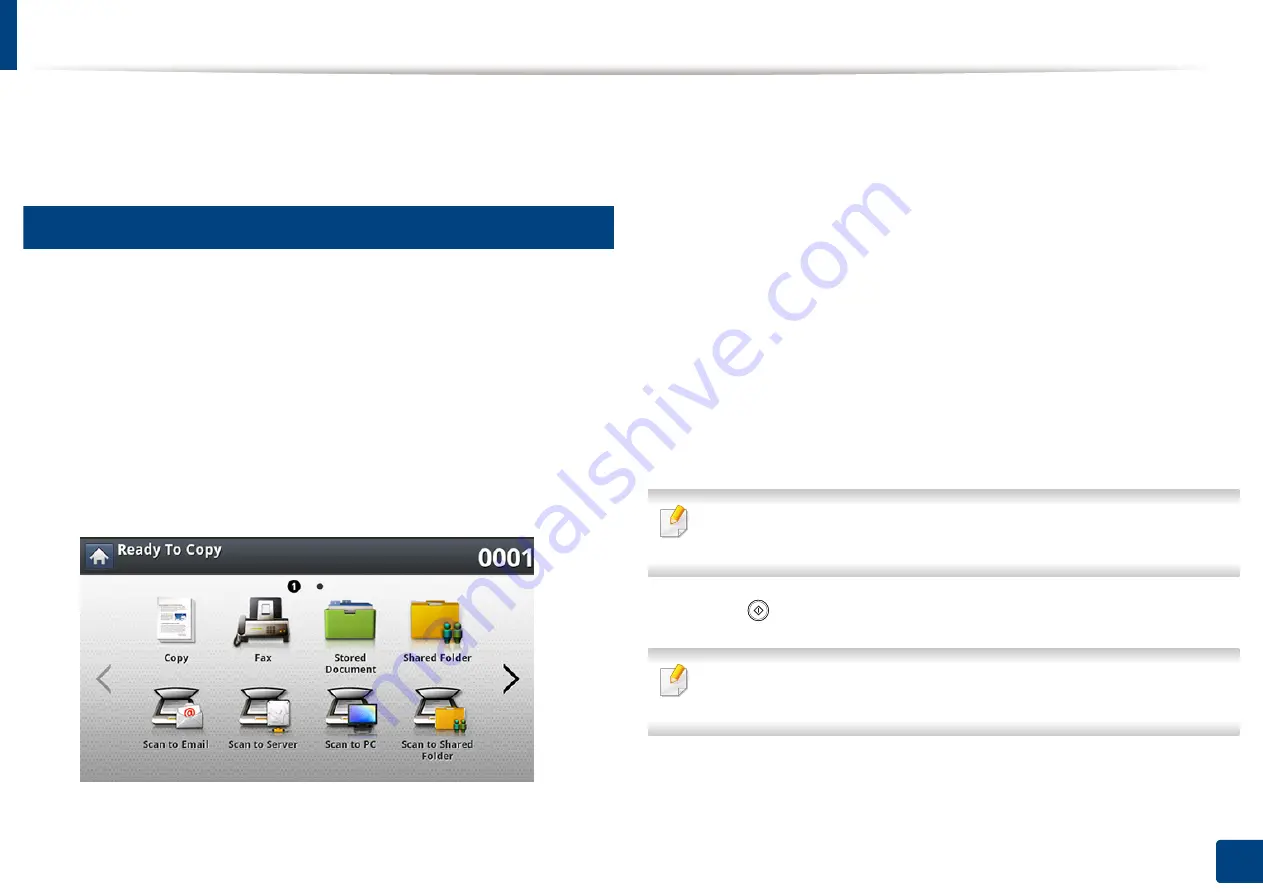
Press
Scan to PC
from the display screen.
4
Select your computer name and press
OK
. If the machine requests a
password, enter the password using the numeric keypad on the control
panel.
5
Press the application program you want and press
Select
.
Default setting is
My Documents
.
6
Set the scan quality with
Resolution
in the
Basic
tab.
7
Set the size of original in the
Advanced
tab. If you are not sure of the
original size, select
Auto
.
8
Set the color mode in the
Image
tab.
9
Set the file format in which the image is to be saved in the
Output
tab.
File Format
activates only when you select the application program as
My
Documents
.
10
Press (
Start
) from the control panel to begin scanning.
Scanned image is saved in the computer’s
My Documents
>
My Pictures
>
Samsung
folder.
Содержание ProCpress M408 Series
Страница 282: ...Redistributing toner 278 14 Maintenance ...
Страница 284: ...Replacing the toner cartridge 280 14 Maintenance 2 1 ...
Страница 285: ...Replacing the toner cartridge 281 14 Maintenance ...
Страница 289: ...Installing accessories 285 14 Maintenance 1 2 ...
Страница 293: ...Cleaning the machine 289 14 Maintenance 1 1 2 2 ...
Страница 301: ...Clearing paper jams 297 15 Troubleshooting If you do not see the paper in this area stop and go to next step 1 2 2 1 ...
Страница 302: ...Clearing paper jams 298 15 Troubleshooting 2 In optional trays The procedure is same for all optional trays ...
Страница 303: ...Clearing paper jams 299 15 Troubleshooting If you do not see the paper in this area stop and go to next step ...
Страница 304: ...Clearing paper jams 300 15 Troubleshooting If you do not see the paper in this area stop and go to next step ...
Страница 305: ...Clearing paper jams 301 15 Troubleshooting 3 In the multi purpose tray ...
Страница 307: ...Clearing paper jams 303 15 Troubleshooting 2 1 1 2 ...
Страница 308: ...Clearing paper jams 304 15 Troubleshooting If you do not see the paper in this area stop and go to next step ...
Страница 310: ...Clearing paper jams 306 15 Troubleshooting If you do not see the paper in this area stop and go to next step ...
Страница 312: ...Clearing paper jams 308 15 Troubleshooting 6 In the duplex unit area 1 2 1 2 1 2 ...
Страница 317: ...Clearing paper jams 313 15 Troubleshooting If you do not see the paper in this area stop and go to next step ...


