84
●
Photo Printing
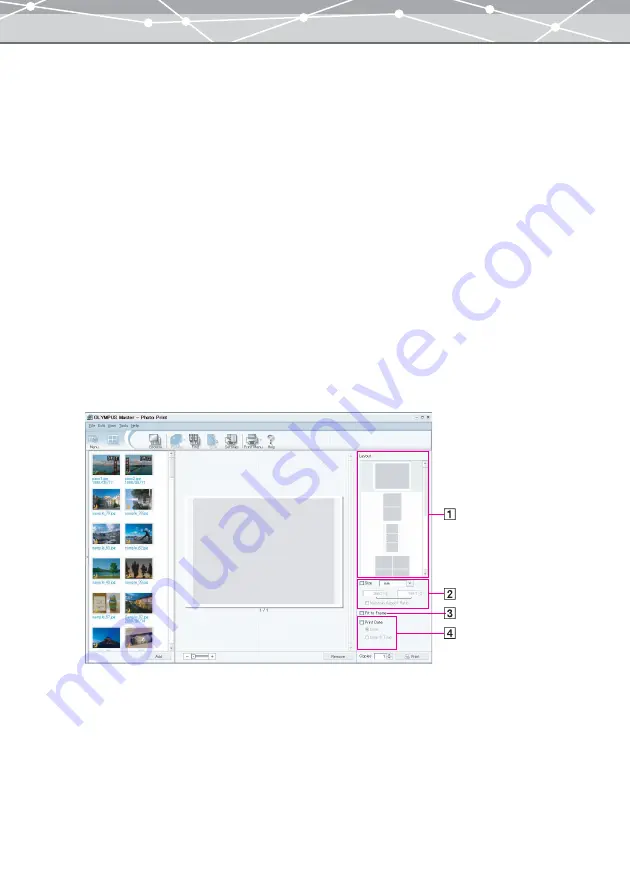
To print an image using the Photo Printing feature, follow the procedure below.
1
Do one of the following to display the [Photo Print] window.
•
From the [Tools] menu, select [Print] and click [Photo].
•
Click the [Photo] button in the print menu.
•
In the [Browse] window, click [Print] on the toolbar, and then click [Photo].
The [Photo Print] window appears.
If you open the [Photo Print] window from a window other than the print window, the thumbnails in the
selected date or folder are displayed in the thumbnail area.
2
If you do not find the image you want to print in the thumbnail area, click the
tree display button.
The thumbnail area slides to the right and the tree display area appears, in which you can select from the
calendar or folder tree.
3
Select a calendar or folder that contains the images you want to print.
The thumbnails of the files in the selected calendar or folder are displayed in the thumbnail area.
4
In the print setting panel, set the following options.
Содержание Master 1.1 Plus
Страница 1: ...Software for Editing and Managing Images Operating Instructions OLYMPUS Master 1 1 Plus ...
Страница 30: ...30 Main Menu The main menu has the following components ...
Страница 94: ...94 5 Click the OK button The shooting date and time is changed ...
Страница 109: ...109 4 Click the Find button Searching starts The search results are displayed in the image display area ...
Страница 136: ...136 6 Click the Transfer button The selected files are transferred to the camera album ...
Страница 163: ...163 3 Click the OK button The settings are applied to the calendar you created ...
Страница 245: ...245 5 Click the Save button The Save As dialog box appears g page 246 ...
Страница 255: ...255 Create button Launches the CD DVD writing software No Item Description ...
Страница 321: ...321 4 Click the Apply button The image in the image display area is resized ...
Страница 323: ...323 3 Click the Apply button The image in the image display area is cropped ...
Страница 332: ...332 5 Click the Apply button The hue saturation and lightness of the image in the image display area are adjusted ...
Страница 338: ...338 4 Click the Apply button The corrected image appears in the image display area ...
Страница 351: ...351 3 Click the Apply button The movie in the movie display area rotates according to the setting you made ...
Страница 355: ...355 6 Click the Apply button The specified section is removed from the movie ...
Страница 382: ...382 Wallpaper 209 Work file 168 176 Z Zoom In 308 Zoom Out 308 ...
Страница 383: ...VE898801 ...


