10
Purchasing Plus Version and Upgrading
To purchase a license number of Plus version and upgrade from OLYMPUS Master, follow the procedure
below. (If you purchased the Plus version separately, skip this section.)
1
Start up OLYMPUS Master
2
In the OLYMPUS Master main menu, click the [Upgrade] button, or select [Get
Upgrade Version] from the [Online Service] menu in the [Browse] window
.
The [Upgrade] dialog box appears.
3
Purchase a license number.
•
Using the internet
In the [Upgrade] dialog box, click the [Get] button to start a web browser, and access the upgrade site.
Follow the directions on the web page.
When this process is completed, close the web browser and return to the [Upgrade] dialog box.
•
If you do not have access to the internet
Contact your authorized Olympus service center
4
In the [Upgrade] dialog box, enter your name and the license number you have
obtained, then click the [OK] button.
The upgrade to the Plus version is carried out automatically.
Once the upgrade is complete, you can start using the Plus version.
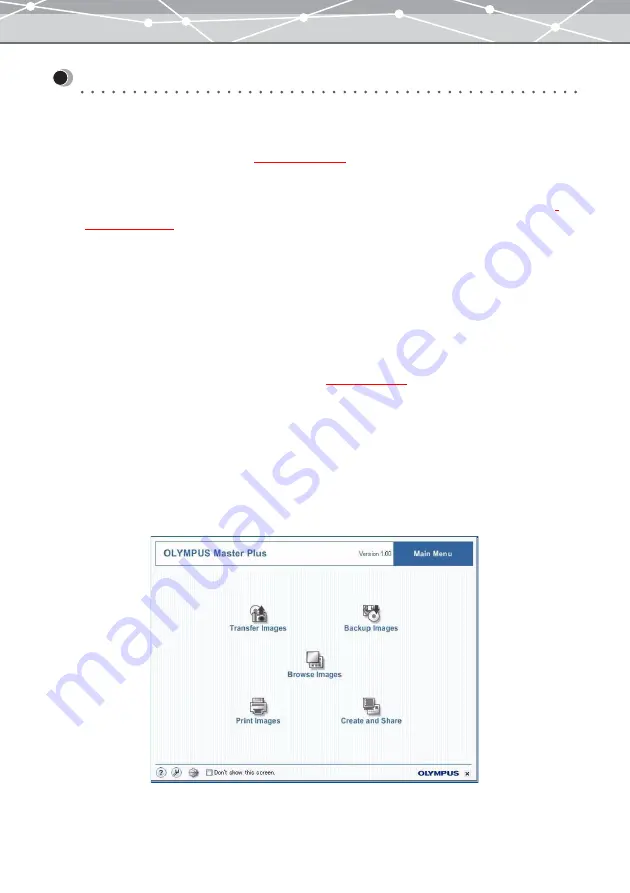
If the upgrade to the Plus version has completed successfully, the title “OLYMPUS Master Plus” appears in the
main menu.
Содержание Master 1.1 Plus
Страница 1: ...Software for Editing and Managing Images Operating Instructions OLYMPUS Master 1 1 Plus ...
Страница 30: ...30 Main Menu The main menu has the following components ...
Страница 94: ...94 5 Click the OK button The shooting date and time is changed ...
Страница 109: ...109 4 Click the Find button Searching starts The search results are displayed in the image display area ...
Страница 136: ...136 6 Click the Transfer button The selected files are transferred to the camera album ...
Страница 163: ...163 3 Click the OK button The settings are applied to the calendar you created ...
Страница 245: ...245 5 Click the Save button The Save As dialog box appears g page 246 ...
Страница 255: ...255 Create button Launches the CD DVD writing software No Item Description ...
Страница 321: ...321 4 Click the Apply button The image in the image display area is resized ...
Страница 323: ...323 3 Click the Apply button The image in the image display area is cropped ...
Страница 332: ...332 5 Click the Apply button The hue saturation and lightness of the image in the image display area are adjusted ...
Страница 338: ...338 4 Click the Apply button The corrected image appears in the image display area ...
Страница 351: ...351 3 Click the Apply button The movie in the movie display area rotates according to the setting you made ...
Страница 355: ...355 6 Click the Apply button The specified section is removed from the movie ...
Страница 382: ...382 Wallpaper 209 Work file 168 176 Z Zoom In 308 Zoom Out 308 ...
Страница 383: ...VE898801 ...


