OPERATION > 94
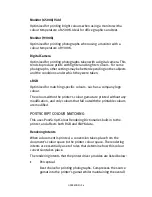
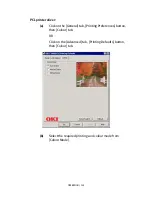
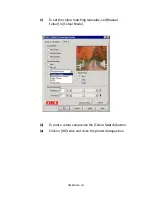
Monitor (6500k) Vivid
Optimised for printing bright colours when using a monitor with a
colour temperature of 6500K. Ideal for office graphics and text.
Monitor (9300k)
Optimised for printing photographs when using a monitor with a
colour temperature of 9300K.
Digital Camera
Optimised for printing photographs taken with a digital camera. This
tends to produce prints with lighter and brighter colours. For some
photographs, other settings may be better depending on the subjects
and the conditions under which they were taken.
sRGB
Optimised for matching specific colours, such as a company logo
colour.
The colours within the printer's colour gamut are printed without any
modification, and only colours that fall outwith the printable colours
are modified.
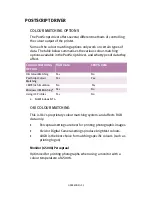
POSTSCRIPT COLOUR MATCHING
This uses PostScript Colour Rendering Dictionaries built-in to the
printer, and affects both RGB and CMYK data.
Rendering Intents
When a document is printed, a conversion takes place from the
document's colour space to the printer colour space. The rendering
intents are essentially a set of rules that determine how this colour
conversion takes place.
The rendering intents that the printer driver provides are listed below:
>
Perceptual
Best choice for printing photographs. Compresses the source
gamut into the printer's gamut whilst maintaining the overall
Содержание C7300
Страница 1: ...C7100 C7300 C7500 USER S GUIDE WINDOWS 2000 l ...
Страница 20: ...SETTING UP 20 3 Remove the LED head restrainer from behind the LED heads in the top cover ...
Страница 22: ...SETTING UP 22 5 Remove the protective sheets from each of the four image drums ...
Страница 27: ...SETTING UP 27 LOADING PAPER 1 Remove the paper tray from the printer ...
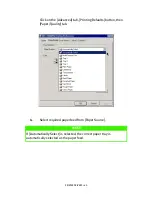
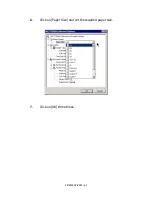
Страница 82: ...PRINTER DRIVERS 82 6 Click on Paper Size and set the required paper size 7 Click on OK three times ...
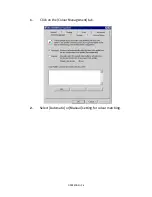
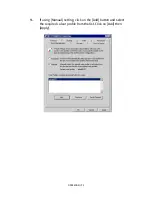
Страница 98: ...OPERATION 98 1 Click on the Colour Management tab 2 Select Automatic or Manual setting for colour matching ...
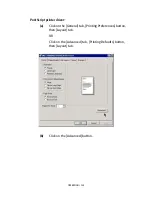
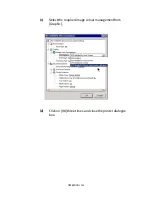
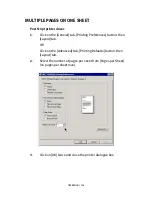
Страница 116: ...OPERATION 116 2 Select Booklet from Pages per Sheet 3 Click on OK twice and close the printer dialogue box ...
Страница 158: ...MAINTENANCE 158 5 Remove the protective sheet from the new image drum ...
Страница 159: ...MAINTENANCE 159 6 Install the new image drum into its correct colour location in the printer 1 ...
Страница 168: ...MAINTENANCE 168 2 Gently wipe the LED head surface with LED lens cleaner or soft tissue 3 Close the top cover ...
Страница 175: ...TROUBLESHOOTING 175 BEHIND THE FRONT COVER Open the front cover and remove any jammed paper then close the front cover ...
Страница 177: ...TROUBLESHOOTING 177 BEHIND THE REAR COVER Open the rear cover and remove any jammed paper then close the rear cover ...
Страница 206: ...SPECIFICATIONS 206 EXTERNAL DIMENSIONS ...

