SETTING UP > 67
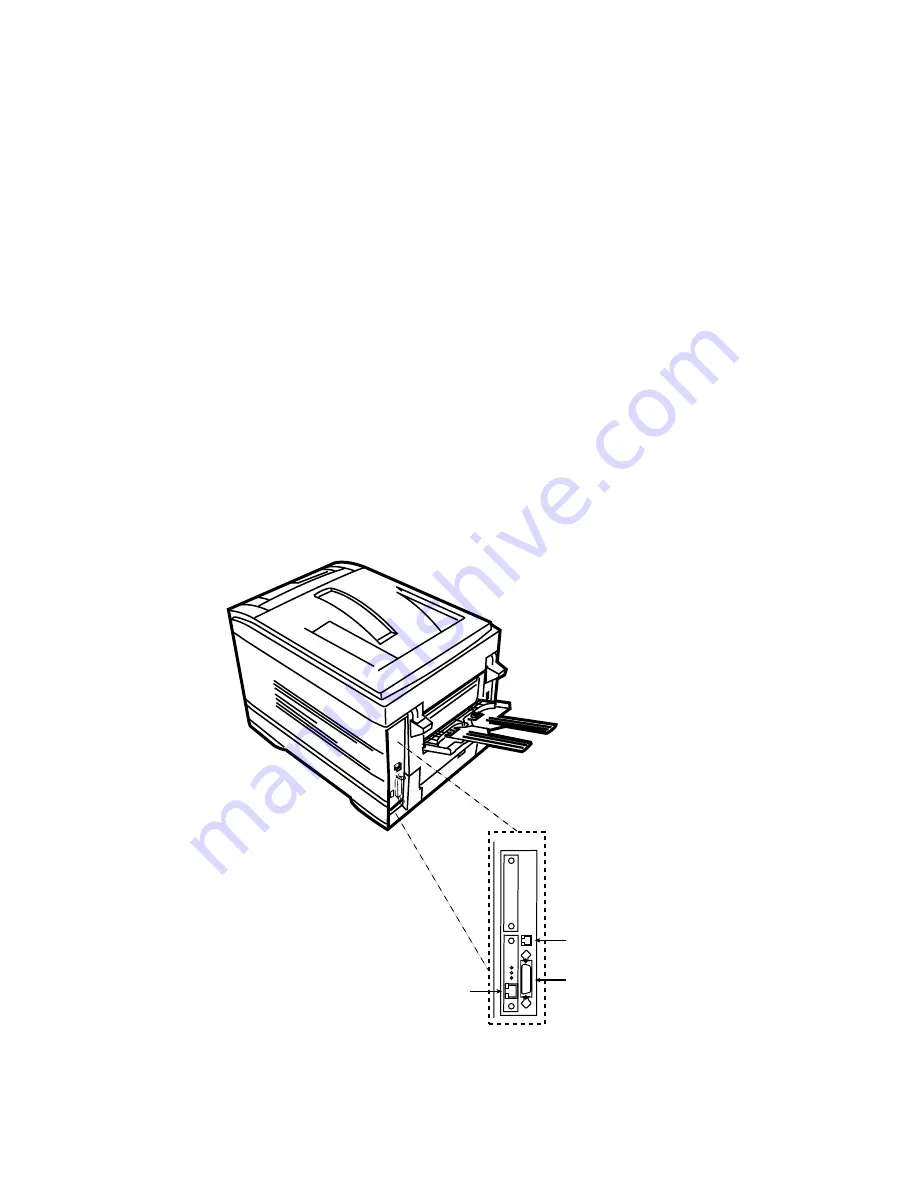
INTERFACES
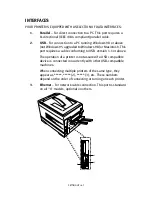
YOUR PRINTER IS EQUIPPED WITH A SELECTION OF DATA INTERFACES:
1.
Parallel
– For direct connection to a PC. This port requires a
bi-directional (IEEE 1384 compliant) parallel cable.
2.
USB
– For connection to a PC running Windows 98 or above
(not Windows 95 upgraded to Windows 98) or Macintosh. This
port requires a cable conforming to USB version 1.1 or above.
The operation of a printer is not assured if a USB compatible
device is connected concurrently with other USB-compatible
machines.
When connecting multiple printers of the same type, they
appear as *****, ***** (2), ***** (3), etc. These numbers
depend on the order of connecting or turning on each printer.
3.
Ethernet
– For network cable connection. This port is standard
on all “n” models, optional on others.
1
2
3
Содержание C7300
Страница 1: ...C7100 C7300 C7500 USER S GUIDE WINDOWS 2000 l ...
Страница 20: ...SETTING UP 20 3 Remove the LED head restrainer from behind the LED heads in the top cover ...
Страница 22: ...SETTING UP 22 5 Remove the protective sheets from each of the four image drums ...
Страница 27: ...SETTING UP 27 LOADING PAPER 1 Remove the paper tray from the printer ...
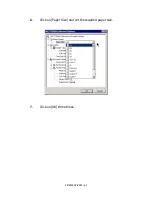
Страница 82: ...PRINTER DRIVERS 82 6 Click on Paper Size and set the required paper size 7 Click on OK three times ...
Страница 98: ...OPERATION 98 1 Click on the Colour Management tab 2 Select Automatic or Manual setting for colour matching ...
Страница 116: ...OPERATION 116 2 Select Booklet from Pages per Sheet 3 Click on OK twice and close the printer dialogue box ...
Страница 158: ...MAINTENANCE 158 5 Remove the protective sheet from the new image drum ...
Страница 159: ...MAINTENANCE 159 6 Install the new image drum into its correct colour location in the printer 1 ...
Страница 168: ...MAINTENANCE 168 2 Gently wipe the LED head surface with LED lens cleaner or soft tissue 3 Close the top cover ...
Страница 175: ...TROUBLESHOOTING 175 BEHIND THE FRONT COVER Open the front cover and remove any jammed paper then close the front cover ...
Страница 177: ...TROUBLESHOOTING 177 BEHIND THE REAR COVER Open the rear cover and remove any jammed paper then close the rear cover ...
Страница 206: ...SPECIFICATIONS 206 EXTERNAL DIMENSIONS ...

