OPERATION > 131
STORE TO HARD DISK
Store to hard disk (job spooling) allows print jobs to be temporarily
stored on the hard disk before printing.
1.
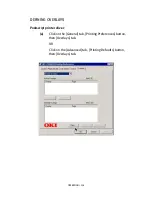
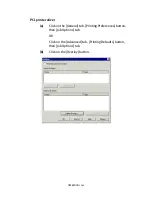
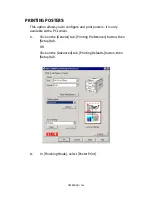
Click on the [General] tab, [Printing Preferences] button, then
[Job Options] tab.
OR
Click on the [Advanced] tab, [Printing Defaults] button, then
[Job Options] tab.
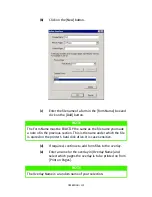
(a)
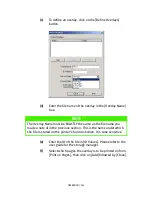
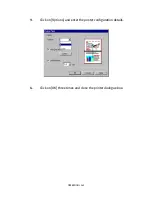
In [Job Type], select [Store to HDD], enter the number of
required copies and, if required, check the [Collate] box.
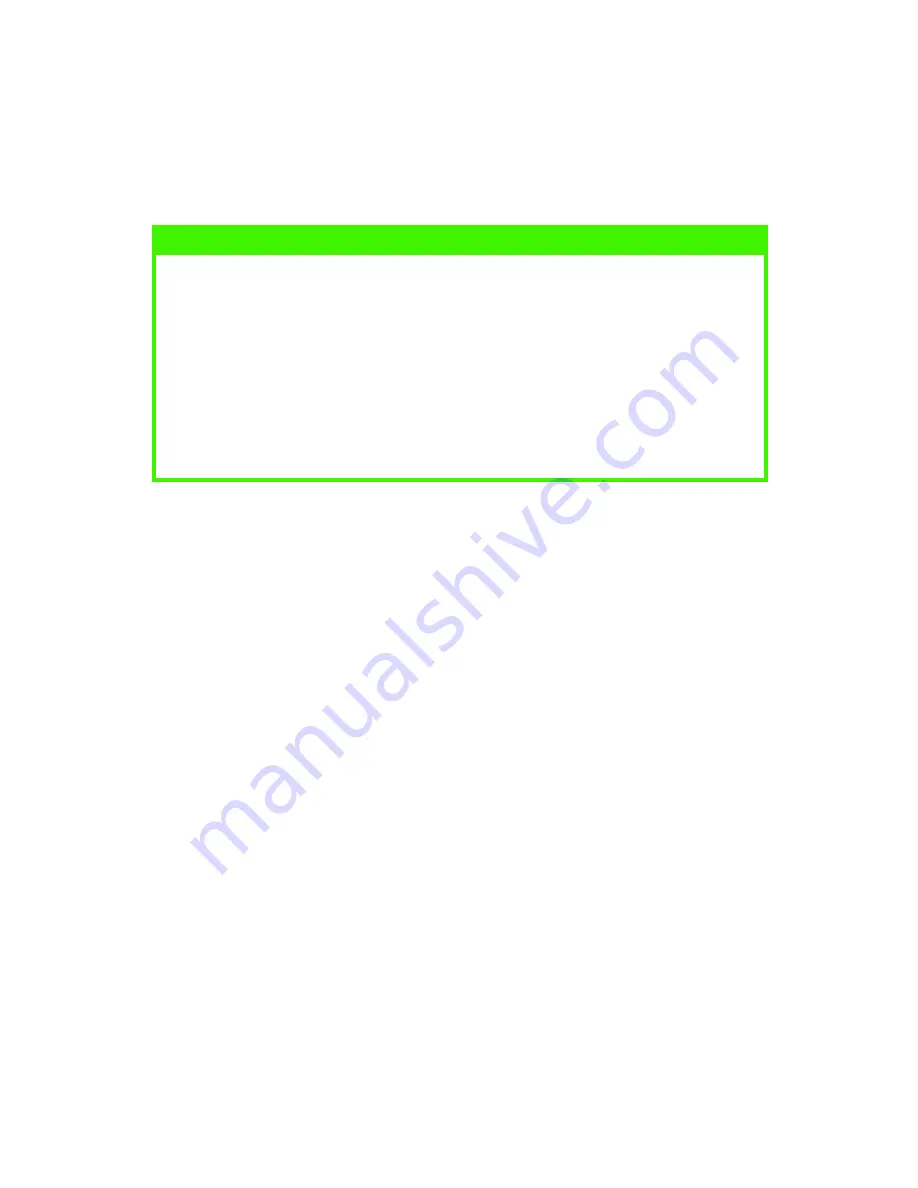
NOTES
>
The internal hard disk must be fitted to the printer to allow for
spooling of the print job before final printing.
>
If the hard disk memory is insufficient for the spooled data, DISK
DISK
DISK
DISK
FULL
FULL
FULL
FULL is displayed and only one copy printed.
>
If the software application being used has a collate print option, this
must be turned OFF for store to hard disk to operate correctly.
>
Store to hard disk may not be available in some software
applications.
Содержание C7300
Страница 1: ...C7100 C7300 C7500 USER S GUIDE WINDOWS 2000 l ...
Страница 20: ...SETTING UP 20 3 Remove the LED head restrainer from behind the LED heads in the top cover ...
Страница 22: ...SETTING UP 22 5 Remove the protective sheets from each of the four image drums ...
Страница 27: ...SETTING UP 27 LOADING PAPER 1 Remove the paper tray from the printer ...
Страница 82: ...PRINTER DRIVERS 82 6 Click on Paper Size and set the required paper size 7 Click on OK three times ...
Страница 98: ...OPERATION 98 1 Click on the Colour Management tab 2 Select Automatic or Manual setting for colour matching ...
Страница 116: ...OPERATION 116 2 Select Booklet from Pages per Sheet 3 Click on OK twice and close the printer dialogue box ...
Страница 158: ...MAINTENANCE 158 5 Remove the protective sheet from the new image drum ...
Страница 159: ...MAINTENANCE 159 6 Install the new image drum into its correct colour location in the printer 1 ...
Страница 168: ...MAINTENANCE 168 2 Gently wipe the LED head surface with LED lens cleaner or soft tissue 3 Close the top cover ...
Страница 175: ...TROUBLESHOOTING 175 BEHIND THE FRONT COVER Open the front cover and remove any jammed paper then close the front cover ...
Страница 177: ...TROUBLESHOOTING 177 BEHIND THE REAR COVER Open the rear cover and remove any jammed paper then close the rear cover ...
Страница 206: ...SPECIFICATIONS 206 EXTERNAL DIMENSIONS ...


