12-22 DICOM
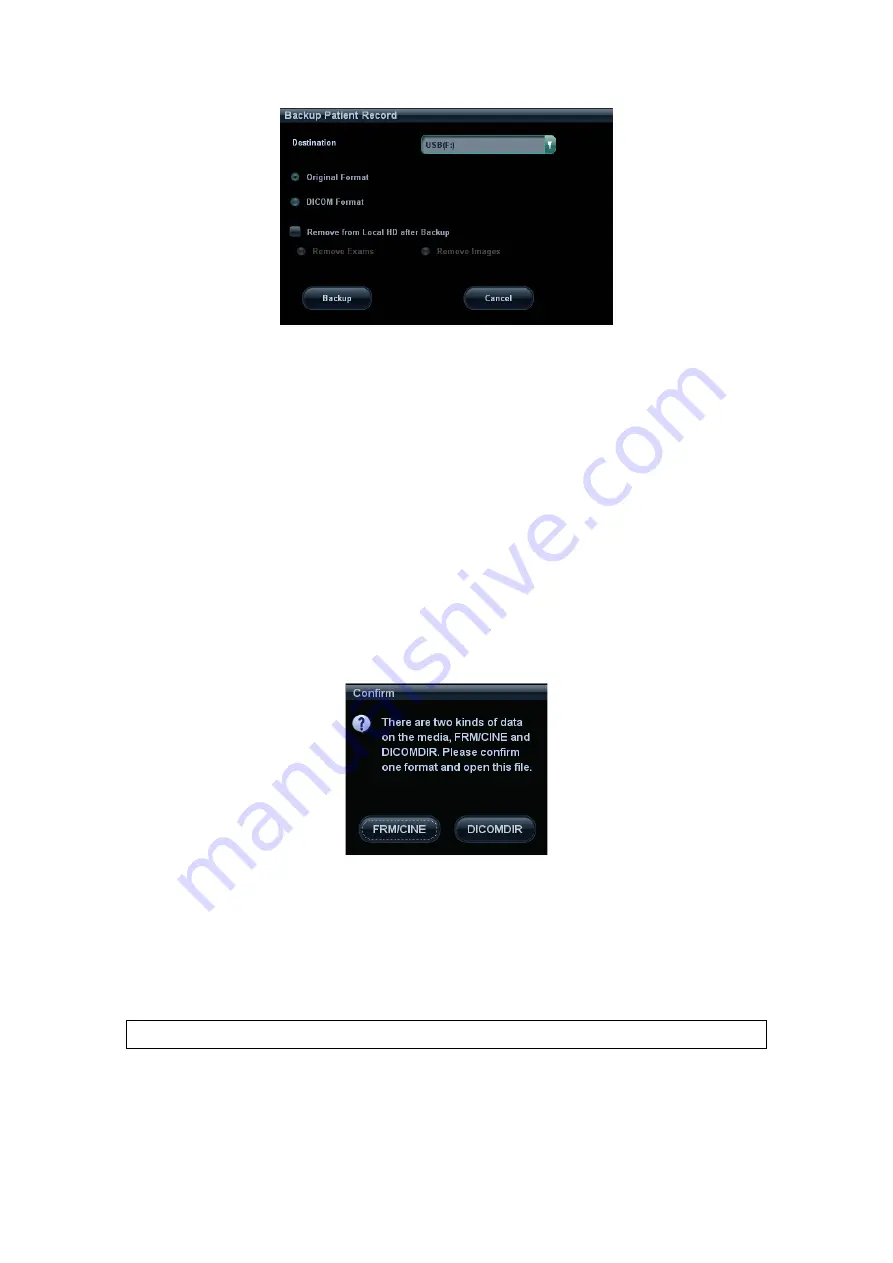
3. Select destination in the drop-down list (CD/DVD/USB disk) and select “DICOM
Format”.
4. Set whether to remove patient exam data or only images from the local hard disk.
5. Click [Backup] to begin storage.
If the backup succeeded, there will be a tick marked in the Backup list in iStation screen;
otherwise, no tick is marked.
Tips:
There should be no DICOMDIR/ DCMIMG/IHE_PDI files in the external storage media of
the same name with the one being backed up, otherwise, the backup can’t proceed.
Please make sure there is enough storage space; otherwise, backup may fail due to
space shortage.
Media
review:
1. Connect the external media with DCM files to the system.
2. Select the data source in iStation screen, and the visible data will be shown.
If there are several kinds of data on the media, the system will ask you to select the format,
as shown in the following:
Data Restore:
1. If the DICOM format data is backed up to external media, you can restore the data to
the system from the media.
2. Review the data stored in the external media.
3. Select the data to be restored in iStation.
4. Click [Restore] in the iStation screen. If the data to be restored already existed in the
system, it asks whether to overwrite the data or not.
NOTE:
Only the system accessible media can be selected.
Содержание DC-T6
Страница 1: ...DC T6 Diagnostic Ultrasound System Operator s Manual Basic Volume...
Страница 2: ......
Страница 10: ......
Страница 16: ......
Страница 28: ......
Страница 37: ...System Overview 2 9 2 6 Introduction of Each Unit...
Страница 178: ......
Страница 182: ......
Страница 236: ......
Страница 240: ...13 4 Probes and Biopsy No Probe Model Type Illustration 19 CW2s Pencil probe...
Страница 300: ......
Страница 314: ......
Страница 320: ......
Страница 326: ......
Страница 330: ...C 4 Barcode Reader...
Страница 337: ...Barcode Reader C 11...
Страница 342: ......
Страница 347: ...P N 046 001523 01 V1 0...


