8
If you want to adjust any scan settings, press
or
repeatedly to select the scan setting to modify, and then
press
OK
.
9
Press
Start
to begin scanning.
The printer scans the document and then places it on the FTP server.
Scanning to e-mail
Setting up the SMTP server
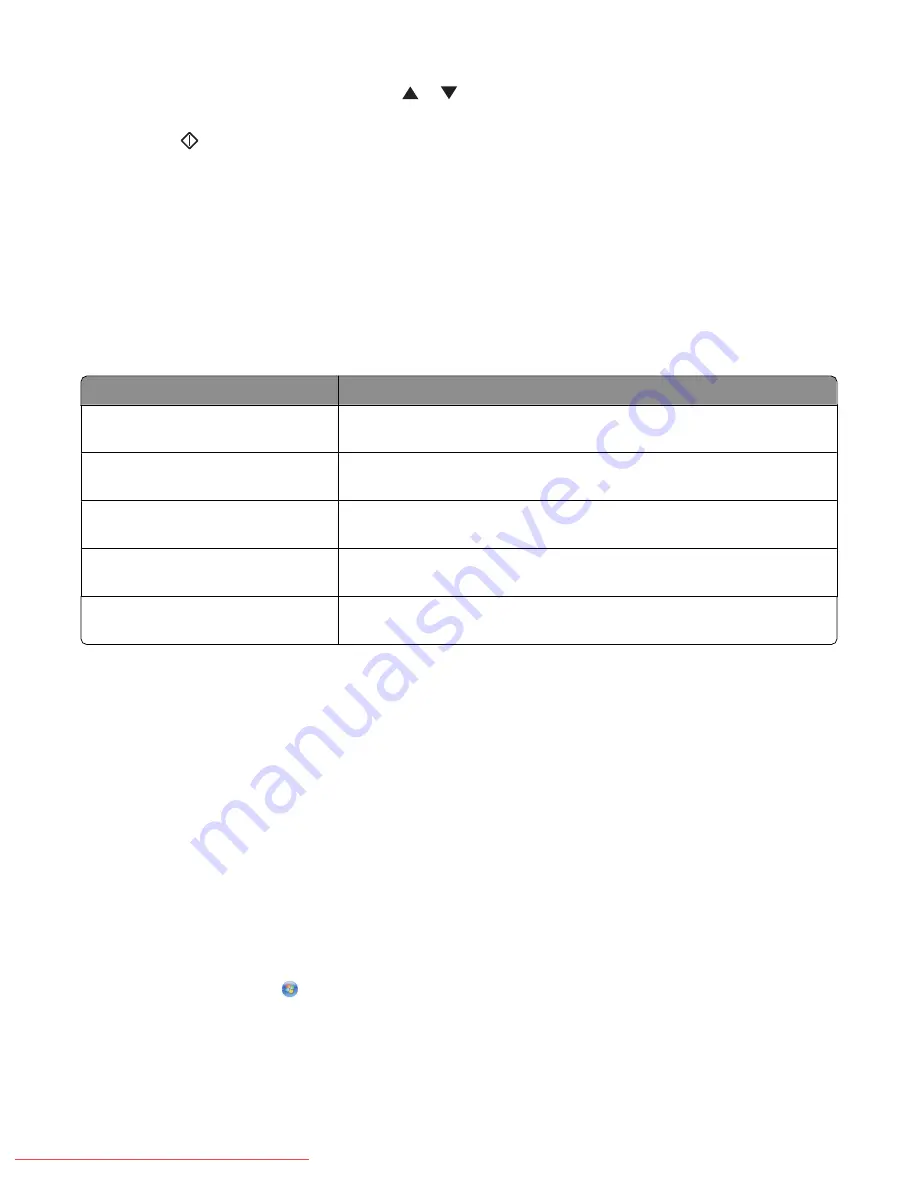
To use the scan to e-mail feature, you first need to set up your SMTP server information. Simple Mail Transfer Protocol
(SMTP) is a protocol for sending e-mail. The following settings need to be completed in order to successfully send e-
mail from the printer:
E-mail setting
Description
SMTP Server Address
Enter the address of your SMTP server. This information can be found by
contacting your e-mail provider or looking on their Web site.
SMTP Server Port Number:
The port that your SMTP server uses. Unless it is specified otherwise by your
e-mail provider, leave this number set to 25.
Email Send Authentication
Some SMTP servers require authentication. If your e-mail provider requires
authentication, select the appropriate method from the drop-down list.
Login Name
The user name for SMTP Authentication. If authentication is not required,
this field is left blank.
Password
The password for SMTP Authentication. If authentication is not required,
this field is left blank.
1
Open a Web browser.
2
In the address bar, type the IP address of the printer, and then press
Enter
.
If the Java applet screen appears, click
Yes
.
3
Click
Properties
.
4
Under Protocols, click
Email Server
.
5
Enter your e-maill settings.
6
Click
Save Changes
.
Creating an e-mail address using Address Book Editor
1
Make sure the printer is connected to a computer with a USB cable, and both the printer and the computer are
turned on.
2
Do one of the following:
•
In Windows Vista, click
.
•
In Windows XP and earlier, click
Start
.
3
Click
Programs
or
All Programs
Lexmark Applications
Address Book Editor
.
Scanning
79
Downloaded From ManualsPrinter.com Manuals
Содержание X560(n)
Страница 2: ...Downloaded From ManualsPrinter com Manuals...
Страница 34: ...3 Align the tray and insert it Installing options 34 Downloaded From ManualsPrinter com Manuals...
Страница 41: ...1 2 3 1 Ethernet port 2 USB symbol 3 USB port Installing options 41 Downloaded From ManualsPrinter com Manuals...
Страница 107: ...5 Remove any jammed paper from inside the printer Clearing jams 107 Downloaded From ManualsPrinter com Manuals...
Страница 108: ...6 Close the front door Clearing jams 108 Downloaded From ManualsPrinter com Manuals...
Страница 111: ...5 Remove any jammed paper from inside the printer Clearing jams 111 Downloaded From ManualsPrinter com Manuals...
Страница 112: ...6 Close the front door Clearing jams 112 Downloaded From ManualsPrinter com Manuals...
Страница 115: ...5 Close the front door Clearing jams 115 Downloaded From ManualsPrinter com Manuals...
Страница 118: ...5 Close the transfer belt unit 6 Close the front door Clearing jams 118 Downloaded From ManualsPrinter com Manuals...


