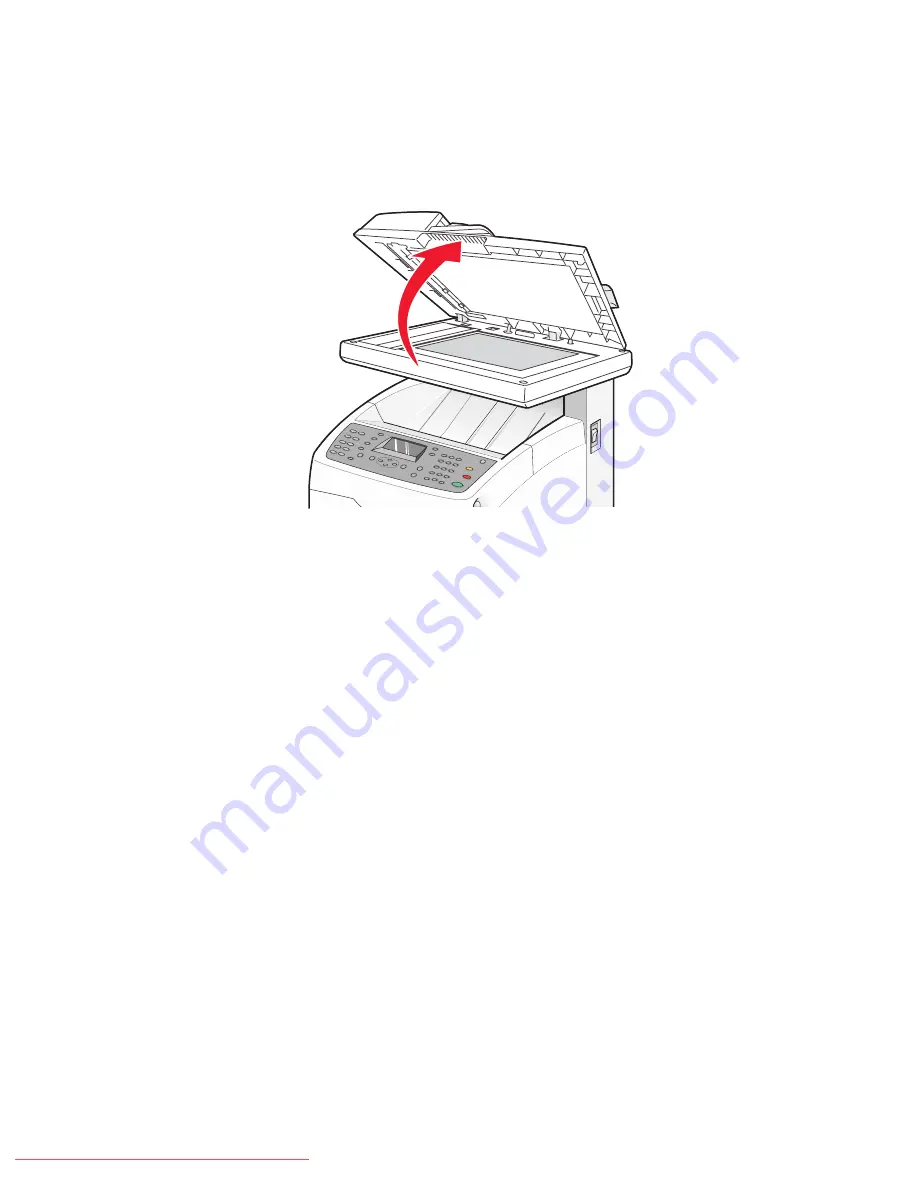
Cleaning the scanner glass
Clean the scanner glass if you encounter print quality problems, such as streaks on copied or scanned images.
1
Slightly dampen a soft, lint-free cloth or paper towel with water.
2
Open the scanner cover.
3
Wipe the scanner glass (which includes the document glass and ADF glass) until it is clean and dry.
4
Wipe the white underside of the scanner cover and the white plastic input guides until they are clean and dry.
Note:
The white plastic input guides are located on the scanner cover underneath the ADF on the left side.
5
Close the scanner cover.
Ordering supplies
To order supplies in the U.S., contact Lexmark at 1-800-539-6275 for information about Lexmark authorized supplies
dealers in your area. In other countries or regions, visit the Lexmark Web Site at www.lexmark.com or contact the
place where you purchased the printer.
Note:
All life estimates for printer supplies assume printing on letter- or A4-size plain paper.
Ordering print cartridges
When
Replace <color> Print Cartridge Soon
appears, order the specified new print cartridge. The
specified print cartridge will soon be exhausted. The specified print cartridge can print approximately 100–125 pages,
depending on the coverage of the toner color, after the message first appears.
When
Replace <color> Print Cartridge Soon
appears or when the print becomes faded, you may be
able to extend the life of the print cartridge:
1
Remove the specified print cartridge.
2
Firmly shake the cartridge side-to-side and front-to-back several times to redistribute toner.
Maintaining the printer
161
Downloaded From ManualsPrinter.com Manuals
Содержание X560(n)
Страница 2: ...Downloaded From ManualsPrinter com Manuals...
Страница 34: ...3 Align the tray and insert it Installing options 34 Downloaded From ManualsPrinter com Manuals...
Страница 41: ...1 2 3 1 Ethernet port 2 USB symbol 3 USB port Installing options 41 Downloaded From ManualsPrinter com Manuals...
Страница 107: ...5 Remove any jammed paper from inside the printer Clearing jams 107 Downloaded From ManualsPrinter com Manuals...
Страница 108: ...6 Close the front door Clearing jams 108 Downloaded From ManualsPrinter com Manuals...
Страница 111: ...5 Remove any jammed paper from inside the printer Clearing jams 111 Downloaded From ManualsPrinter com Manuals...
Страница 112: ...6 Close the front door Clearing jams 112 Downloaded From ManualsPrinter com Manuals...
Страница 115: ...5 Close the front door Clearing jams 115 Downloaded From ManualsPrinter com Manuals...
Страница 118: ...5 Close the transfer belt unit 6 Close the front door Clearing jams 118 Downloaded From ManualsPrinter com Manuals...


