3: Installation
EMG™ Edge Management Gateway User Guide
41
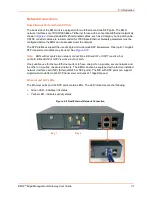
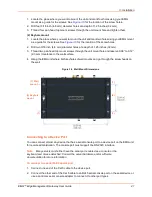
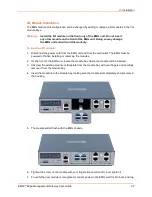
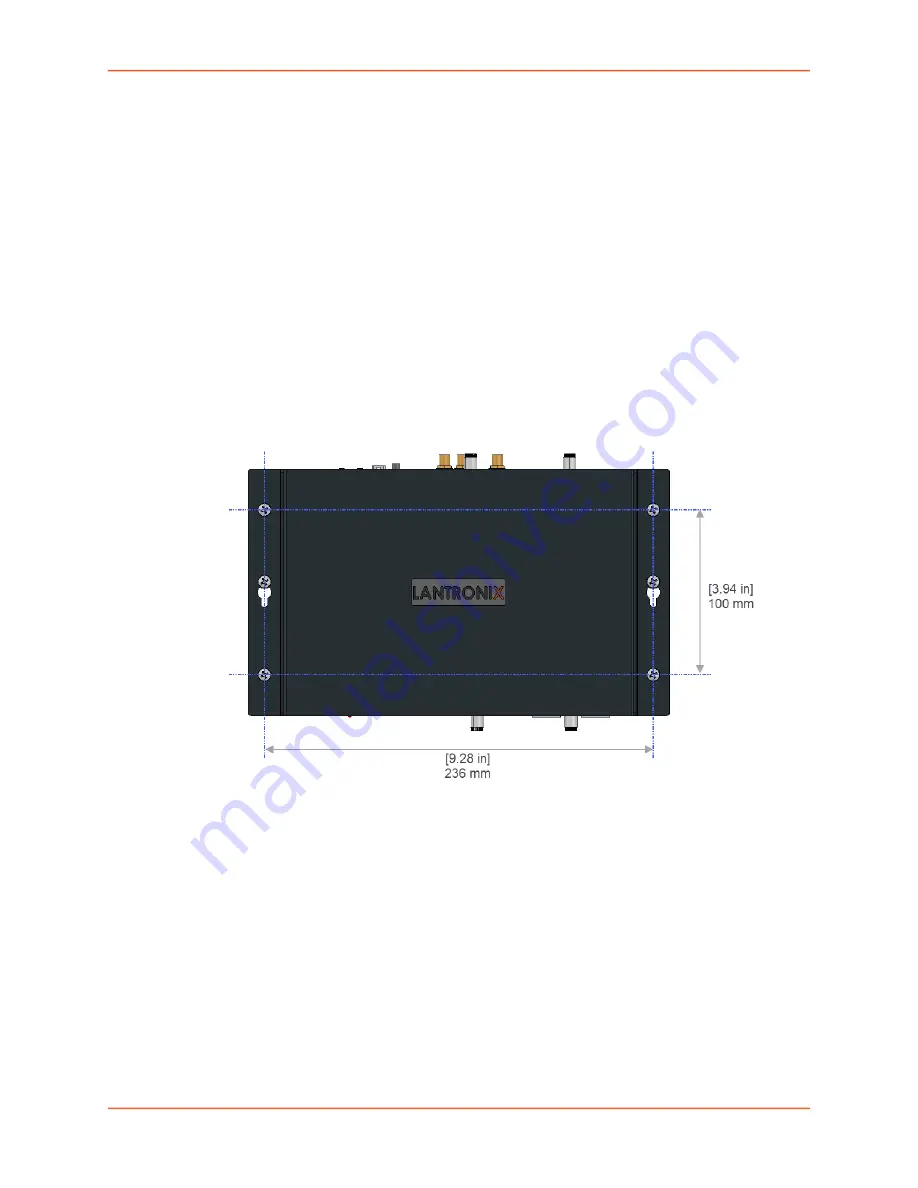
1. Locate the place where you want to mount the unit and mark four holes using your EMG
mount as a guide for the screws. See
for the location of the screw holes.
2. Drill four 3/16 inch (4.8 mm) diameter holes at a depth of 1.25 inches (32 mm).
3. Thread four pan head top mount screws through the unit mount hole and tighten them.
(2) Keyhole mount:
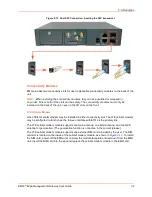
1. Locate the place where you want to mount the unit and mark two holes using your EMG mount
as a guide for the screws. See
for the location of the screw holes.
2. Drill two 3/16 inch (4.8 mm) diameter holes at a depth of 1.25 inches (32 mm).
3. Thread two pan head top mount screws through the unit mount hole and reserve 0.08” to 0.12”
(2-3 mm) clearance to the wall surface.
4. Hang the EMG unit where both keyholes of wall mounts can go through the screw heads on
the wall.
Figure 3-5 Wall Mount Dimensions
Connecting to a Device Port
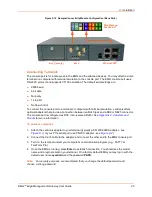
You can connect almost any device that has a serial console port to a device port on the EMG unit
for remote administration. The console port must support the RS-232C interface.
Note:
Many servers must either have the serial port enabled as a console or the
keyboard and mouse detached. Consult the server hardware and/or software
documentation for more information.
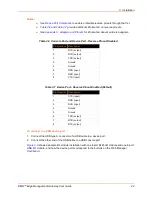
To connect to a serial RJ45 device port:
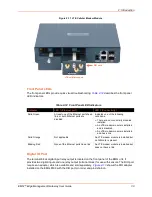
1. Connect one end of the Cat 5 cable to the device port.
2. Connect the other end of the Cat 5 cable to an RJ45 serial console port on the serial device or
use a Lantronix serial console adapter to connect it to other port types.
(2) Keyhole
mount
(1) Wall
mount
(1)
(1)
(1)
(2)
Содержание EMG 8500
Страница 1: ...Part Number PMD 00008 Revision A October 2019 EMG Edge Management Gateway User Guide EMG 8500 ...
Страница 69: ...6 Networking EMG Edge Management Gateway User Guide 69 Figure 6 2 Network Network Settings 2 of 2 ...
Страница 302: ...14 Maintenance EMG Edge Management Gateway User Guide 302 Figure 14 12 About EMG ...

