7-14
Status / Job Cancel
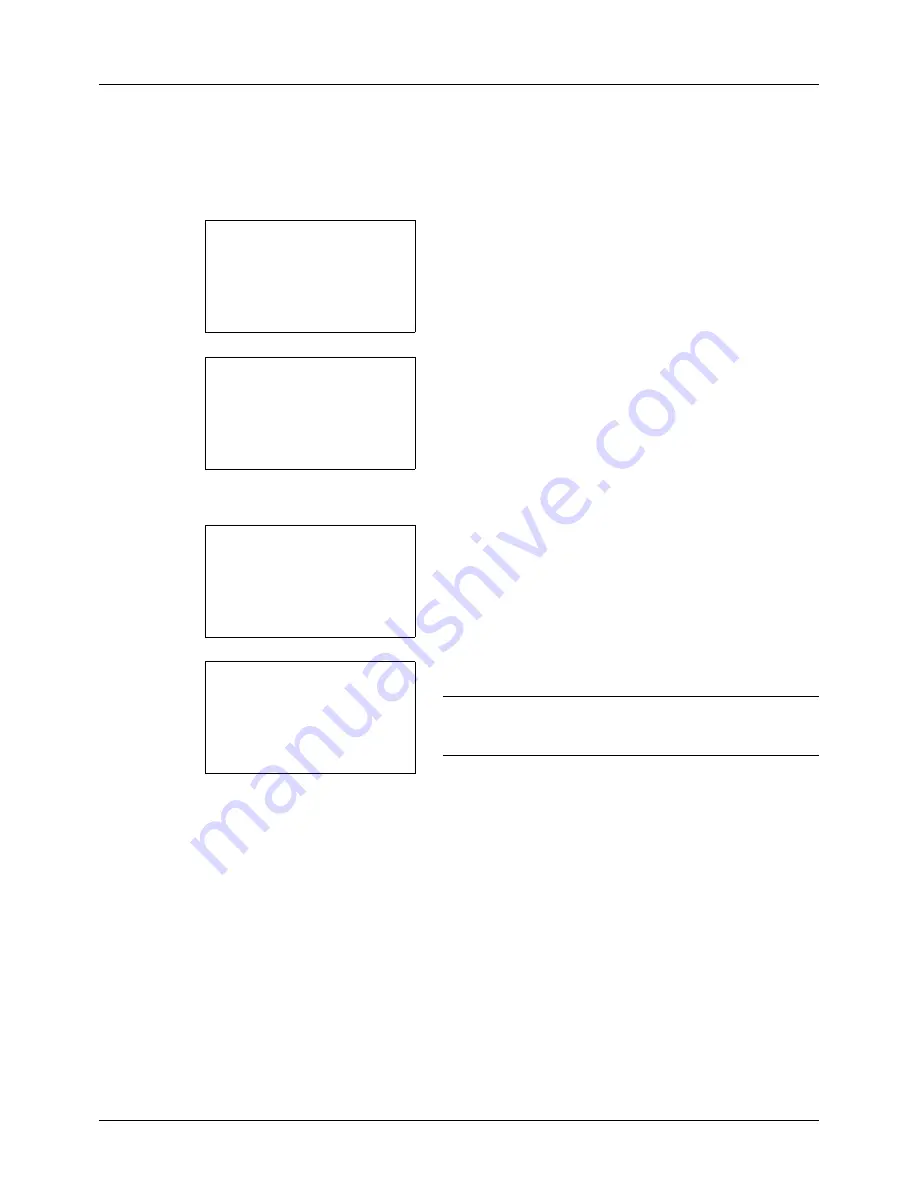
Setting the destination
Set the destination to which job log histories are sent.
Use the procedure below to set the destination.
1
In the Job Log History menu, press the
U
or
V
key to
select [Destination].
2
Press the
OK
key. The Destination menu appears.
Confirming Current Destination
1
In the Destination menu, press the
U
or
V
key to select
[Confirmation].
2
Press the
OK
key. Dest. Confirm. appears.
NOTE:
Press the
OK
key to edit/delete the current
destination.Refer to
Character Entry Method on Appendix-5
for details on entering characters.
3
Press [Exit] (the
Right Select
key). The basic screen
reappears.
Job Log History:
a
b
1
Auto Sending
2
Send History
*********************
[ Exit
]
3
Destination
Destination:
a
b
*********************
2
Register
[ Exit
]
1
Confirmation
Destination:
a
b
*********************
2
Register
[ Exit
]
1
Confirmation
Dest. Confirm.:
a
b
*********************
N
[ Exit
]
p
Morgan@###########
Содержание ECOSYS FS-3040MFP+
Страница 1: ...FS 3040MFP FS 3140MFP ...
Страница 92: ...Preparation before Use 2 56 ...
Страница 140: ...4 18 Copying Functions ...
Страница 146: ...5 6 Sending Functions NOTE Press the Reset key to reset the settings selected in Function Menu ...
Страница 166: ...5 26 Sending Functions ...
Страница 171: ...6 6 5 Document Box NOTE Press the Reset key to reset the settings selected in Function Menu ...
Страница 352: ...8 154 Default Setting System Menu ...
Страница 418: ...11 38 Management 5 After completing checking the count press the OK key The screen returns to the menu for the account ...
Страница 444: ...Appendix 26 ...
Страница 451: ......
Страница 452: ......
Страница 453: ......
Страница 454: ...Rev 1 2011 6 2MFKMEN001 ...


