5
5-13
Sending Functions
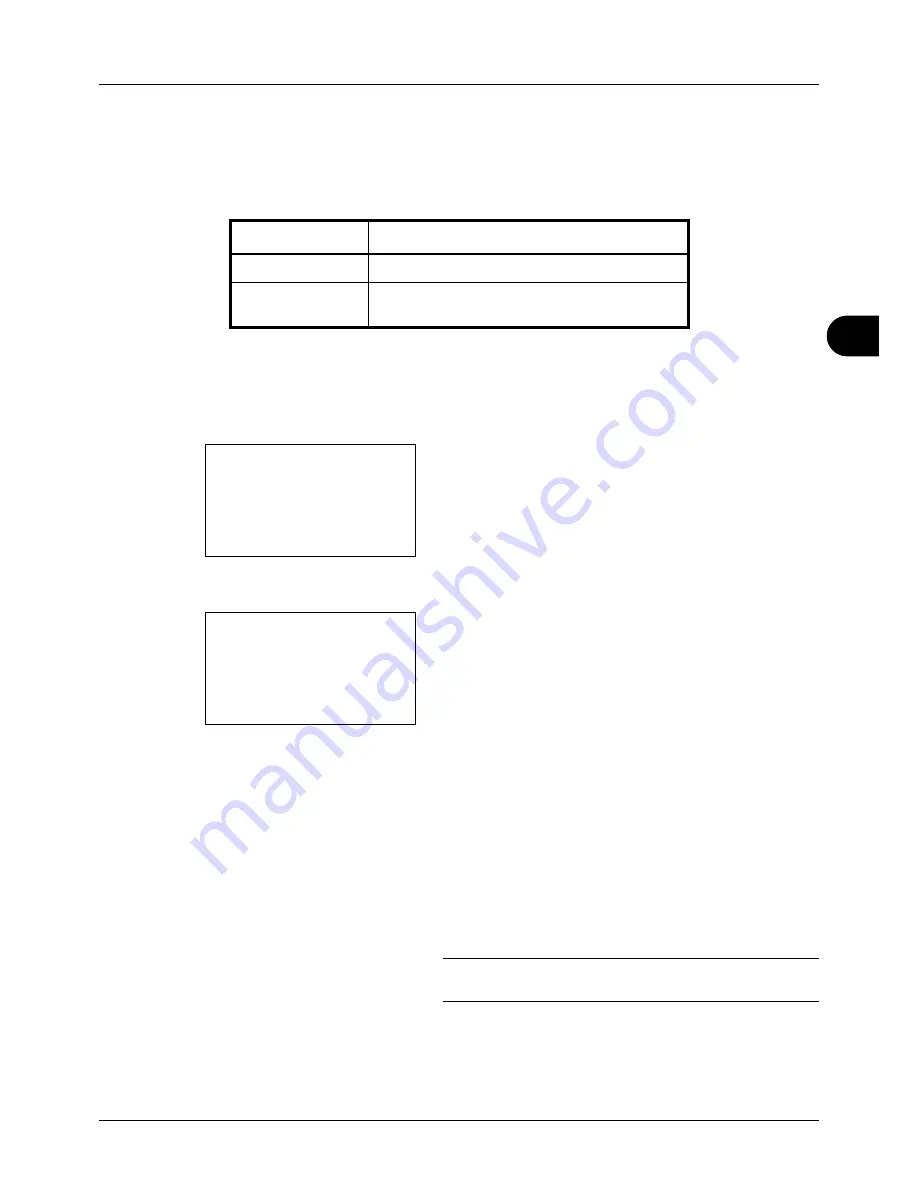
Adjusting Density
Use the procedure below to adjust the density when scanning the originals.
The table below shows the available settings.
The procedure for adjusting the density is explained below.
1
Press the
Send
key.
2
Place the original.
3
Press the
Function Menu
key. Function Menu appears.
4
Press the
U
or
V
key to select [Density].
5
Press the
OK
key. Density appears.
6
Press the
U
or
V
key to select [Auto] or [Manual].
If you select [Manual], press the
OK
key, and then select
the density on the next screen.
7
Press the
OK
key.
Completed.
is displayed and the screen returns to the
basic screen for sending.
8
Specify the destination, and press the
Start
key to start
sending.
NOTE:
Press the
Reset
key to reset the settings selected in
Function Menu.
Item
Detail
Manual
Adjust density using 7 levels.
Auto
Optimum density is selected according to the
density of the original.
Function Menu:
a
b
*********************
2
Original Size
T
3
Original Image
T
[ Exit
]
1
Color Selection
T
Density:
a
b
1
Auto
*********************
2
*Manual
Содержание ECOSYS FS-3040MFP+
Страница 1: ...FS 3040MFP FS 3140MFP ...
Страница 92: ...Preparation before Use 2 56 ...
Страница 140: ...4 18 Copying Functions ...
Страница 146: ...5 6 Sending Functions NOTE Press the Reset key to reset the settings selected in Function Menu ...
Страница 166: ...5 26 Sending Functions ...
Страница 171: ...6 6 5 Document Box NOTE Press the Reset key to reset the settings selected in Function Menu ...
Страница 352: ...8 154 Default Setting System Menu ...
Страница 418: ...11 38 Management 5 After completing checking the count press the OK key The screen returns to the menu for the account ...
Страница 444: ...Appendix 26 ...
Страница 451: ......
Страница 452: ......
Страница 453: ......
Страница 454: ...Rev 1 2011 6 2MFKMEN001 ...


