14-28
Tutorials: Setup Mode
Assigning A Single Knob to Crossfade Between The Volume Of Different Zones
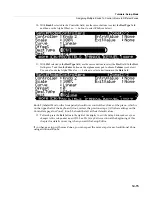
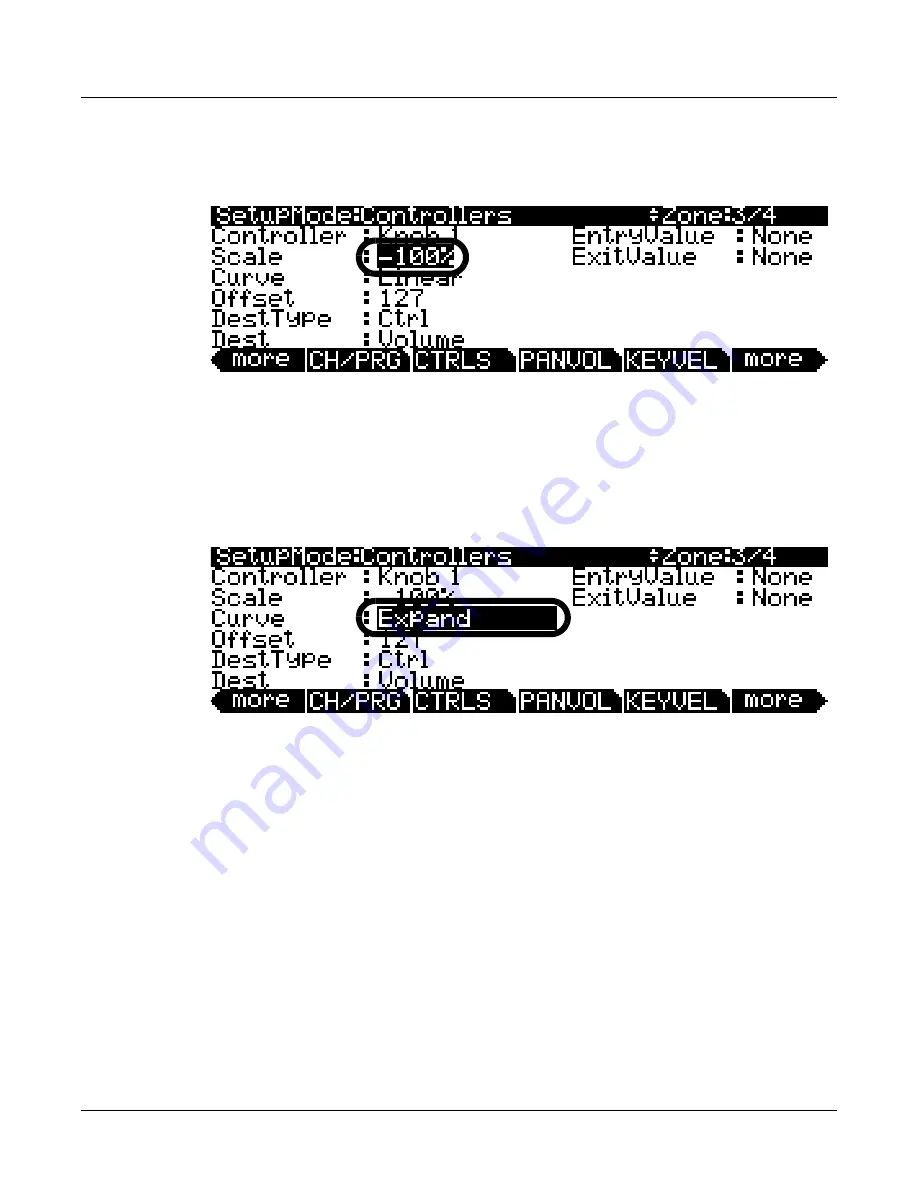
14. Next we will set a negative Scale value for Zone 3. On the Controllers page for Knob 1, Zone 3, use
the cursor
buttons to select the
Scale
field. On the alphanumeric pad press the
+/-
button, then
100
,
then the
Enter
button
to enter
-100%
as a Scale value (see below.)
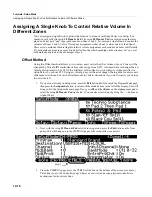
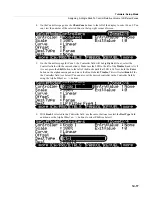
15. Use the cursor buttons to select the
Curve
field and then use the Alpha Wheel
or - / + buttons to
select
Expand
(see below.)
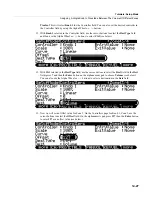
This makes Zone 3 louder when Knob 1 is half way up than it would be
with the standard Linear curve. This allows for the pad sound to be closer to its full volume when
Knob 1 is half way up (which will give us an equal blend of both pad sounds when we are done.)
We are using the Expand curve here instead of the Compress curve as in step 8 (above.) This is
because we used the -100% Scale value for Zone 3, which makes the Expand curve boost middle
values (like the Compress curve usually does,) instead of decreasing middle values as Expand
usually does.
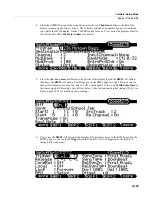
Knob
1
(labeled
Timbre
on
the
front
panel)
should
now
crossfade
between
the
pad
sounds
on
Zones
2
and
3
(if
not,
review
the
previous
steps.)
Zone
2
sends
increasing
volume
values
from
0
‐
127
as
you
turn
Knob1
up.
Zone
3
sends
decreasing
volume
values
from
127
‐
0
as
you
turn
Knob
1
up.
This
is
because
the
Offset
of
127
for
Zone
3
makes
the
Zone
set
127
as
a
volume
when
Knob
1
is
down
(sending
a
value
of
0,
which
gets
added
to
the
Offset
of
127,
0+127=127.)
Zone
3
then
decreases
in
volume
as
Knob
1
is
turned
up,
because
of
the
‐
100%
Scale
set
for
Zone
3.
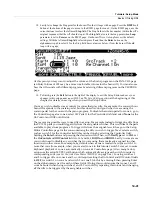
16. To finish, press the
Exit
button to the right of the display to exit the Setup Editor and save your
changes to this setup under a new ID#. See
The Setup Editor
section at the beginning of this chapter
for details on saving when you exit the Setup Editor.
Содержание PC3LE
Страница 14: ...x...
Страница 28: ...2 10 Startup Software Upgrades...
Страница 42: ...3 14 User Interface Basics Quick Song Recording and Playback...
Страница 46: ...4 4 The Operating Modes Using the Modes...
Страница 196: ...8 4 Quick Access Mode The QA Editor...
Страница 226: ...9 30 Master Mode UTILITIES...
Страница 260: ...10 34 Song Mode and the Song Editor Song Editor The EVENT Page...
Страница 272: ...11 12 Storage Mode Format...
Страница 286: ...12 14 Keymap and Sample Editing Editing Samples...
Страница 379: ...vii W Waveform display 12 12 X Xpose 2 7 6 3 8 2 Z Zero crossings 12 13 Zones Soloing 7 5 zones 14 2...


