


English
_33
● menu setup
editing the profiles
You can change the video settings of a registered network camera for each channel.
menu > Camera > profile
•
Channel Selection : You can select camera channels to change their video transmission settings.
•
Add : You can add camera profile. Click on the Add button to launch the addition window.
Enter the information and click on the <
OK
> button to add it to the list.
•
Delete : You can delete the selected profile from the list.
•
Apply to CH : If you select <
Apply to Ch
>, the "
Apply to Ch
" confirmation window will appear.
After selecting channels that the settings will be applied to, click on <
OK
> to apply them to the selected channels.
•
Profile : You can check the video profile of the camera connected in the camera setup.
•
Codec : You can check the codec for the selected channel.
•
Resolution : You can change the resolution of the selected channel.
•
Frame rate : You can change the frame rate of the selected channel.
•
Bitrate control : You can change the bitrate of the selected channel.
`
If you change specific profile settings for each product, the frame rate's setup range may be changed.
Example
) If you set the frame rate for the first profile to 30 fps, then the setting range for the second profile may be changed to
15 fps.
`
Any settings other than codec, resolution, and frame rates can be changed in the setup menu of the camera web viewer. For
camera web viewer, see the "
Camera Setup
" page under "
Setup Viewer
>
Device
" in the Table of Contents. Click <
Camera
website
> button for connection.
`
If you change the current profile settings, you may encounter an interrupted playback on the recording or live screen for a
certain time.
`
Changes made in your camera’s setup page will be applied immediately. But any changes made through the camera's online
website, it may take up to 3 minutes to apply the changes.
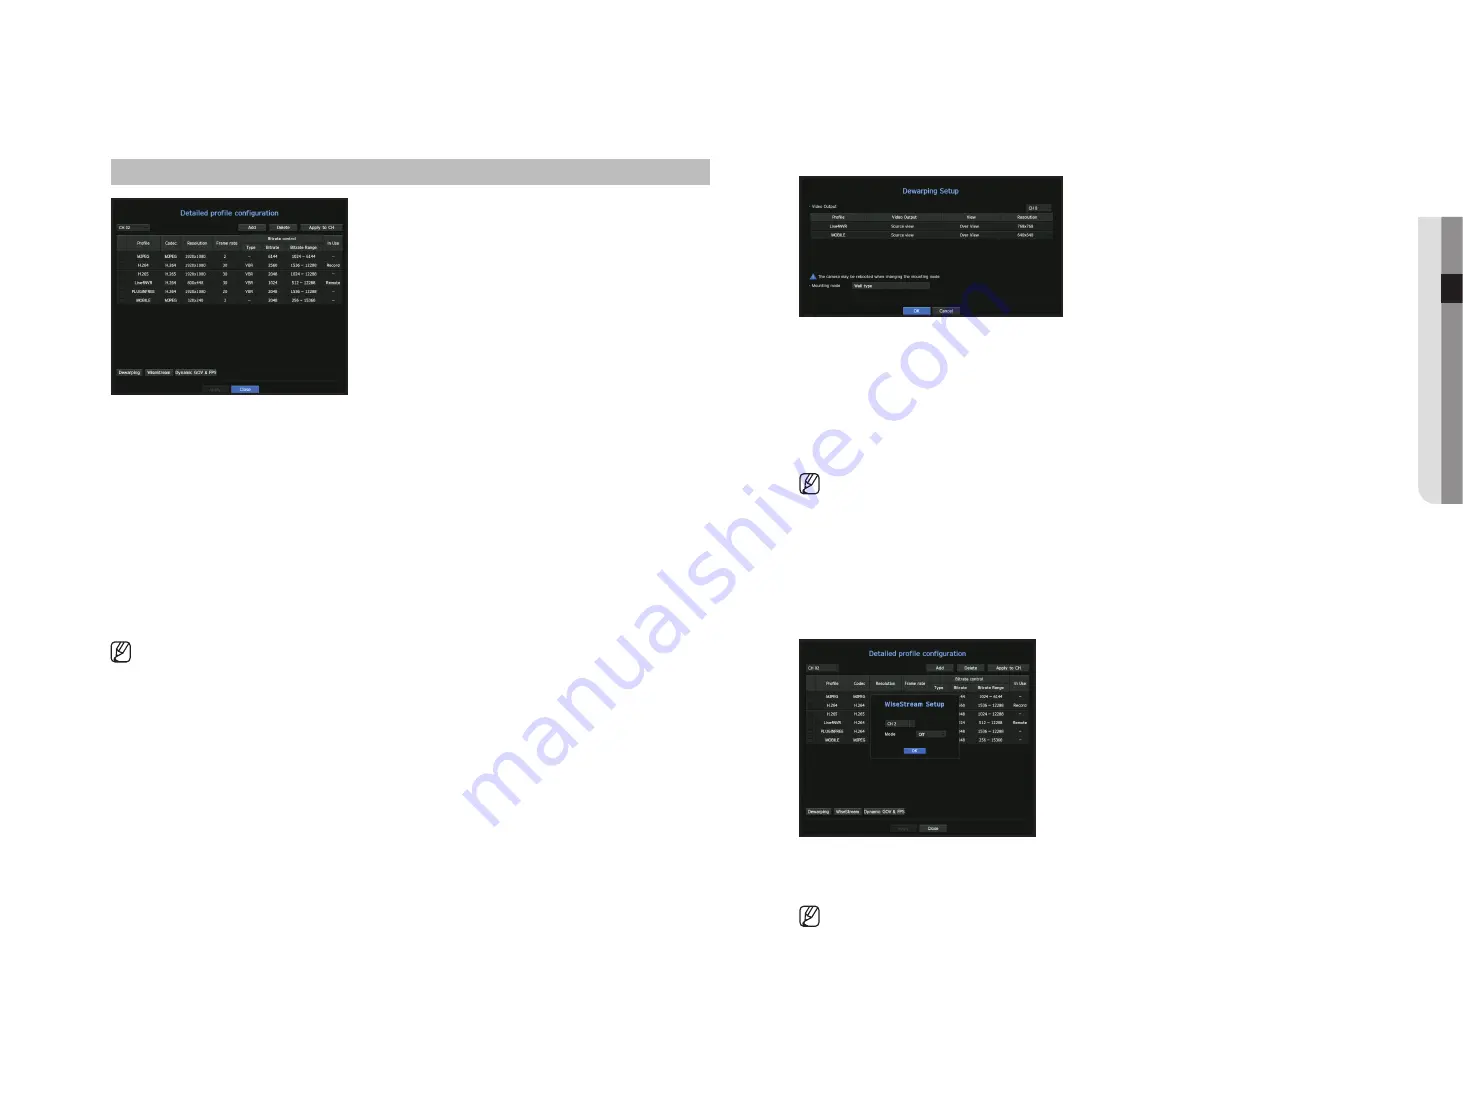
Dewarping Setup
Press the <
Dewarping
> button at the bottom of the <
Detailed profile configuration
> window to go to the
distortion correction setup popup window for each channel.
•
Profile/View Type: From the profile list in the dewarping setup popup, you can select a view type.
`
You cannot change SourceMJPEG, SourceH264, DewarpMJPEG, or DewarpH264 settings.
•
Mounting mode : You can change the fisheye installation type. You can select a view mode from among
ceiling/ground/wall depending on the installation location.
`
You can select view modes supported by your camera.
•
View : You can change the fisheye view mode of the current screen according to each split section.
`
If there is no camera registered in the Recorder that supports fisheye view, Dewarping Setup will not be available.
how to set WiseStream
Function to analyze the complexity of the video and effectively reduce the data size while maintaining the
quality. For details, refer to the camera's help or the product's user guide.
Press the <
WiseStream
> button at the bottom of the <
Detailed profile configuration
> screen to go to the
WiseStream setup popup window for the channel.
•
Channel : You can select the channel to set WiseStream.
•
Mode : You can choose the degree of video compression. You can choose either OFF, Low, Medium, or High.
`
WiseStream setup cannot be executed if there is no camera registered in Recorder that supports WiseStream.
Содержание LRN-1610S
Страница 1: ...NETWORK VIDEO RECORDER User Manual Wisenet NVR...
Страница 83: ......


