


30_
menu setup
menu setup
network Camera Firmware upgrade
•
Model : Displays the camera model information.
•
Current version : Displays the current camera firmware version.
•
Upgrade version : Displays the firmware version to upgrade.
Press the < > button to select the firmware manually within the USB.
<
> indicates an upgrade via a remote server.
•
Status : Displays the status of the ongoing upgrade (upgrading, successful, failed).
1.
Press the <
upgrade
> button in the <
Channel Setup
> field.
2.
Displays the upgradeable channel list among the connected cameras.
`
If newer firmware exists on the remote server, the upgrade version is displayed, and the check box is automatically selected.
`
If you do not see the upgrade version, you can press the <
> button to get the upgrade version information from the server.
`
Connect a USB camera with camera firmware to the device and press the < > button to check and select the firmware file in
the USB.
`
Select a channel and press the <
Apply to CH
> button to apply the firmware to other channels connected to the same model at
once.
3.
Check the box of the channel you want to upgrade.
4.
Click the <
upgrade
> button. The camera firmware upgrade starts.
`
You can move to another menu while upgrading.
`
You can stop the upgrade by clicking the <
Stop
> button during the upgrade.
`
When the upgrade is complete, <
FULL
NO
CPU
> will be displayed on the upper left of the live. You can click the icon to check the result.
`
Firmware upgrade is available only for channels connected with the Wisenet protocol and the camera’s administrator account.
`
If the upgrade version is not displayed even though the camera’s firmware is out of date, check the network settings.
`
If there are more than 50 firmware files in the top USB folder, the file may not be scanned.
`
The system may reboot if USB is disconnected from the device during an upgrade via USB.
`
Video data of the channel connected to the camera to upgrade may not be recorded.
`
Do not format the HDD until the upgrade is complete. The upgrade may fail.
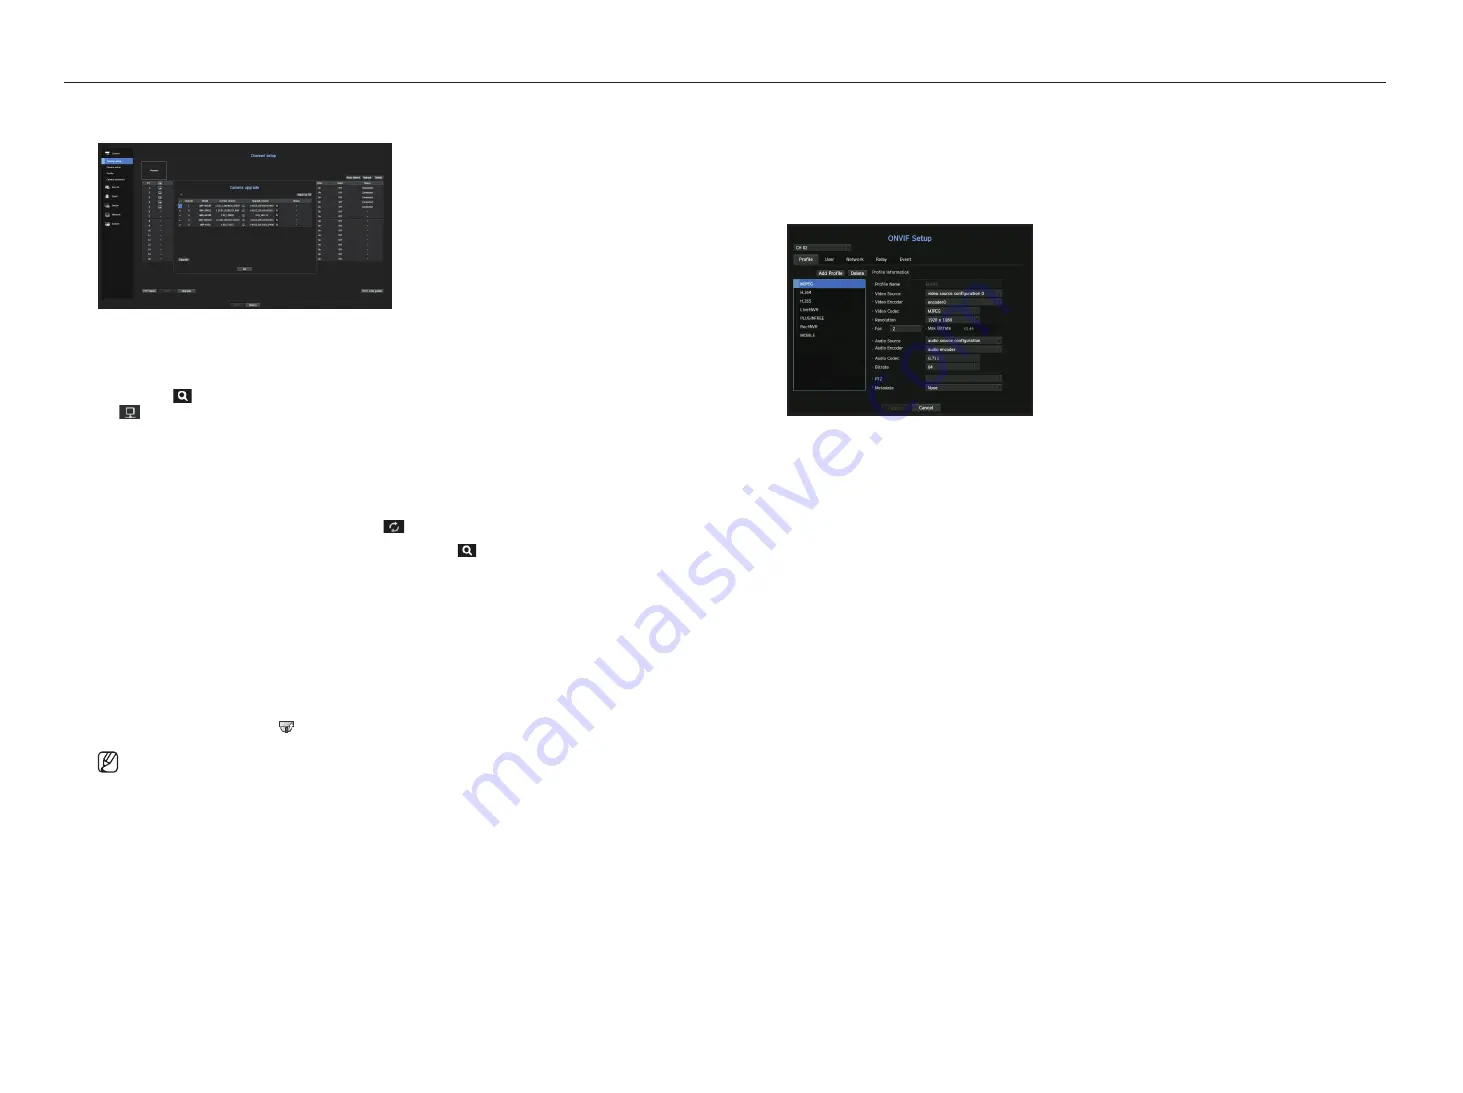
OnVIF Setup
In the bottom of the camera addition screen, click on the <
OnVIF
> button to set additional settings for
cameras with the ONVIF protocol.
`
You can change the information only if the user account (camera account used for camera registration) is used to read the user
information and a connection is made with the admin privilege.
Channel
You can set the list of channels for a camera registered using the ONVIF protocol.
profile
•
Add Profile : You can add camera profile.
After adding a profile, click on the <
OK
> button to add it to the list.
•
Delete : After selecting the profile to delete, click on the <
Delete
> button to delete the selected profile.
•
Profile information : You can set the details of the selected profile.
After finishing setting each item, click on the <
Apply
> button to save changes.
user
•
Add User : You can add a camera user.
After adding a user, click on the <
OK
> button to add them to the list.
•
Delete : After selecting the user to delete, click on the <
Delete
> button to delete the selected user.
•
User Information : You can set the details of the selected user.
network
You can set the details of the network.
•
IP Type : Select from either the IPv4/IPv6 IP types.
•
DHCP : Select whether to use the DHCP.
•
DNS / NTP Server : Only if the DHCP setting is <
On
>, the DHCP checkbox will be activated.
`
If the DHCP is checked, you can manually enter the IP address.
Relay
You can set details of the relay.
•
Digital Output : You can select a digital output channel.
•
Relay Mode : Select either bi or mono stable modes.
•
Relay Idle State : Select either open or closed relay standby modes.
•
Delay time(sec) : Select the relay operation waiting time.
Содержание LRN-1610S
Страница 1: ...NETWORK VIDEO RECORDER User Manual Wisenet NVR...
Страница 83: ......


