GE
V
OLUSON
i / V
OLUSON
e
D
IRECTION
KTI106052, R
EVISION
10
S
ERVICE
M
ANUAL
Chapter 3 - Setup Instructions
3-25
3-5-1
Connection and Usage of the optional Modo Cart
3-5-1-1
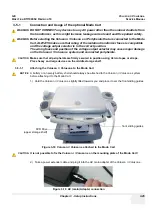
Attaching the Voluson i / Voluson e to the Modo Cart
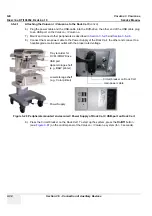
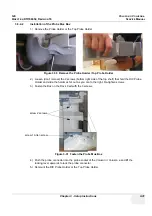
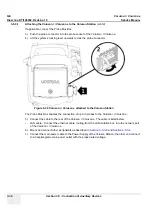
1.) Hold the Voluson i / Voluson e slightly tilted towards you and place it over the front sliding guides.
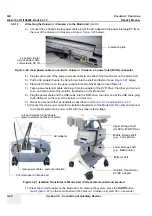
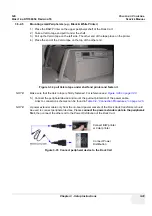
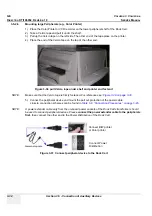
2.) Take a power extender cable and plug it into the AC main adapter of the Voluson i / Voluson e.
WARNING
WARNING
!! WARNING:
DO NOT CONNECT any devices to any AC power other than the on-board outlets from
the transformer, as this might increase leakage currents and sacrifice patient safety.
WARNING
WARNING
!! WARNING:
Before starting the Voluson i / Voluson e or Peripherals that are connected to the Modo
Cart, ALWAYS make sure that rating of the isolation transformer fuses is compatible
and the voltage output selector is in the correct position.
The wrong fuses and position of the voltage output selector may cause major damage
on the Voluson i / Voluson e system and connected peripherals.
CAUTION
!! CAUTION:
Make sure that all peripherals are firmly secured in position using Velcro tapes or straps.
Place heavy and large devices on the middle storage shelf.
NOTICE
!! NOTICE:
A battery or an empty battery shell should always be attached to the Voluson i / Voluson e system
before attaching it to the Modo Cart.
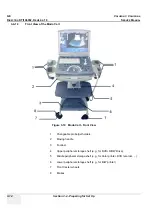
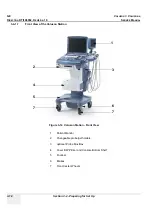
Figure 3-18 Voluson i / Voluson e attached to the Modo Cart
CAUTION
!! CAUTION:
It is not possible to fix the Voluson i / Voluson e on the mounting plate of the Modo Cart!
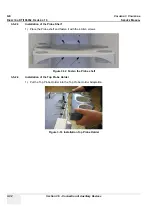
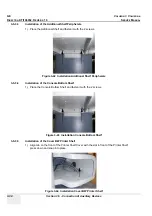
Figure 3-19 AC (main) Adapter connection
front sliding guides
DVD Drive
(upper storage shelf)
Содержание H48651KR
Страница 2: ......
Страница 11: ...GE VOLUSON i VOLUSON e DIRECTION KTI106052 REVISION 10 SERVICE MANUAL ix ZH CN KO ...
Страница 44: ...GE VOLUSON i VOLUSON e DIRECTION KTI106052 REVISION 10 SERVICE MANUAL xlii Table of Contents ...
Страница 514: ...GE VOLUSON i VOLUSON e DIRECTION KTI106052 REVISION 10 SERVICE MANUAL IV Index ...
Страница 515: ......

