


94
P
RODUCT
M
ANUAL
1014258
C
HAPTER
6—U
SING
THE
R
EMOTE
M
ANAGEMENT
U
TILITY
3.
3.
3.
3.
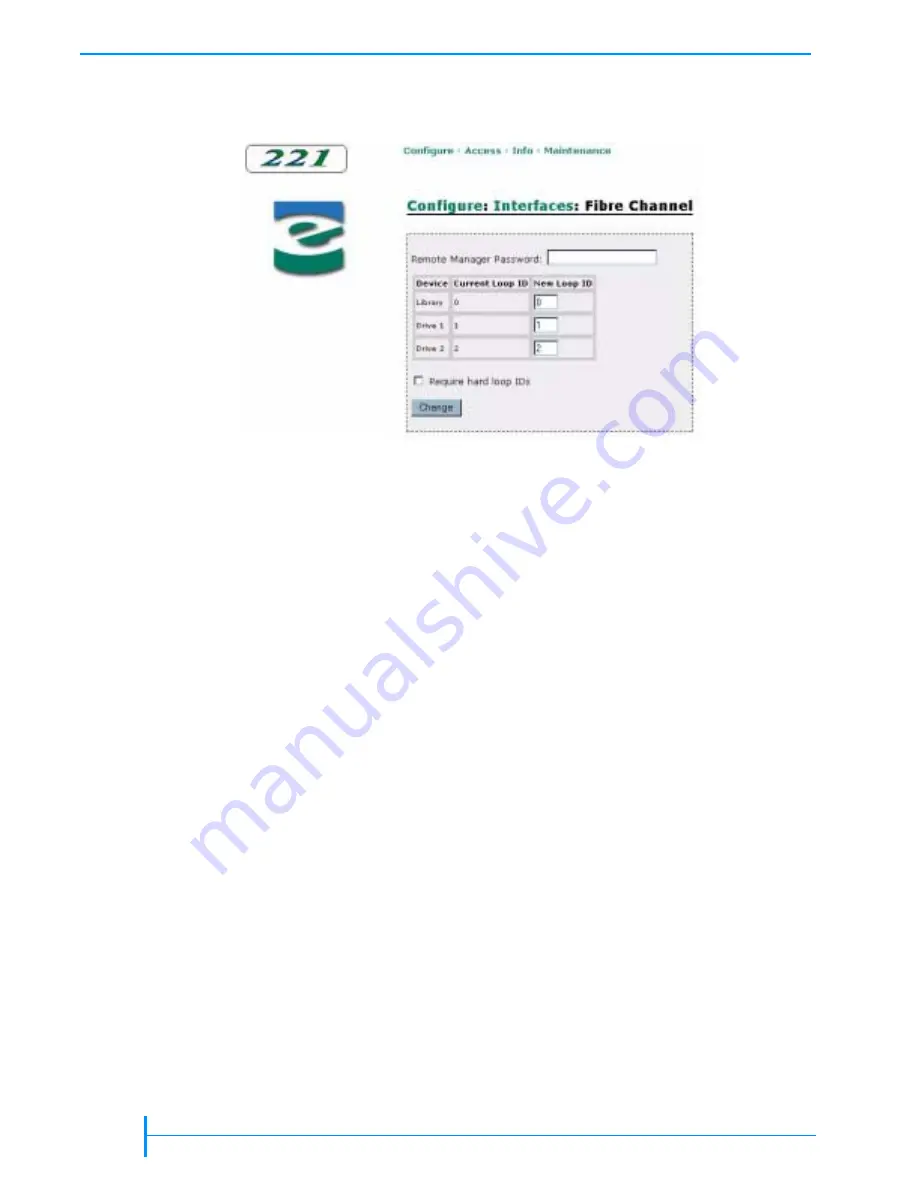
Click on Configure the Fibre Channel interface. A page similar to
appears.
4.
4.
4.
4.
If necessary, enter the remote manager password (see
5.
5.
5.
5.
Enter new Loop IDs for the library, drive 1, and drive 2, as desired.
6.
6.
6.
6.
Check or uncheck the Require hard loop IDs box.
7.
7.
7.
7.
Click on the Change button. The changes take effect.
Configuring the Network (Ethernet) Interface
For the library’s network interface, you can set up the network addresses,
specify the SNMP trap recipient address, and change the FTP user name and
password. See
for information about network addresses, SNMP, and
FTP settings.
Setting Up the Network Addresses
To set up the library’s network addresses:
1.
1.
1.
1.
Click on Configure at the top of the page.
2.
2.
2.
2.
Click on Configure the interfaces.
3.
3.
3.
3.
Click on Configure the network interface.
4.
4.
4.
4.
Click on Set up the network interface. A page similar to
appears.
Figure 6-5
Remote management utility – Fibre Channel Interface Configuration
page
Содержание 221L
Страница 1: ...1014258 B EXABYTE 221L AND 221L FC LIBRARIES PRODUCT MANUAL...
Страница 8: ...viii PRODUCT MANUAL 1014258 Notes...
Страница 42: ...26 PRODUCT MANUAL 1014258 CHAPTER 2 INSTALLING THE LIBRARY NOTES...
Страница 68: ...52 PRODUCT MANUAL 1014258 CHAPTER 3 CONFIGURING THE LIBRARY NOTES...
Страница 90: ...74 PRODUCT MANUAL 1014258 CHAPTER 4 OPERATING THE LIBRARY NOTES...
Страница 102: ...86 PRODUCT MANUAL 1014258 CHAPTER 5 VIEWING LIBRARY INFORMATION NOTES...
Страница 154: ...138 PRODUCT MANUAL 1014258 CHAPTER 6 USING THE REMOTE MANAGEMENT UTILITY NOTES...
Страница 168: ...152 PRODUCT MANUAL 1014258 CHAPTER 7 MAINTENANCE NOTES...
Страница 198: ...182 PRODUCT MANUAL 1014258 APPENDIX A LIBRARY SPECIFICATIONS NOTES...


