136
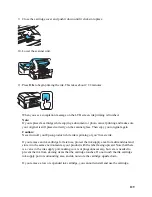
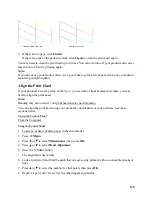
9. When you finish, you see a message indicating alignment is complete.
10. When you’re done, press
Menu
to exit.
From the Computer
1. Load a few sheets of plain paper in the sheet feeder.
2. Do one of the following:
•
Windows
:
Right-click the
product icon in the Windows taskbar and select
Nozzle Check
.
•
Mac OS X 10.6/10.7
: In the Apple menu or the Dock, select
System Preferences
. Select
Print & Scan
or
Print & Fax
, select the
FAX
option for your product, and select
Options
& Supplies
. Select
Utility
and select
Open Printer Utility
.
•
Mac OS X 10.4/10.5
: In the Apple menu or the Dock, select
System Preferences
. Select
Print & Fax
, select the
FAX
option for your product, and select
Open Print Queue
.
Select
Utility
.Follow the on-screen instructions to print an alignment sheet.
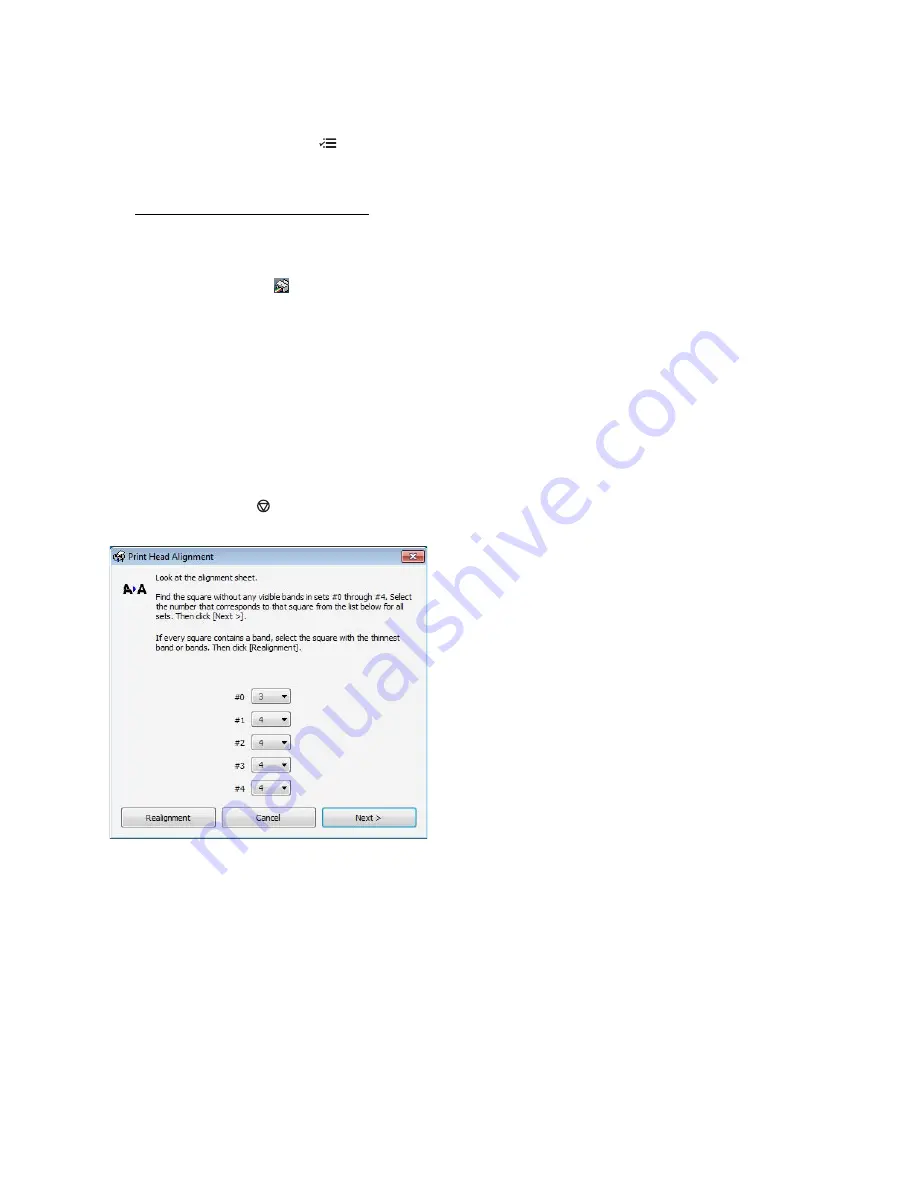
3. Select
Print Head Alignment
.
Note:
Do not press the
Stop/Clear Settings
button to cancel printing of the alignment sheet.
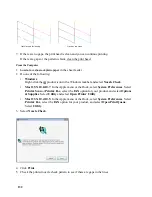
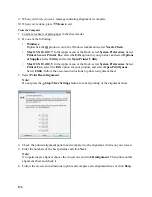
4. Check the printed alignment pattern and compare it to the alignment criteria on your screen.
5. Enter the numbers of the best patterns and click
Next
.
Note:
If no patterns are aligned, choose the closest one and click
Realignment
. Then print another
alignment sheet and check it.
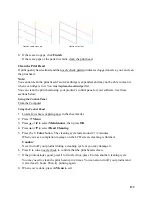
6. Follow the on-screen instructions to print and compare each alignment sheet, or click
Skip
.
Содержание WorkForce 435
Страница 1: ...5 Home Welcome to the Epson WorkForce 435 User s Guide ...
Страница 2: ...6 ...
Страница 12: ...12 ...
Страница 21: ...21 Envelopes Envelope For this paper Select this paper Type or Media Type setting ...
Страница 22: ...22 ...
Страница 26: ...26 ...
Страница 54: ...54 ...
Страница 96: ...96 Normal preview Click the auto locate icon to create a marquee Marquee ...
Страница 105: ...105 Normal preview Click the auto locate icon to create a marquee Marquee ...
Страница 130: ...130 ...
Страница 138: ...138 ...
Страница 174: ...174 ...

