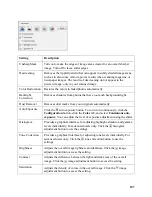
111
Note:
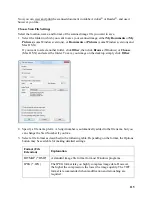
If you started your scan from within a TWAIN-compatible scanning program, your scanned
images open in the program window. Click
Close
to exit Epson Scan.
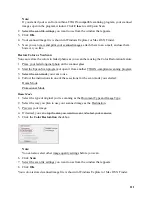
2. Select the scan file settings you want to use from the window that appears.
3. Click
OK
.
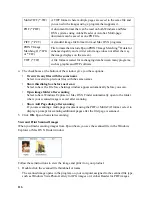
4. Your scanned image file is shown in Windows Explorer or Mac OS X Finder.
5. Now you can view and print your scanned images, attach them to an e-mail, and use them
however you like.
Restore Color as You Scan
You can restore the colors in faded photos as you scan them using the Color Restoration feature.
1. Place your faded original photo on the scanner glass.
2. Start the Epson Scan program or open it from another TWAIN-compliant scanning program.
3. Select the scan mode you want to use.
4. Follow the instructions in one of these sections for the scan mode you selected:
Home Mode
Professional Mode
Home Mode
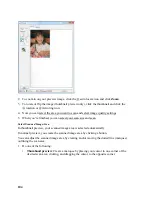
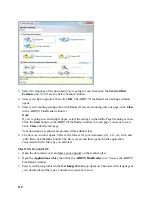
1. Select the type of original you’re scanning as the Document Type and Image Type.
2. Select the way you plan to use your scanned image as the Destination.
3. Preview your image.
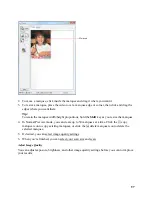
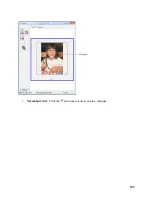
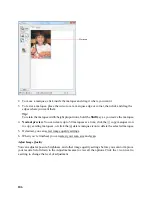
4. If desired, you can crop the area you want to scan and select your scan size.
5. Click the
Color Restoration
checkbox.
Note:
You can also select other image quality settings before you scan.
6. Click
Scan
.
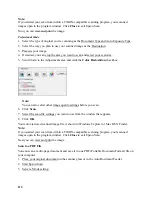
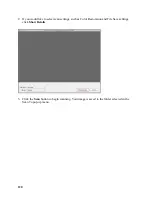
7. Select the scan file settings you want to use from the window that appears.
8. Click
OK
.
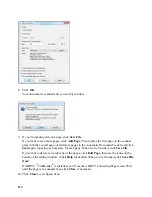
Your color-restored scanned image file is shown in Windows Explorer or Mac OS X Finder.
Содержание WorkForce 435
Страница 1: ...5 Home Welcome to the Epson WorkForce 435 User s Guide ...
Страница 2: ...6 ...
Страница 12: ...12 ...
Страница 21: ...21 Envelopes Envelope For this paper Select this paper Type or Media Type setting ...
Страница 22: ...22 ...
Страница 26: ...26 ...
Страница 54: ...54 ...
Страница 96: ...96 Normal preview Click the auto locate icon to create a marquee Marquee ...
Страница 105: ...105 Normal preview Click the auto locate icon to create a marquee Marquee ...
Страница 130: ...130 ...
Страница 138: ...138 ...
Страница 174: ...174 ...

