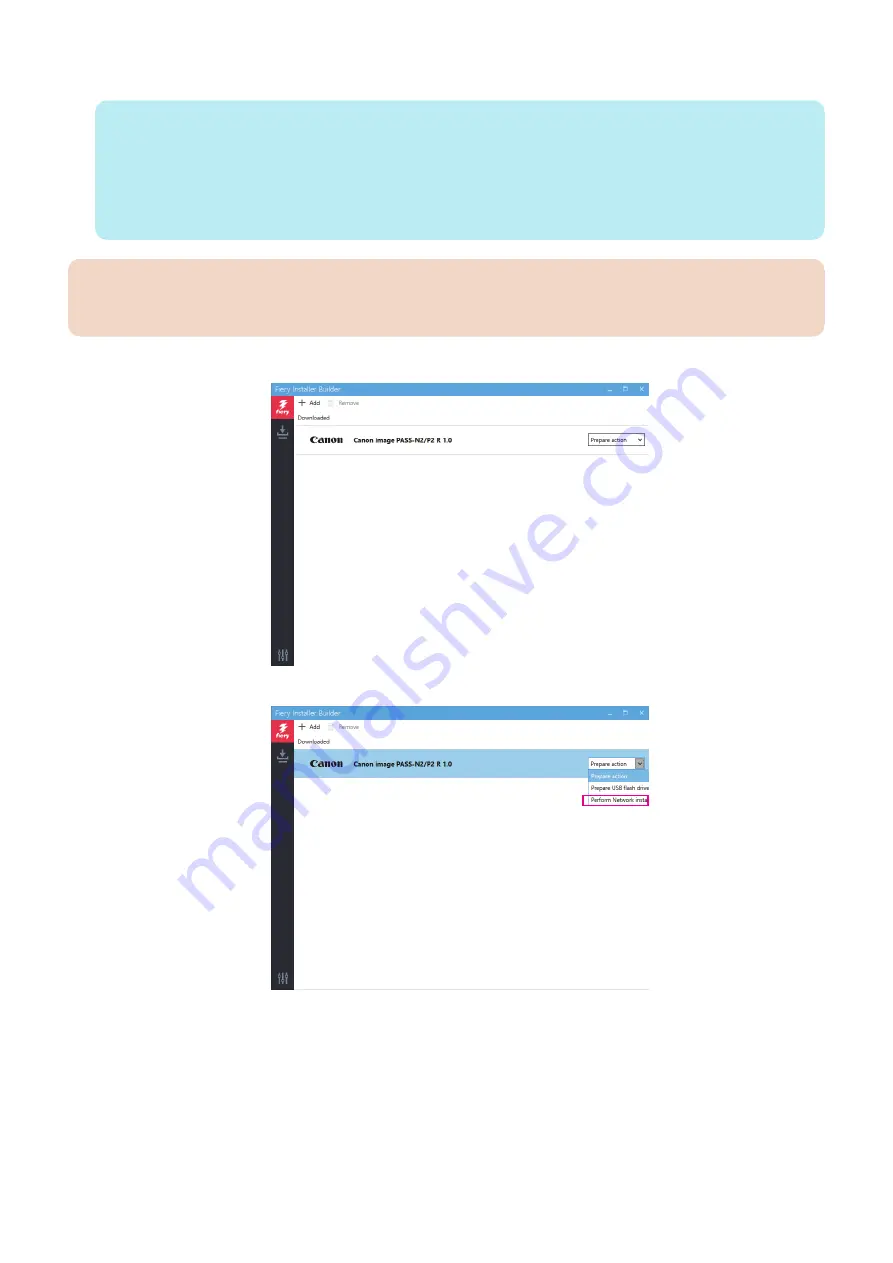
3. Power on the Windows computer and do the following:
NOTE:
• Start the Fiery Installer Builder.
Double-click the Fiery Installer Builder icon on the desktop or you can also click Start > EFI > Fiery Installer Builder.
• Close all the software applications except the Fiery Installer Builder.
• Make sure that the Windows computer is configured to obtain its IP address automatically (DHCP).
• Remove any network cables between the Windows computer and the customer network.
• Disable all power-save and hibernation settings.
IMPORTANT:
It is important that you complete all of the tasks in the preceding list. If you do not complete these tasks, the installation
may fail.
4. At the Downloaded window of the Fiery Installer Builder, select Canon imagePASS-N2/P2 1.0.
5. From the Preparation action list, select Perform Network installation.
4. INSTALLING SYSTEM SOFTWARE
55
Содержание imagePASS-P2
Страница 1: ...Revision 1 1 imagePASS P2 Service Manual ...
Страница 6: ...Introduction 1 Introduction 2 Specifications 6 ...
Страница 13: ...Using the imagePASS 2 Using the imagePASS 9 ...
Страница 16: ...Figure 3b The imagePASS Tools menu 2 Using the imagePASS 11 ...
Страница 17: ...REPLACING PARTS 3 Replacing Parts 13 ...
Страница 44: ...INSTALLING SYSTEM SOFTWARE 4 Installing System Software 40 ...
Страница 64: ...TROUBLESHOOTI NG 5 Troubleshooting 60 ...
Страница 84: ...2 Stepped Screw M4 2x 3 4x Screw with Toothed Washer M4x8 Stepped Screw M4 4 4x 8x 6 INSTALLATION PROCEDURE 79 ...
Страница 87: ...2 2x Stepped Screw M4 3 Screw with Toothed Washer M4x8 Stepped Screw M4 6x 4 4x 8x 6 INSTALLATION PROCEDURE 82 ...
Страница 88: ...5 4x Screw with Toothed Washer M4x8 6 Crossover Ethernet Cable 1x 2x 7 2x 8 2x 6 INSTALLATION PROCEDURE 83 ...


