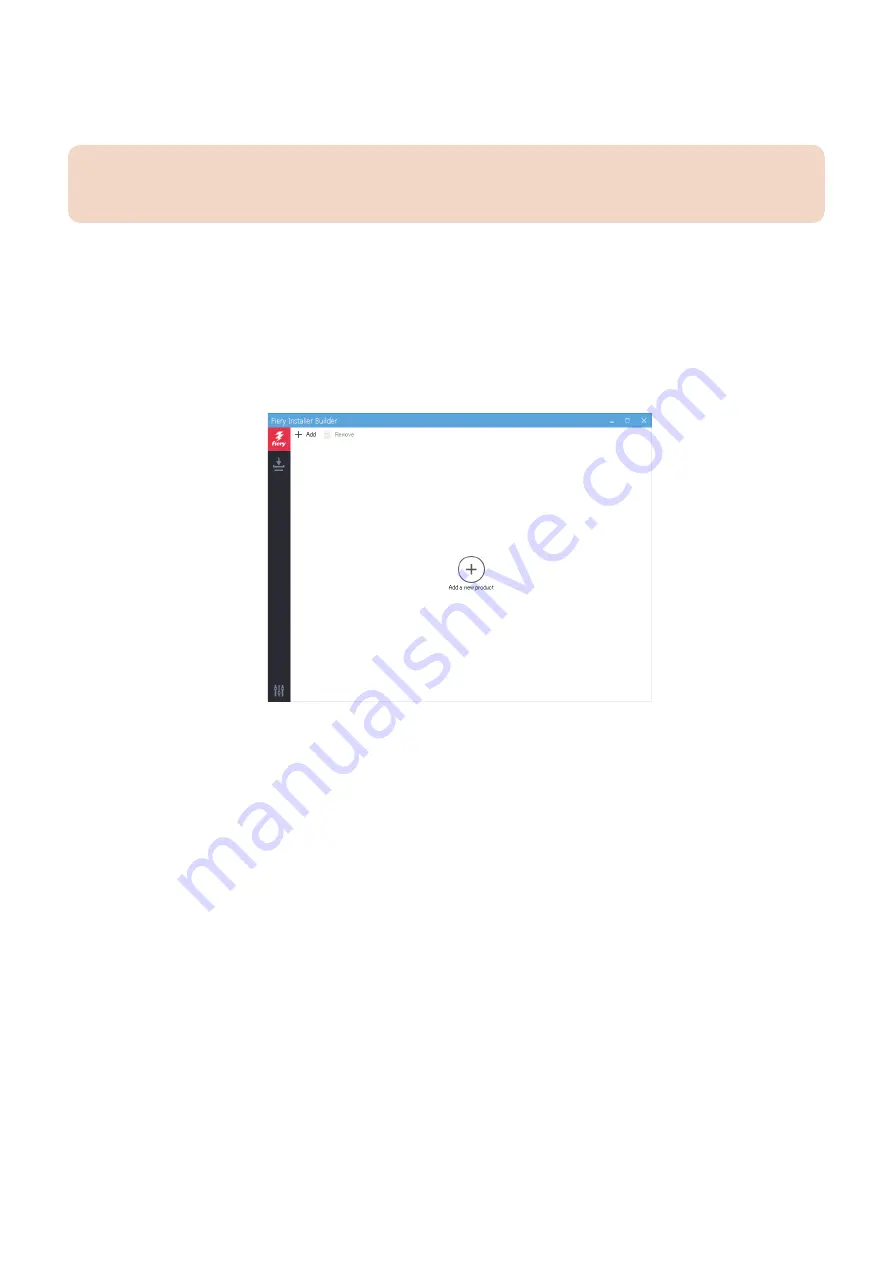
● To download the system software
1. Start the Fiery Installer Builder.
Double-click the Fiery Installer Builder icon on the desktop or you can also click Start > EFI > Fiery Installer Builder.
IMPORTANT:
Do not exit the Fiery Installer Builder before it completes the startup process. Exiting the Fiery Installer Builder at the startup
process may cause a problem.
2. If you are starting the Fiery Installer Builder for the first time, the Select location window appears. Specify the folder that you
want to use to store the system software files.
You can browse or enter a folder location that is located on the local hard disk drive or in the network. The Fiery Installer
Builder keeps this folder location so that you do not have to enter the folder location again next time you start the Fiery
Installer Builder.
You can change the storage location in the Settings window.
3. If you have started the Fiery Installer Builder before, the downloaded product names are listed in the window. The Add a
new product icon appears if there is no product in the storage folder.
If the Add button is displayed at the center of the window, no product is copied to this device yet.
4. Click Add.
4. INSTALLING SYSTEM SOFTWARE
47
Содержание imagePASS-P2
Страница 1: ...Revision 1 1 imagePASS P2 Service Manual ...
Страница 6: ...Introduction 1 Introduction 2 Specifications 6 ...
Страница 13: ...Using the imagePASS 2 Using the imagePASS 9 ...
Страница 16: ...Figure 3b The imagePASS Tools menu 2 Using the imagePASS 11 ...
Страница 17: ...REPLACING PARTS 3 Replacing Parts 13 ...
Страница 44: ...INSTALLING SYSTEM SOFTWARE 4 Installing System Software 40 ...
Страница 64: ...TROUBLESHOOTI NG 5 Troubleshooting 60 ...
Страница 84: ...2 Stepped Screw M4 2x 3 4x Screw with Toothed Washer M4x8 Stepped Screw M4 4 4x 8x 6 INSTALLATION PROCEDURE 79 ...
Страница 87: ...2 2x Stepped Screw M4 3 Screw with Toothed Washer M4x8 Stepped Screw M4 6x 4 4x 8x 6 INSTALLATION PROCEDURE 82 ...
Страница 88: ...5 4x Screw with Toothed Washer M4x8 6 Crossover Ethernet Cable 1x 2x 7 2x 8 2x 6 INSTALLATION PROCEDURE 83 ...


