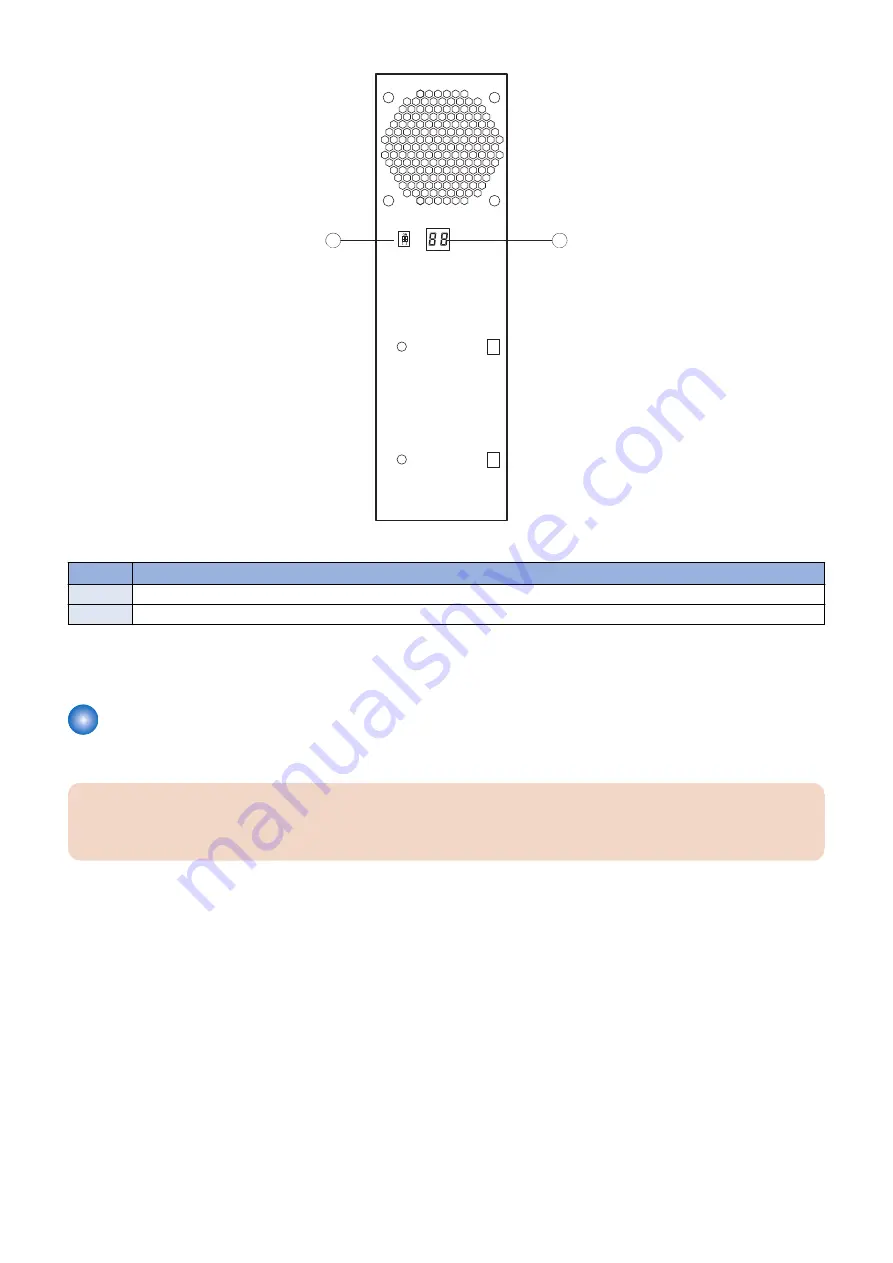
1
2
Figure 6: LED display
No.
Item
1
Service switch
2
LED display
If the LED display hangs on a code other than 00, one or more diagnostic tests may have failed. Look up the diagnostic code in
“If the printer does not print” on page 67
to determine the troubleshooting actions that you should take.
Accessing the imagePASS
Always use the following procedure to disconnect the imagePASS from the printer and open the unit for inspection and service.
IMPORTANT:
Make sure that you attach an ESD grounding wrist strap and follow standard ESD (electrostatic discharge) precautions
before following this procedure. For details, see
“Tools you will need” on page 3
.
■ To access the imagePASS
1. Make sure that the imagePASS is not receiving, processing, or printing any jobs.
2. Make sure that the printer is not in use, and power off the printer using the main power switch on the front.
Wait for the printer and the imagePASS to power off completely.
3. Move the imagePASS power switch to the OFF (O) position.
4. Remove all external cables from the imagePASS connectors.
5. Remove the imagePASS from the printer.
For detailed information about removing/installing the printer, see the installation instructions that accompany the printer (not
included in this service guide).
6. Remove the two screws that secure the cover of the imagePASS to the chassis(see below fugure).
Set aside the screws so that you can replace them later.
7. Raise the cover and slide it toward the connector panel of the chassis to remove it.
Set aside the cover so that you can replace it later.
The imagePASS internal components are now accessible.
3. REPLACING PARTS
16
Содержание imagePASS-P2
Страница 1: ...Revision 1 1 imagePASS P2 Service Manual ...
Страница 6: ...Introduction 1 Introduction 2 Specifications 6 ...
Страница 13: ...Using the imagePASS 2 Using the imagePASS 9 ...
Страница 16: ...Figure 3b The imagePASS Tools menu 2 Using the imagePASS 11 ...
Страница 17: ...REPLACING PARTS 3 Replacing Parts 13 ...
Страница 44: ...INSTALLING SYSTEM SOFTWARE 4 Installing System Software 40 ...
Страница 64: ...TROUBLESHOOTI NG 5 Troubleshooting 60 ...
Страница 84: ...2 Stepped Screw M4 2x 3 4x Screw with Toothed Washer M4x8 Stepped Screw M4 4 4x 8x 6 INSTALLATION PROCEDURE 79 ...
Страница 87: ...2 2x Stepped Screw M4 3 Screw with Toothed Washer M4x8 Stepped Screw M4 6x 4 4x 8x 6 INSTALLATION PROCEDURE 82 ...
Страница 88: ...5 4x Screw with Toothed Washer M4x8 6 Crossover Ethernet Cable 1x 2x 7 2x 8 2x 6 INSTALLATION PROCEDURE 83 ...


