Point User Guide
401
Custom forms
3
Enter a name for the form and click
OK
.
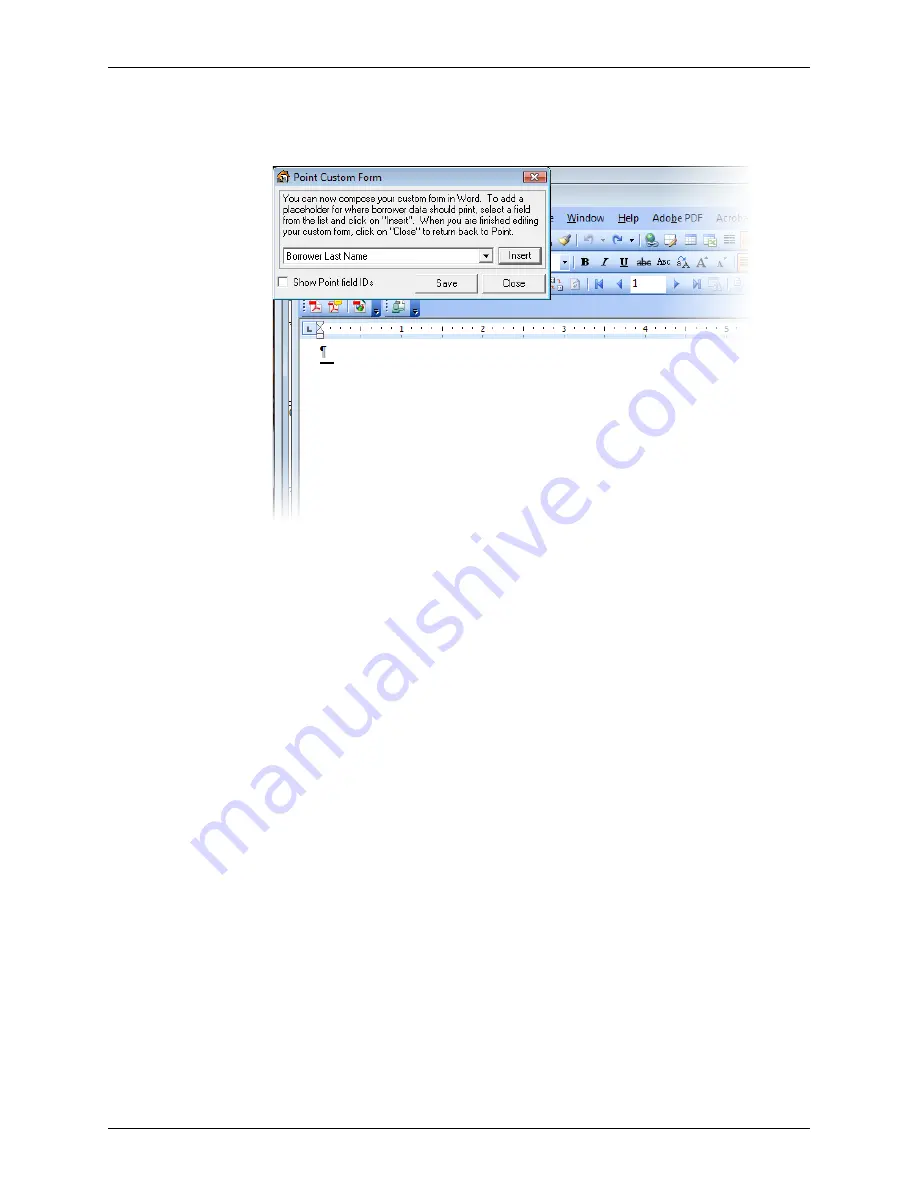
A blank Microsoft Word document and the
Point Custom Form
dialog box are
displayed.
4
Construct your form by selecting values from the
Select Point Field
dropdown list and
clicking
Insert
. Enter punctuation and spaces as needed.
If the field you need is not included the dropdown list, select
Other Point Fields Not
Listed Above…
, click
Insert
, enter the field ID, click
Insert
, and click
OK
.
For example, to create a letter to send to a borrower at their current address:
a
Select
Borrower First Name
, click
Insert
, and type a <space>.
b
Select
Borrower Last Name
, click
Insert
, and <Enter>.
c
Select
Present Address
, click
Insert
, and <Enter>.
d
Select
Present Address City
, click
Insert
, and type a comma <,> and a <space>.
e
Select
Present Address State
, click
Insert
, and type a <space>.
f
Select
Present Address Zip Code
and click
Insert
.


