AWS Storage Gateway User Guide
Using Your Tape Gateway
2. Open the context (right-click) menu for the media changer in the
Library
section, and then choose
Add tape (I/E port)
to add a tape to the
Slots
list.
Note
The process of adding tapes can take several minutes to complete.
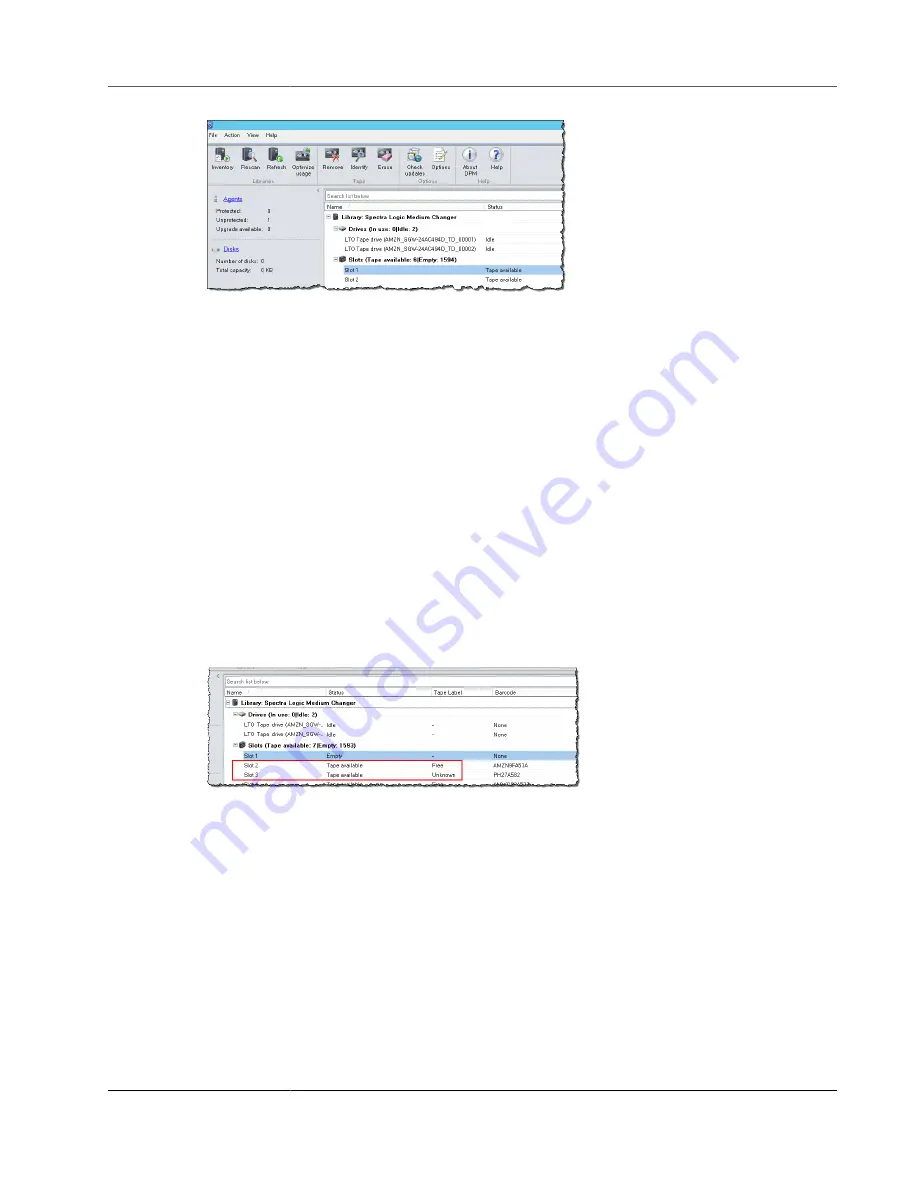
The tape label appears as
Unknown
, and the tape is not usable. For the tape to be usable, you must
identify it.
3. Open the context (right-click) menu for the tape you want to identify, and then choose
Identify
unknown tape
.
Note
The process of identifying tapes can take a few seconds or a few minutes.
If the tapes don’t display barcodes correctly, you need to change the media changer driver
to Sun/StorageTek Library. For more information, see
Displaying Barcodes for Tapes in
Microsoft System Center DPM (p. 360)
When identification is complete, the tape label changes to
Free
. That is, the tape is free for data to
be written to it.
In the following screenshot, the tape in slot 2 has been identified and is free to use but the tape in
slot 3 is not.
Writing Data to a Tape in DPM
You write data to a tape gateway virtual tape by using the same protection procedures and policies you
do with physical tapes. You create a protection group and add the data you want to back up, and then
back up the data by creating a recovery point. For detailed information about how to use DPM, see the
on the Microsoft System Center website.
By default, the capacity of a tape is 30GB. When you backup data that is larger than a tape's capacity,
a device I/O error occurs. If the position where the error occurred is larger than the size of the tape,
Microsoft DPM treats the error as an indication of end of tape. If the position where the error occurred
is less than the size of the tape, the backup job fails. To resolve the issue, change the
TapeSize
value
in the registry entry to match the size of your tape. For information about how to do this, see
at the Microsoft System Center.
API Version 2013-06-30
106


