

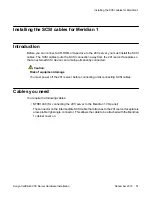


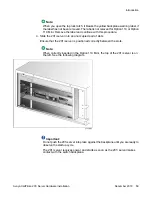


Note:
Alternate SCSI device connection scenarios are supported, but are not depicted in this
guide. If you want to use a connection scenario that is not described in this guide, ensure
that you use appropriate cabling for each device.
Before you begin
Before you install the SCSI devices in a daisy chain, you must configure the SCSI device IDs
and DIP switches. For instructions, see
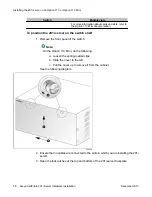
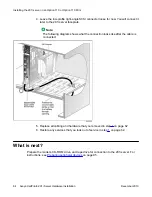
To install the cable
1.
Caution:
Risk of equipment damage
You must power off the 201i server before connecting or disconnecting SCSI
cables.
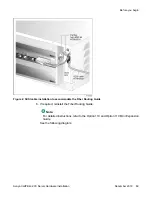
Attach the bracket assembly and cable as follows:
a. Below the card cage, temporarily remove the hardware that secures
cable connections to the Option 11C.
b. Temporarily remove any cabling that may interfere with the installation
of the intermediate SCSI cable bracket assembly.
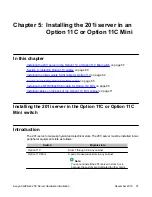
Installing the 201i server in an Option 11C or Option 11C Mini
62 Avaya CallPilot
®
201i Server Hardware Installation
December 2010
Содержание CallPilot 201i
Страница 1: ...Avaya CallPilot 201i Server Hardware Installation 5 0 NN44200 301 01 03 December 2010 ...
Страница 8: ...8 Avaya CallPilot 201i Server Hardware Installation December 2010 ...
Страница 28: ...About the 201i server 28 Avaya CallPilot 201i Server Hardware Installation December 2010 ...
Страница 106: ...Preparing peripheral devices 106 Avaya CallPilot 201i Server Hardware Installation December 2010 ...
Страница 128: ...Connecting peripheral devices to the 201i server 128 Avaya CallPilot 201i Server Hardware Installation December 2010 ...