


What is next?
Continue with
on page 126.
Completing the installation
Introduction
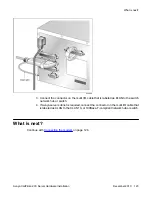
To complete the installation of the 201i server, lock the 201i into position. The server starts up
automatically.
Important:
When connecting the optional Avaya server subnet, do not power up unless your antivirus
programs and Avaya security updates are installed first.
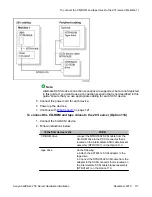
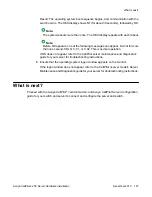
To complete the installation and start the 201i server
Note:
Ensure that the switch in which the 201i is installed is powered on.
1. Ensure that all peripheral devices are powered up (including the 201i shelf).
2. Push the 201i server gently but firmly until it is flush with the backplane.
Result: The 201i server beeps for three seconds to indicate that power is being
received.
3. Close the lock latches to secure the 201i server to the backplane.
4. Ensure that the power status LED is lit.
5. Watch the HEX display on the 201i server.
The HEX display shows T:01 through T:08, and then HOST. This takes about 13
seconds.
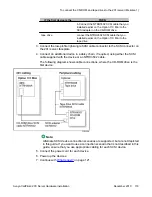
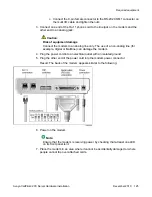
Connecting peripheral devices to the 201i server
126 Avaya CallPilot
®
201i Server Hardware Installation
December 2010
Содержание CallPilot 201i
Страница 1: ...Avaya CallPilot 201i Server Hardware Installation 5 0 NN44200 301 01 03 December 2010 ...
Страница 8: ...8 Avaya CallPilot 201i Server Hardware Installation December 2010 ...
Страница 28: ...About the 201i server 28 Avaya CallPilot 201i Server Hardware Installation December 2010 ...
Страница 106: ...Preparing peripheral devices 106 Avaya CallPilot 201i Server Hardware Installation December 2010 ...
Страница 128: ...Connecting peripheral devices to the 201i server 128 Avaya CallPilot 201i Server Hardware Installation December 2010 ...