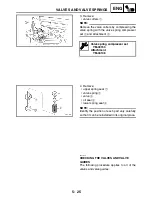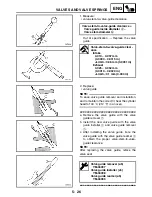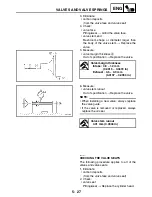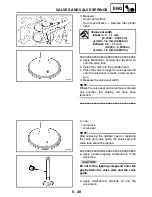
5 - 13
ENG
CAMSHAFTS
▼▼▼
▼
▼ ▼▼▼
▼
▼ ▼▼▼
▼
▼ ▼▼▼
▼
▼ ▼▼▼
▼
▼ ▼▼▼
▼
▼▼▼
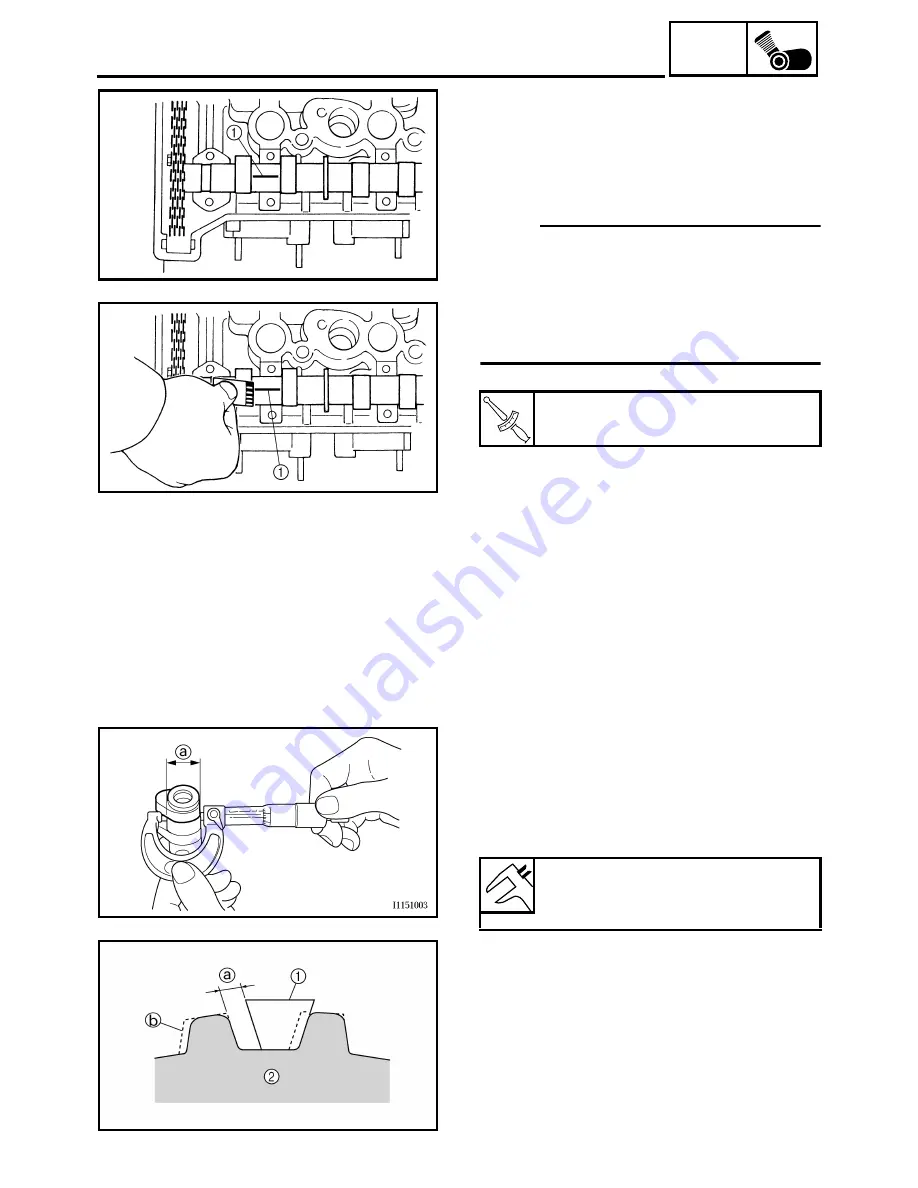
a. Install the camshaft into the cylinder head
(without the dowel pins and camshaft caps).
b. Position a strip of Plastigauge
®
1
onto the
camshaft journal as shown.
c. Install the dowel pins and camshaft caps.
NOTE:
@
• Tighten the camshaft cap bolts in stages and
in a crisscross pattern, working from the
inner caps out.
• Do not turn the camshaft when measuring
the camshaft journal-to-camshaft cap clear-
ance with the Plastigauge
®
.
d. Remove the camshaft caps and then mea-
sure the width of the Plastigauge
®
1
.
▲▲▲
▲
▲ ▲▲▲
▲
▲ ▲▲▲
▲
▲ ▲▲▲
▲
▲ ▲▲▲
▲
▲ ▲▲▲
▲
▲▲▲
T
R
.
.
Camshaft cap bolt
10 Nm (1.0 m · kg, 7.2 ft · lb)
5. Measure:
• camshaft journal diameter
a
Out of specification
→
Replace the cam-
shaft.
Within specification
→
Replace the cylinder
head and the camshaft caps as a set.
Camshaft journal diameter
24.459 ~ 24.472 mm
(0.9630 ~ 0.9635 in)
CHECKING THE CAMSHAFT SPROCKETS
1. Check:
• camshaft sprocket
Wear/damage
→
Replace the camshaft
sprockets and timing chain as a set.
a
1/4 of
a
tooth
b
Correct
1
Timing chain
2
Camshaft sprocket
Summary of Contents for FJR1300
Page 1: ...LIT 11616 16 18 5JW 28197 10 FJR1300R FJR1300RC SERVICE MANUAL ...
Page 6: ......
Page 82: ...2 22 SPEC TIGHTENING TORQUES Cylinder head tightening sequence Crankcase tightening sequence ...
Page 89: ...2 29 SPEC 1 Crankshaft 2 Main axle 3 Drive axle OIL FLOW DIAGRAMS ...
Page 90: ...2 30 SPEC 1 Oil nozzle 2 Main gallery bolt 3 Crankshaft OIL FLOW DIAGRAMS ...
Page 91: ...2 31 SPEC 1 Main axle 2 Drive axle 3 Oil delivery pipe OIL FLOW DIAGRAMS ...
Page 92: ...2 32 SPEC 1 Exhaust camshaft 2 Oil check bolt 3 Intake camshaft OIL FLOW DIAGRAMS ...
Page 94: ...2 34 SPEC 1 Crank pin 2 Crankshaft OIL FLOW DIAGRAMS ...
Page 97: ...2 37 SPEC 1 Main axle 2 Drive axle 3 Middle drive shaft OIL FLOW DIAGRAMS ...
Page 98: ...2 38 SPEC COOLING SYSTEM DIAGRAMS 1 Radiator COOLING SYSTEM DIAGRAMS ...
Page 99: ...2 39 SPEC 1 Water jacket joint 2 Oil cooler COOLING SYSTEM DIAGRAMS ...
Page 101: ...2 41 SPEC 1 Coolant reservoir 2 Radiator 3 Water pump COOLING SYSTEM DIAGRAMS ...
Page 107: ...2 47 SPEC CABLE ROUTING 1 Tail brake light lead ...
Page 196: ...3 80 CHK ADJ ADJUSTING THE HEADLIGHT BEAMS ...
Page 288: ...4 92 CHAS 3 Install bearing 1 to the swingarm Installed depth a 4 0 mm 0 16 in SWINGARM ...
Page 531: ...8 35 ELEC LIGHTING SYSTEM ...
Page 570: ......
Page 571: ...YAMAHA MOTOR CO LTD 2500 SHINGAI IWATA SHIZUOKA JAPAN PRINTED IN U S A ...


