


16
2.1
Connecting Cable (Parallel/
Serial Interface)
2.1.1
Connecting interface cable
Connect the printer and host device by using parallel interface, serial interface and
Ethernet interface.
CAUTION
When connecting the interface cable, switch off the power supply to prevent possible
electric shock.
The printer can be connected to the parallel interface, serial interface and Ethernet
interface at the same time. Also, print data from all the connected interfaces can be
received.
For the Ethernet interface, an optional interface card is required. See "2.2 Using the
Ethernet Interface" when you want to use the Ethernet interface.
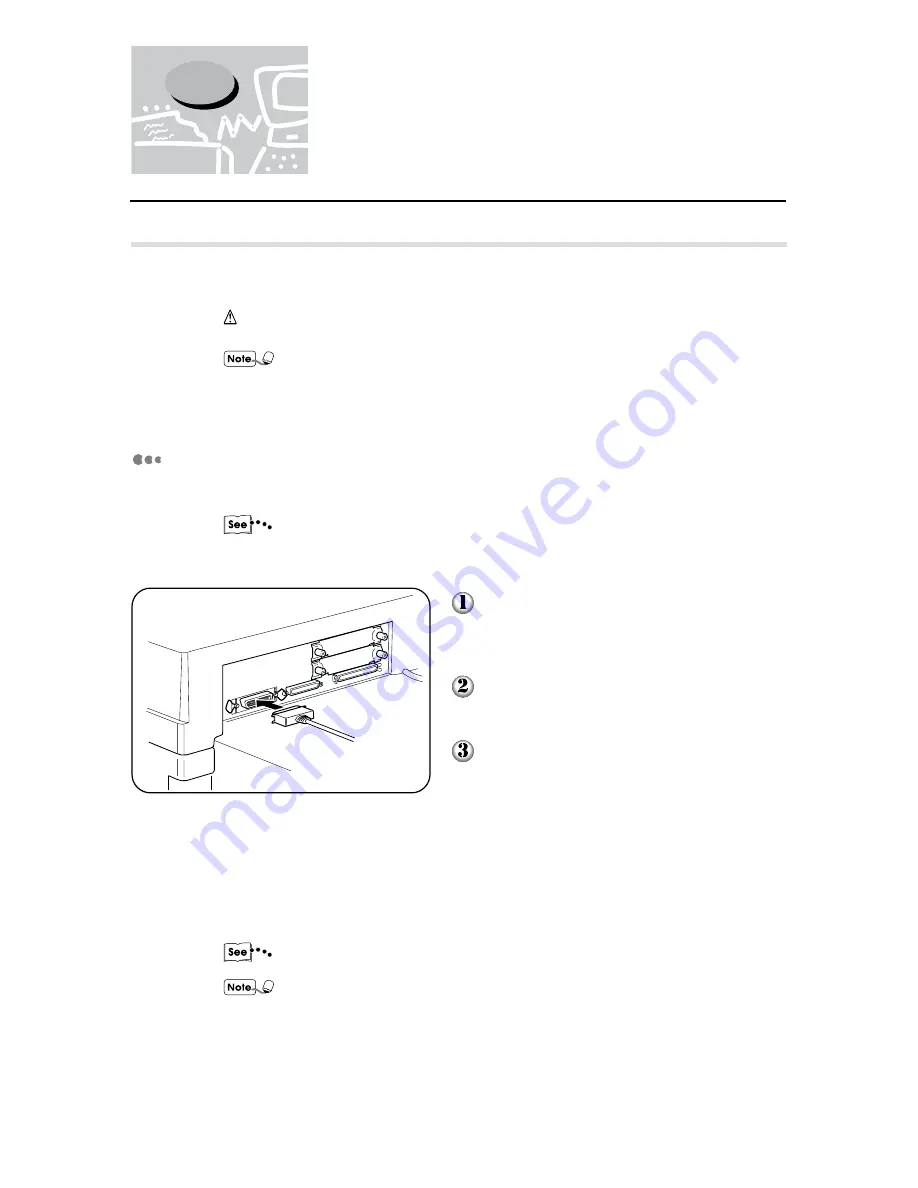
Parallel interface connection
The procedure for connection by parallel interface is explained here.
When connecting to a host device using parallel interface, the optional parallel
interface cable provided by our company is needed. For details, consult the Xerox
Customer Support Centre.
Insert the interface cable connector to the
parallel interface connector and secure it
by the wire clips on both sides.
Connect the other end of the interface
cable connector to the host device.
Switch on the printer.
If necessary, set the following items by the printer control panel:
• PDL Mode
(Default: PCL 6*)
• PJL Switch
(Default: ON)
• Auto Eject Time
(Default: 30 sec)
• Bidirectional
(Default: ON)
"Chapter 5 Mode Menu/Common Menu" for details on the individual item and the
setting method.
• For normal usage, there is no need to change the default settings of all the items
except Bi-directional.
For Bi-directional, you may need to make changes according to the OS of each
host device. For details, refer to "Chapter 4 Installing/Configuring the Printer
Drivers".
• * If the optional PostScript software kit is installed, factory setting will be Auto.
Summary of Contents for Document Centre 400 series
Page 26: ...This page is intentionally left blank...
Page 116: ...This page is intentionally left blank...
Page 117: ...Precautions and Limitations 6 1 Precautions and Limitations 106...
Page 120: ...This page is intentionally left blank...
Page 147: ...135 Appendix Appendix C Print Utility...
Page 149: ...137 Appendix Appendix C Print Utility...
Page 151: ...139 Appendix Appendix C Print Utility...
Page 154: ...142 Appendix C Print Utility...
Page 156: ...144 Appendix C Print Utility...
Page 158: ...146 Appendix C Print Utility...
Page 159: ...147 Appendix Appendix C Print Utility...
Page 161: ...149 Appendix Appendix C Print Utility...
Page 162: ...150 Appendix C Print Utility...


