5-8 – XANTÉ Utilities: Macinstosh and PC
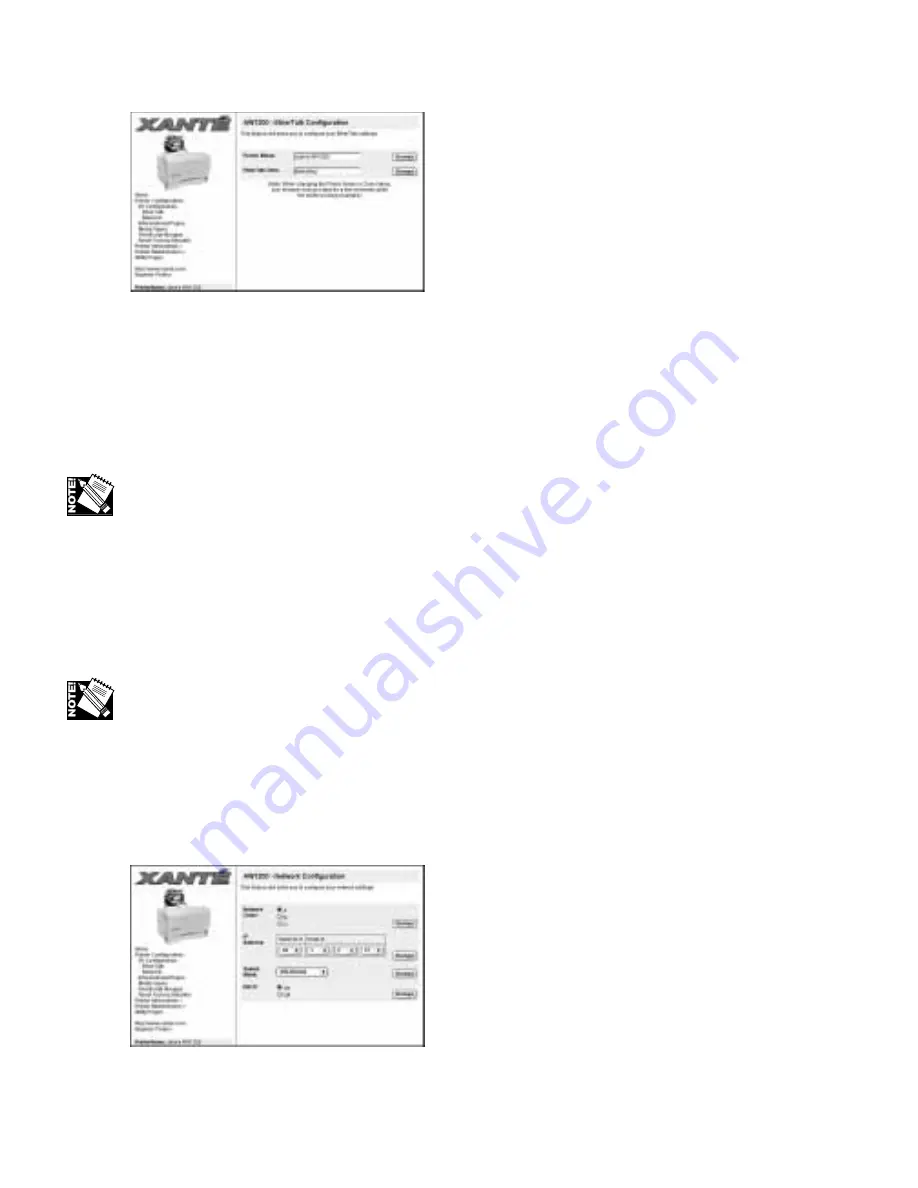
Fig. 5.9 EtherTalk Configuration Window
3.
Enter the desired name for the printer (fig. 5.9); for example, you might name
the printer Sales AW1200. Then, click Change to the right.
4.
Enter the new name for the EtherTalk Zone Name. Then, click Change to the
right.
EtherTalk zone names are limited to 32 characters, are not case sensitive, and cannot
include the = (equal),
≅
(approximately equal), * (asterisk), : (colon), or @ (at)
characters.
5.
Close your browser.
Network Settings
Network settings include the class, IP address, mask, and DHCP options.
Your printer’s default TCP/IP address should be changed to agree with your network’s
TCP/IP addresses. Check with your System Supervisor for the correct TCP/IP address.
1.
Go to the printer home page (fig. 5.7). See “Printer Home Page” earlier in this
chapter for details.
2.
Select Printer Configuration: Network (fig. 5.8). The Network Configuration
window appears (fig. 5.10).
Fig. 5.10 Network Configuration Window
Summary of Contents for AW 1200
Page 5: ...3 2 PC Installing Utilities and Drivers...
Page 33: ...3 30 PC Installing Utilities and Drivers...
Page 34: ...2 2 Macintosh Installing Utilities and Drivers...
Page 55: ...1 2 Introduction and Installation...
Page 62: ...8 2 Troubleshooting...
Page 85: ...7 2 Maintenance Specifications and Warranty...
Page 94: ...6 2 Printing on Various Media and Options...
Page 118: ...6 26 Printing on Various Media and Options...
Page 141: ...5 24 XANT Utilities Macinstosh and PC...
Page 142: ...4 2 TCP IP Configuration...


