88
Chapter 8
Videonics MX-Pro User Guide
S
INGLE
PIP
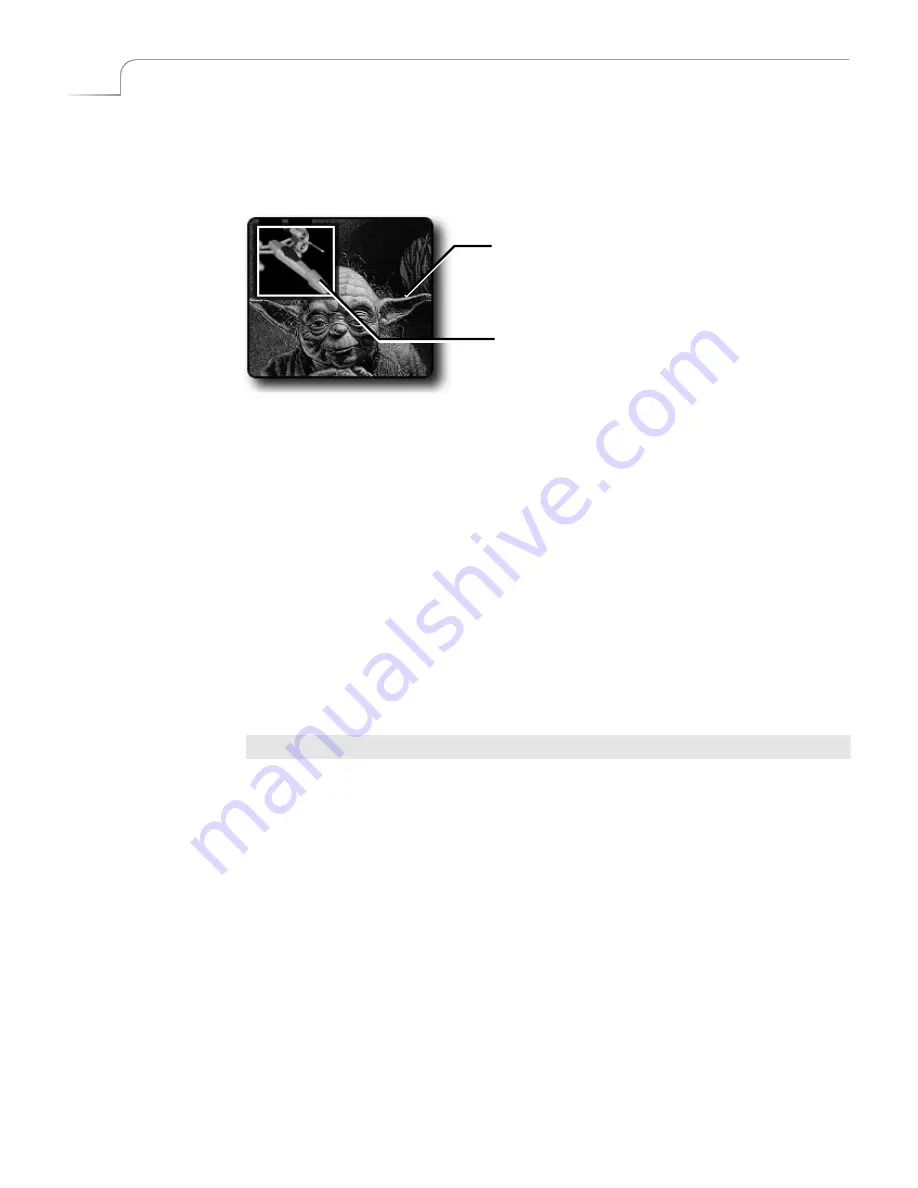
In a Single PIP configuration, one tile fills the background while another tile and its
mask
float
atop the background. The CURRENT source always serves as the back-
ground tile; the NEXT source always serves as the PIP image.
Background Tile
The background tile always fills the entire screen. You can apply Input Effects (Strobe,
Freeze, and so forth) to the background tile, or make the tile a solid color. You cannot
otherwise change the background tile in any way.
Foreground Tile
You can manipulate the foreground tile and mask in different ways, such as:
•
Position the tile anywhere on screen.
•
Change the size and shape of the tile and its mask.
•
Create a border around the tile.
•
Reposition, resize, and otherwise change the mask without changing its corre-
sponding tile.
Procedure
To create and apply a Single PIP:
1
Assume the background image originates on input source A. Press
CUT/A
to
make source A the CURRENT source. It serves as the background tile.
If you want, instead, to make the background a solid color, press
CUT/COLOR
.
See “Using Color Backgrounds” on page 43
to learn how to select colors.
2
Press
PLAY
to display the PIP on the Output.
3
Assume the image of the Star Fighter originates on input C. Press
NEXT/C
to
make source C the NEXT source. It serves as the foreground tile.
4
Press
PIPs
to enter PIP mode. The Preview screen shows the background video
with the foreground video inset in a small tile.
5
Press
NEXT/A
,
NEXT/B
,
NEXT/C
,
NEXT/D
, or
NEXT/COLOR
to change the
image in the PIP window.
6
Press
PLAY
again to remove the PIP from the output.
7
To exit PIP mode, press
PIPs
.
Background Tile
Foreground Tile and Mask
…from NEXT Source
…from CURRENT Source
Summary of Contents for MXPro
Page 1: ...MXPro User Guide...
Page 4: ...Notes...
Page 56: ...Notes...
Page 70: ...Notes...
Page 78: ...Notes...
Page 114: ...Notes...
Page 138: ...Notes...
Page 152: ...Notes...
Page 158: ...Notes...
Page 164: ...Notes...
Page 170: ...Notes...


