


Page
78
of
244
2.5.2.
Bead Phantom Image Acquisition
Please check:
Geometry Related File path:
C:\VCaptureSW\Acquisition\CBCT\WidePANO\REC
Geometry Related Files
: reconstruction.vxm,
reconstruction_Bead.vxm, reconstruction_GEO.vxm
Follow the steps below to acquire an image with a bead phantom:
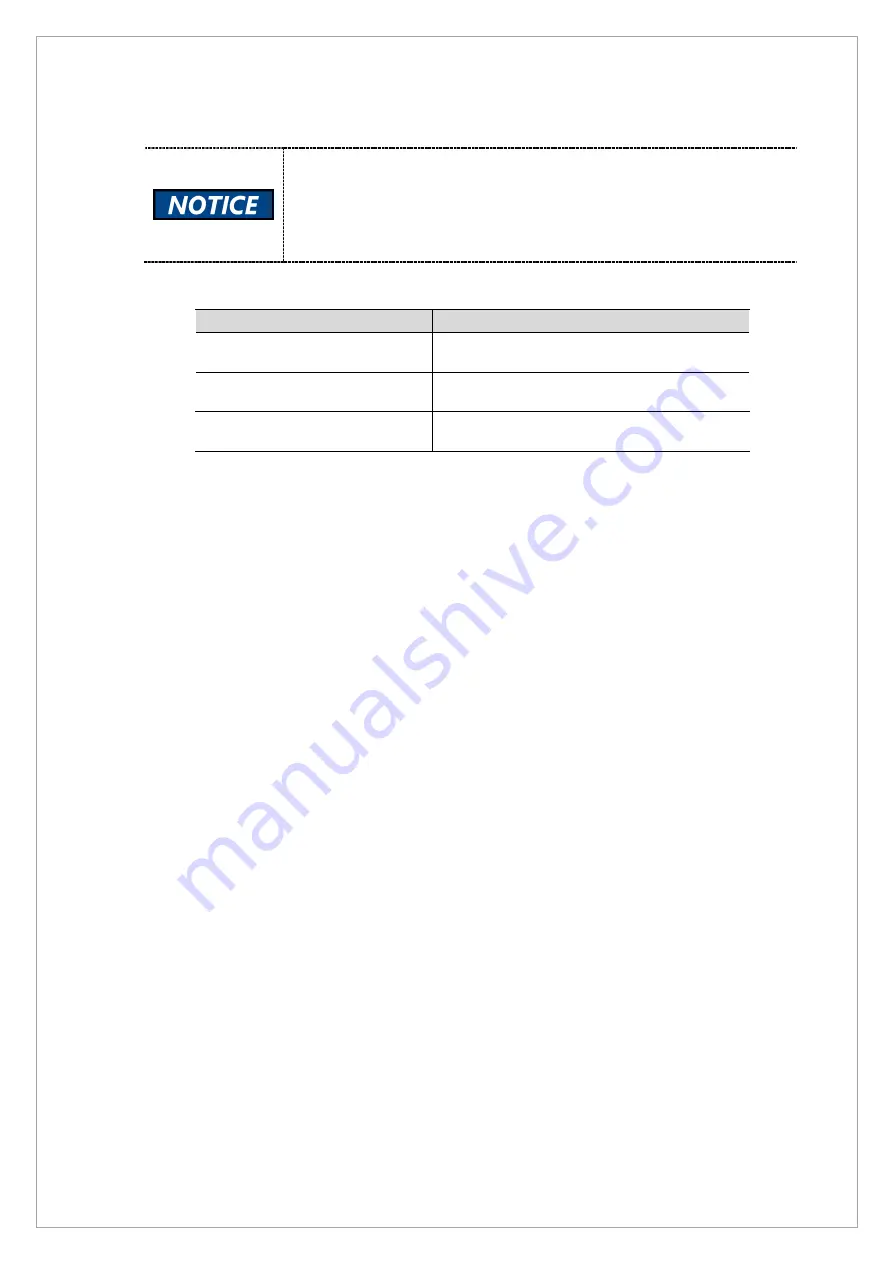
Filename
Function
Reconstruction.vxm
Parameter file used when reconstructing
objects
Reconstruction_Bead.vxm
Parameter file used for bead phantom
reconstruction
Reconstruction_GEO.vxm
Parameter file used when generating
geometry cal data
1. Place the bead phantom in a way that the side with longer empty spaces comes to the
buttom. The phantom consists of total 4 rows and 28 columns.
2. Angle.bin, RCP.bin, Uoffset.bin, and Voffset.bin files should always be present when setting
geometry.
3. If the incorrect file was created inside Angle.bin, RCP.bin, Uoffset.bin, and Voffset.bin, delet
all fthe file. If all files are correct, copy the create files from the
base para folder
and paste
them into the
para folder
.
4. Place the bead phamtom according to the instructions. Go to
2.5.2.1
if you are using a new
phatom or
2.5.2.2
if you are using an old phantom.
Summary of Contents for A9 PHT-30CSS
Page 1: ...vatech A9 Technical manual Model PHT 30CSS Version 1 01 English...
Page 12: ...Page 11 of 244 1 2 1 Vertical Frame Part...
Page 22: ...Page 21 of 244 1 2 3 5 Generator DG 07E22T2...
Page 26: ...Page 25 of 244...
Page 27: ...Page 26 of 244...
Page 30: ...Page 29 of 244 1 3 3 Sensor Part Connection Diagram...
Page 31: ...Page 30 of 244 1 3 4 CEPH SENSOR Part Connection Diagram...
Page 32: ...Page 31 of 244 1 3 5 Connection Diagram Total assembly...
Page 43: ...Page 42 of 244 16 Loosen ten bolts as shown in the image below...
Page 112: ...Page 111 of 244 5 Click the V Vol button Click the Ready button...
Page 180: ...Page 179 of 244 10 Select 50 in the M box and click the center of the flat washer...
Page 209: ...Page 208 of 244 8 5 Appendix 8 5 1 Main MCU Board Parameters...
Page 244: ...vatech A9 www vatech com...


