


201
Configuring Routing
EdgeSwitch
™
Administration Guide
Ubiquiti Networks, Inc.
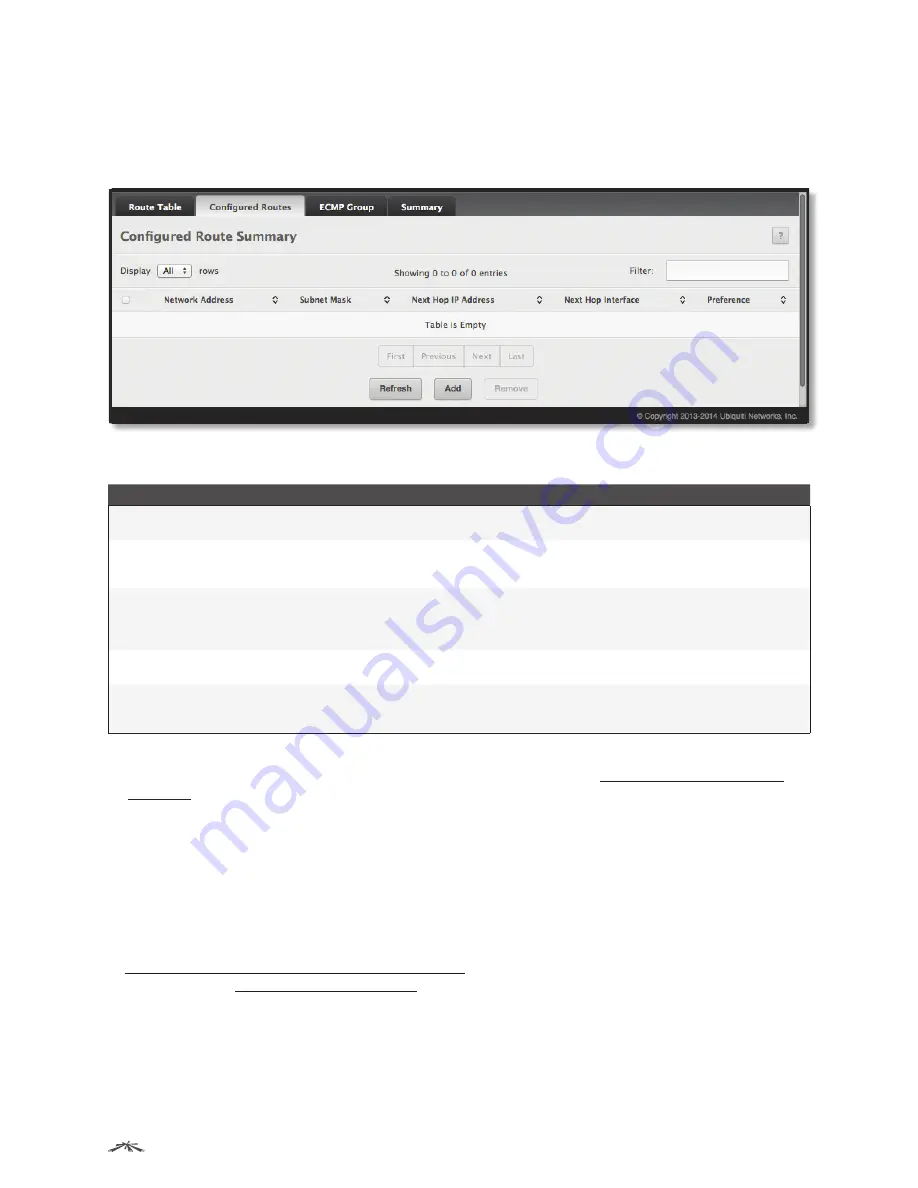
Configured Routes
Use the
Configured Route Summary
page to create and display static routes.
To display the page, click
Routing
>
Router
>
Configured Routes
in the navigation menu.
Configured Route Summary
Configured Route Summary Fields
Field
Description
Network Address
The IP route prefix for the destination network. This IP address must contain only the network portion
of the address and not the host bits. When adding a default route, this field is not available.
Subnet Mask
The IP subnet mask (also known as the network mask or netmask) associated with the network
address. The subnet mask defines which portion of an IP address belongs to the network prefix, and
which portion belongs to the host identifier. When adding a default route, this field is not available.
Next Hop IP Address
The outgoing router IP address to use when forwarding traffic to the next router (if any) in the path
towards the destination. The next router is always one of the adjacent neighbors or the IP address of
the local interface for a directly-attached network. When adding a static reject route, this field is not
available because the packets are dropped rather than forwarded.
Next Hop Interface
The outgoing interface to use when forwarding traffic to the destination. For a static reject route, the
next hop is Null.
Preference
The preference of the route. A lower preference value indicates a more preferred route. When the
routing table has more than one route to the same network, the device selects the route with the best
(lowest) route preference.
Use the buttons to perform the following tasks:
• To configure a route, click
Add
and configure the settings as described in
“Adding a Static Route” on
page 201
. Then, click
Submit
to apply the changes.
• To remove a configured route, select each entry to delete and click
Remove
. You must confirm the action
before the entry is deleted.
• Click
Refresh
to refresh the page with the most current data from the switch.
To retain the changes across the switch’s next power cycle, click
System
>
Configuration Storage
>
Save
.
Adding a Static Route
In order to create a route, a valid routing interface must exist and the next hop IP Address must be on the
same network as the routing interface. To create a route, use the
Routing IP Interface Configuration
page (refer
to
“Routing IP Interface Configuration” on page 195)
. To see valid next hop IP addresses, use the
Route
Table
page (refer to
“Route Table” on page 200
).
Follow these steps to add a static route from the
Configured Routes
page:
1. Click
Add
.
The
Add Route
dialog box appears.


