114
Configuring System Information
EdgeSwitch
™
Administration Guide
Ubiquiti Networks, Inc.
DNS IP Mapping Configuration
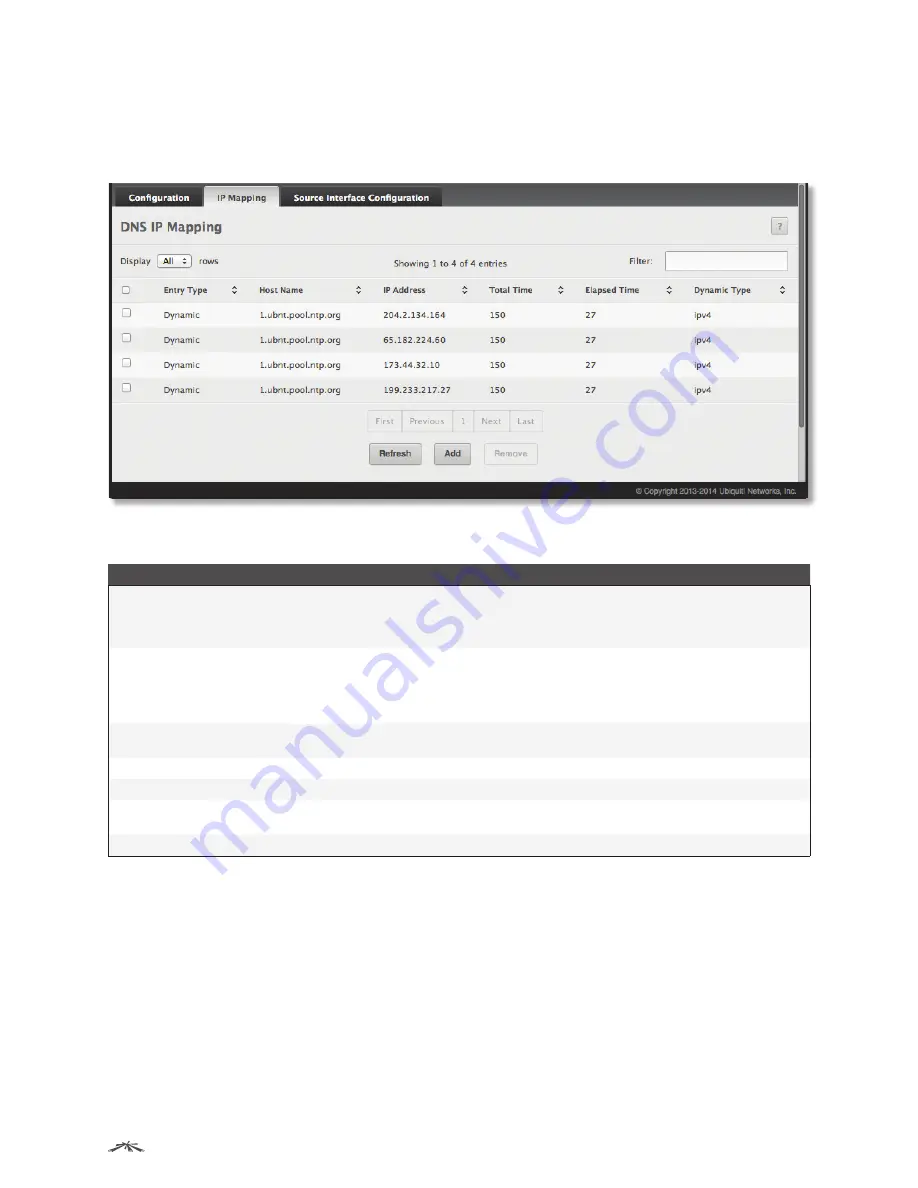
Use the
DNS IP Mapping
page to view and manage the Static and Dynamic entries in the DNS IP mapping
table. To access this page, click
System
>
Advanced Configuration
>
DNS
>
IP Mapping
in the menu.
DNS IP Mapping
DNS IP Mapping Fields
Field
Description
Entry Type
Type of DNS entry:
•
Static
An entry that has been manually configured on the device.
•
Dynamic
An entry that the device has learned by using a configured DNS server to resolve a
hostname.
Host Name
The name that identifies the system. For
Static
entries, specify the
Host Name
after you click
Add
. A
host name can contain up to 255 characters if it contains multiple levels in the domain hierarchy,
but each level (the portion preceding a period) can contain a maximum of 63 characters. If the host
name you specify is a single level (does not contain any periods), the maximum number of allowed
characters is 63.
IP Address
The IPv4 or IPv6 address associated with the configured
Host Name
. For
Static
entries, specify the
IP
Address
after you click
Add
. You can specify either an IPv4 or an IPv6 address.
Dynamic Entry fields
– The following fields include values for Dynamic entries only. For Static entries, these fields are blank.
Total Time
The number of seconds that the entry will remain in the table.
Elapsed Time
The number of seconds that have passed since the entry was added to the table. When the
Elapsed
Time
reaches the
Total Time
, the entry times out and is removed from the table.
Dynamic Type
The type of address in the entry; for example IP, or X.121 (less common).
Use the buttons to perform the following tasks:
• To statically map an IP address to a hostname, click
Add
, configure the
Host Name
and
IP Address
fields in
the
Add DNS Entry
dialog box, and then click
Submit
to apply the changes.
• To delete one or more entries, select each entry to delete, click
Remove
, and confirm the deletion.
• Click
Refresh
to refresh the page with the most current data from the switch.
To retain the changes across the switch’s next power cycle, click
System
>
Configuration Storage
>
Save
.


