109
Configuring System Information
EdgeSwitch
™
Administration Guide
Ubiquiti Networks, Inc.
Use the buttons to perform the following tasks:
• Click
Clear Server Statistics
to reset all DHCP server statistics counters to zero.
• Click
Refresh
to update the information on the screen.
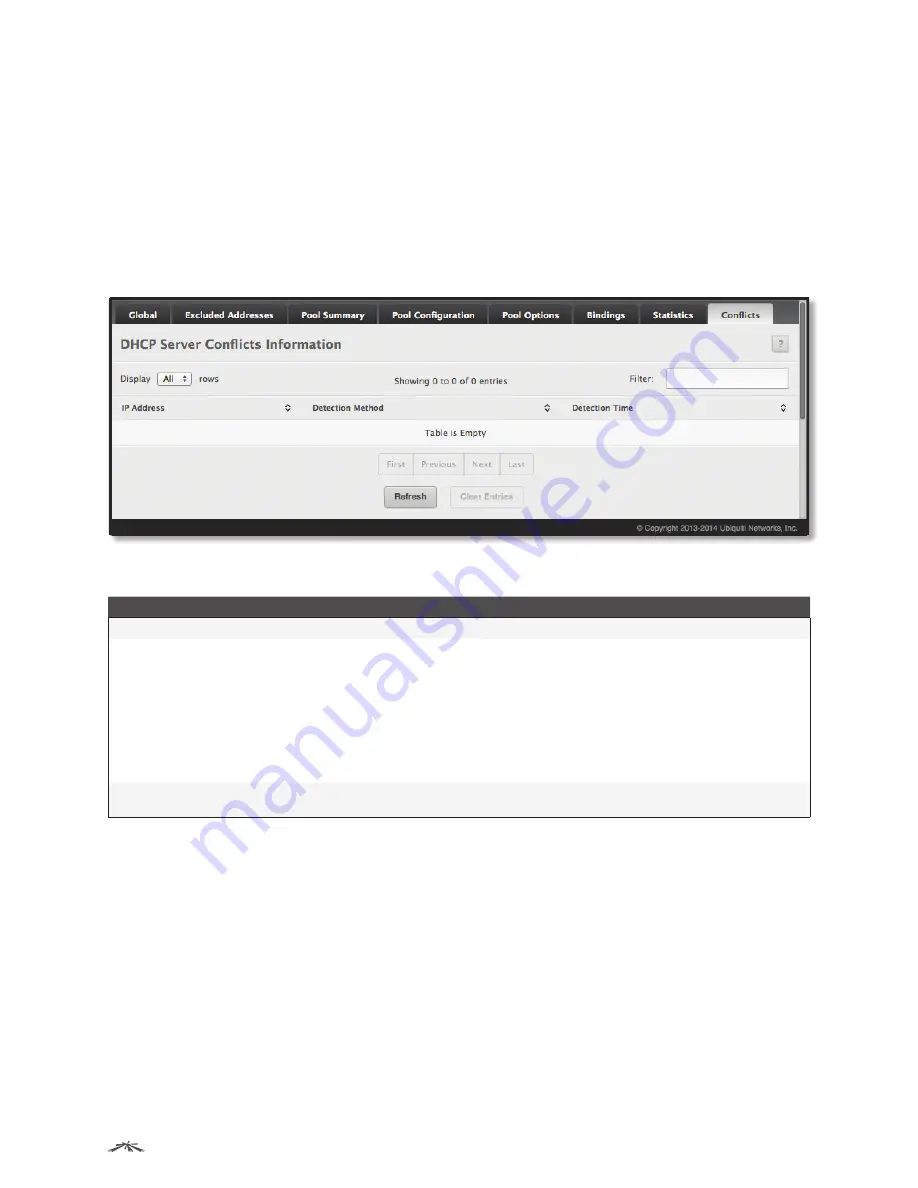
DHCP Server Conflicts Information
Use the
DHCP Server Conflicts Information
page to view information on hosts that have address conflicts; i.e.,
when the same IP address is assigned to two or more devices on the network.
To access the
DHCP Server Conflicts Information
page, click
System
>
Advanced Configuration
>
DHCP
Server
>
Conflicts
in the navigation menu.
DHCP Server Conflicts Information
DHCP Server Conflicts Information Fields
Field
Description
IP Address
The IP address that has been detected as a duplicate.
Detection Method
The method used to detect the conflict, which is one of the following:
•
Gratuitous ARP
The DHCP client detected the conflict by broadcasting an ARP request to the
address specified in the DHCP offer message sent by the server. If the client receives a reply to the
ARP request, it declines the offer and reports the conflict.
•
Ping
The server detected the conflict by sending an ICMP echo message (ping) to the IP address
before offering it to the DHCP client. If the server receives a response to the ping, the address is
considered to be in conflict and is removed from the pool.
•
Host Declined
The server received a DHCPDECLINE message from the host. A DHCPDECLINE
message indicates that the host has discovered that the IP address is already in use on the
network.
Detection Time
The time when the conflict was detected in days, hours, minutes, and seconds since the system was
last reset (i.e., system up time).
Use the buttons to perform the following tasks:
• Click
Clear Entries
to clear all of the address conflict entries.
• Click
Refresh
to update the information on the screen.
To retain the changes across the switch’s next power cycle, click
System
>
Configuration Storage
>
Save
.


