Perform the wheel motor efficiency test if you identify a traction circuit problem.
This test determines if a wheel motor has excessive internal leakage and wear.
Note:
Over a period of time, a wheel motor can wear internally. A worn motor
may bypass the hydraulic fluid to its case drain that reduces the motor efficiency.
After sometime, sufficient fluid loss causes the wheel motor to stall under
heavy load conditions. Continued operation with a worn, inefficient motor can
generate excessive heat, cause damage to the seals and other components in
the hydraulic system and affect overall machine performance.
Test Procedure
1. Ensure that the hydraulic fluid is at normal operating temperature.
2. Ensure that the traction drive is correctly adjusted for the N
EUTRAL
position.
WARNING
Before disconnecting or doing any work on the hydraulic system,
release all the pressure in the system; refer to
from the Hydraulic System (page 4–11)
.
3. Park the machine on a level surface, lower the cutting deck (or implement),
shut off the engine, and set the parking brake.
4. Read all Warning, Cautions, and precautions listed at the beginning of this
section.
5. Attach a heavy chain to the rear of the machine frame and an immovable
object to prevent the machine from moving during testing. As an alternative,
raise the machine and support it with jack stands so that the 2 rear wheels
are off the ground.
6. Disconnect the wire harness connector from the parking brake sensor; refer
to the
Parking Brake Sensor (page 5–33)
. Install a jumper wire across the
harness connector terminals and set the parking brake to allow traction
circuit operation.
7. Clean the transmission area around the traction circuit hoses on the top of
the transmission (
). Determine which wheel motor is to be tested.
8. Disconnect the hydraulic hose from the transmission pump outlet fitting to
test the wheel motor (
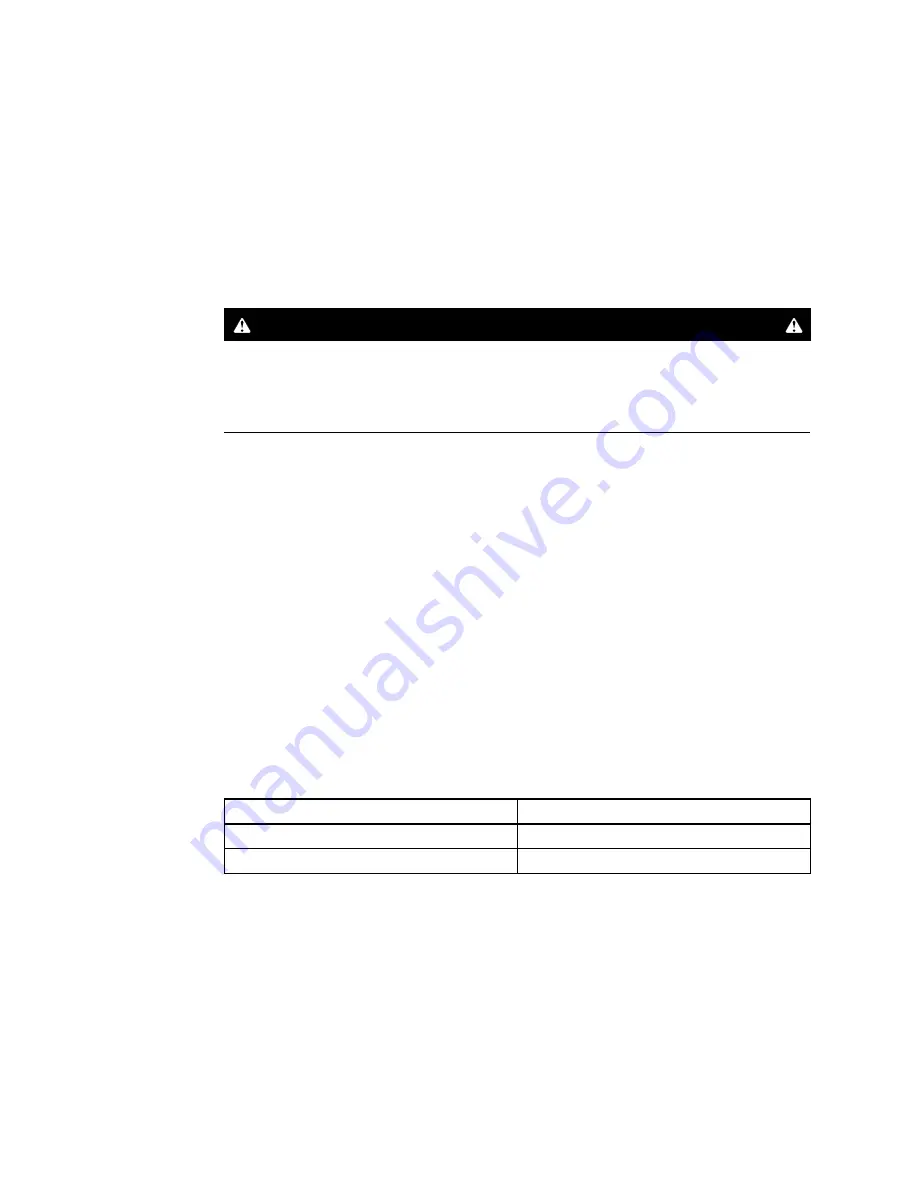
Wheel Motor to be Tested
Pump Outlet
Right side motor
Port A
Left side motor
Port C
9. Install a hydraulic tester (pressure and flow) in series between the pump
outlet fitting and disconnected hose. Ensure that the tester flow arrow points
from the pump outlet and toward the hose. Ensure that the flow control valve
on the tester is fully open.
10. Start the engine and run it at low-idle speed
(1,400 rpm)
. Check for
hydraulic-fluid leaks from test connections and correct before continuing
the test.
Hydraulic System: Testing the Hydraulic System
Page 4–44
Groundsmaster 7210
16222SL Rev C
Summary of Contents for Groundsmaster 7210
Page 4: ...NOTES Revision History Page 4 Groundsmaster 7210 16222SL Rev C...
Page 32: ...Specifications and Maintenance Special Tools Page 2 16 Groundsmaster 7210 16222SL Rev C...
Page 60: ...Diesel Engine Service and Repairs Page 3 28 Groundsmaster 7210 16222SL Rev C...
Page 196: ...Hydraulic System Service and Repairs Page 4 136 Groundsmaster 7210 16222SL Rev C...
Page 304: ...Chassis Service and Repairs Page 6 42 Groundsmaster 7210 16222SL Rev C...
Page 327: ...Drawing 105 7260 Rev E Sheet 1 16222SL Rev C Page A 3 Hydraulic Schematic g186843...
Page 328: ...Page A 4 16222SL Rev C Drawing 119 4372 Rev C Sheet 1 Electrical Schematic Platform g186842...
Page 329: ...Drawing 119 4377 Rev C Sheet 1 16222SL Rev C Page A 5 Electrical Schematic Engine g186841...
Page 336: ...Page A 12 16222SL Rev C Drawing 119 4386 Rev A Sheet 1 Wire Harness Drawing Cab Power g186851...
Page 342: ......


