36
Step 1: Software Installation
This procedure is only performed once per database. After the database is
populated with tables, you need only create a new data instance to enable an
additional Management Server to use the database. All Management
Servers using the database use the same tables. Management Servers are
identified in the database by the data instance.
To populate the database with tables
In the ETM Database Maintenance Tool, while connected to the
database, right-click the
Tables
node of the
Standalone
Databases
tree, and then click
Create All Tables
. It takes a few minutes for the
tables to be created and verified.
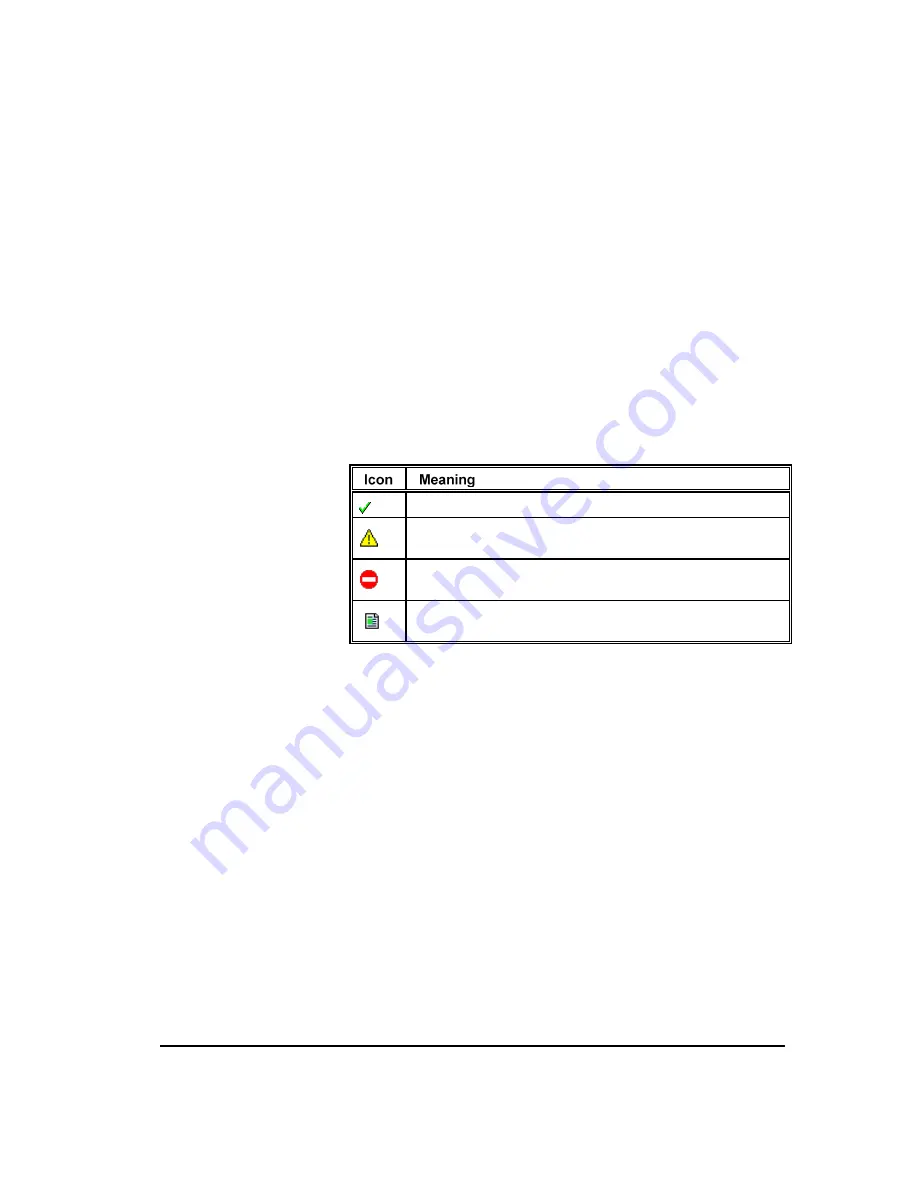
When each of the tables has been created and verified, an icon next to
each table indicates its status:
Indicates the table is valid.
Indicates an error in the table. Right-click the table, and then click
Repair Table
to correct the problem.
Indicates a missing expected table. Right-click the table, and then
click
Create Table
to create the table.
Indicates views and temporary tables created and managed by the
ETM Management Server.
Each Management Server uses a separate data instance, enabling data from
multiple Servers to be stored in the same standalone database. When you
create the data instance for a Management Server, you define the password
for the default
admin
user
account for that Server and you specify the
initial IP address from which ETM Client Tool connections are allowed.
You use this password to log in to a newly installed Management Server,
and you use the ETM System Client at the specified IP address to complete
ETM System configuration.
To create a data instance for a Server
1.
Connect to the database. (See "Connecting to the Database" on page 35
for instructions, if necessary.)
2.
Right-click
ETM Data Instances
and then click.
New Instance
.
Populating the
Database with
Tables
Creating a Data
Instance


