MF 5990 - Agoris M943
- 49 -
7
-
Fa
xing doc
u
ments
4
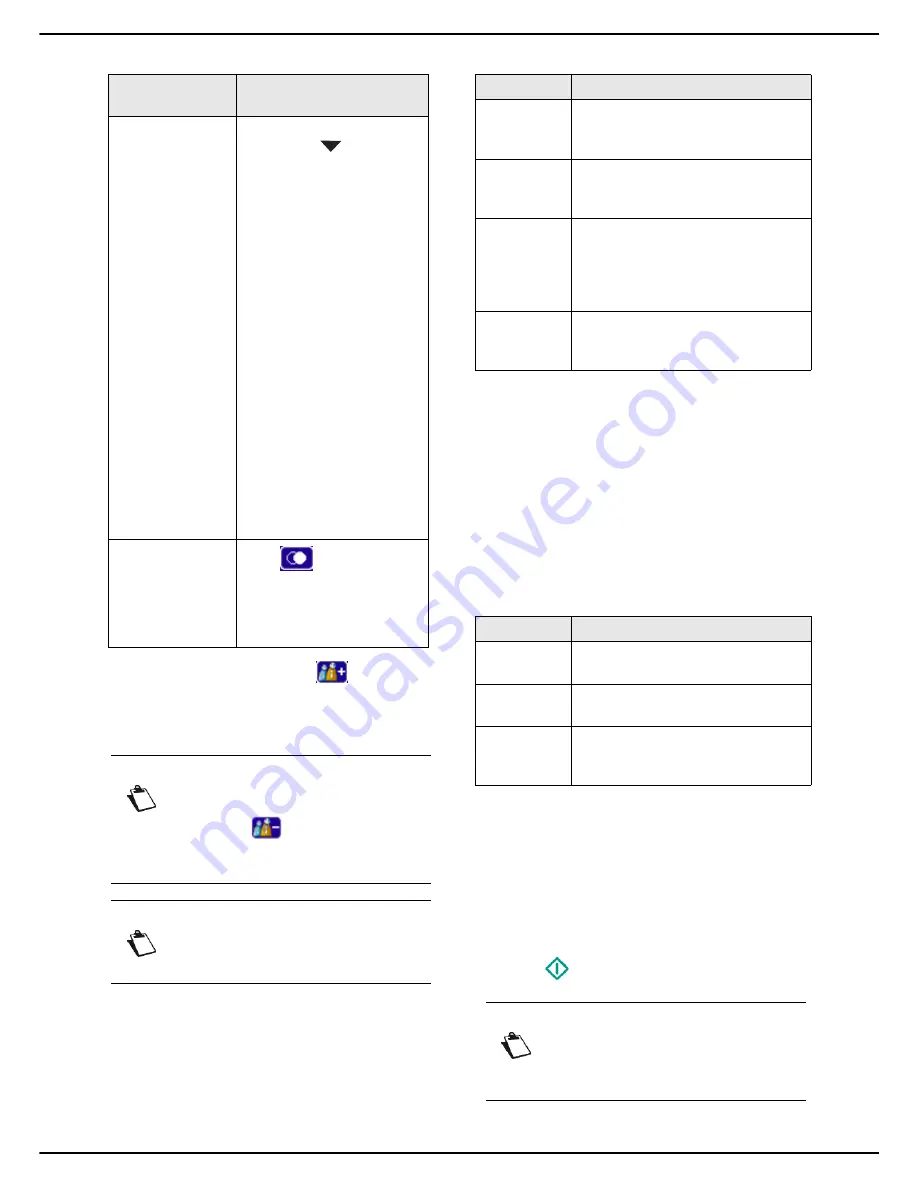
To add other recipients, press
and specify the
second recipient (see previous step). Repeat the
operation for each recipient to add (maximum 10
contacts or lists of contacts)..
5
Press
OTHER PARAMETERS
to access the pa-
rameters you want to change
6
To change the resolution, press
QUALITY
. Select
the resolution the best suited to your document
from the options available and press
OK
to confirm.
7
To change the contrast, press
CONTRAST
. Select
the most suitable contrast for your document from
the available options. Press
OK
to confirm.
8
If you use the autofeed scanner and your document
is double-sided, press
DUPLEX
to activate / deac-
tivate double-sided scanning of the document. Se-
lect the required option from the list. Press
OK
to
confirm.
9
If you have the dual-line model, you can select the
telephone line to use to send the document. Press
PHONE LINE
to select the telephone line to use
from the available options and press
OK
to confirm.
10
To specify the number of pages in the document
before sending, press
NUMBER OF PAGES
. Enter
the number of pages using the virtual keyboard or
the number pad. Press
OK
to confirm.
11
To activate / deactivate the Multiple Scan option,
press
MULTIPLE SCAN
. Select the option
YES
to
activate or
NO
to deactivate it (see Using the
Multiple Scan option correctly [
18]). Press
OK
to
confirm.
12
Press
to send the document.
To select a recipi-
ent...
then...
from the address
book
In the data field
Address
book
, press
then:
Select the contact or list of
contacts required from the
address book entries. Use
the up and down arrows to
view all entries in the ad-
dress book.
OR
Enter the first few letters of
the name of your corre-
spondent using the virtual
keyboard, and add letters
until the full name of the re-
quired correspondent is
displayed.
OR
Enter the figures of short
number of your corre-
spondent using the virtual
keyboard or the keypad un-
til the full name of the re-
quired correspondent is
displayed.
from the 10 last
recipients saved.
Press .
Select the required recipient.
Use the up and down arrows
to view all recipients in the
memory.
Note
You can delete the last recipient entered by
pressing the
key. Repeat this until the
first recipient entered if you want to delete
all.
Note
You can view the recipient(s) entered by
pressing
OTHER PARAMETERS
.
Quality
Description
NORMAL
Resolution suitable for good quality
documents not containing drawings
and/or small details.
FINE
Resolution suitable for documents
containing drawings or small
characters.
SUPER FINE
Resolution suitable for documents
containing drawings (with fine lines)
or very small characters (on the
conditions that the receiving fax
machine can process them).
PHOTO
Resolution suitable for documents
containing colour images and/or
photographs.
Line
Description
LINE 1
The document is sent on telephone
line 1 (LINE 1) of the machine.
LINE 2
The document is sent on telephone
line 2 (LINE 2) of the machine.
AUTOMATIC
The document is sent on telephone
line 1 (LIGNE 1) or 2 (LIGNE 2) of
the machine as per availability.
Note
If you are using the flatbed scanner, you can
scan more than one page. Place the next
page on the scanner, select
NEXT
. Select
SEND
when all pages have been scanned.


