Chapter 4: Management with WebPAM PROe
119
11. When you have finished specifying logical drives, click the Next button.
Step 3 – Summary
The Summary lists the disk array and logical drive information you specified.
To proceed with disk array and logical drive creation, click the Submit button.
Deleting a Disk Array
The Disk Arrays–Delete tab enables you to delete existing disk arrays.
To delete a disk array:
1.
Click the Subsystem
icon in Tree View.
2.
Click the Disk Arrays
icon.
3.
Click the Delete tab in Management View.
4.
Check the box to the left of the disk array you want to delete.
5.
Click the Submit button.
6.
In the confirmation box, type the word confirm in the field provided.
7.
Click the OK button.
The selected disk array disappears from the Disk Array List the Information tab.
Viewing Disk Array Information
To view Disk Array information:
1.
Click the Subsystem
icon in Tree View.
2.
Click the Disk Arrays
icon.
3.
Click the Disk Array
icon.
The disk array information is shown in Management View.
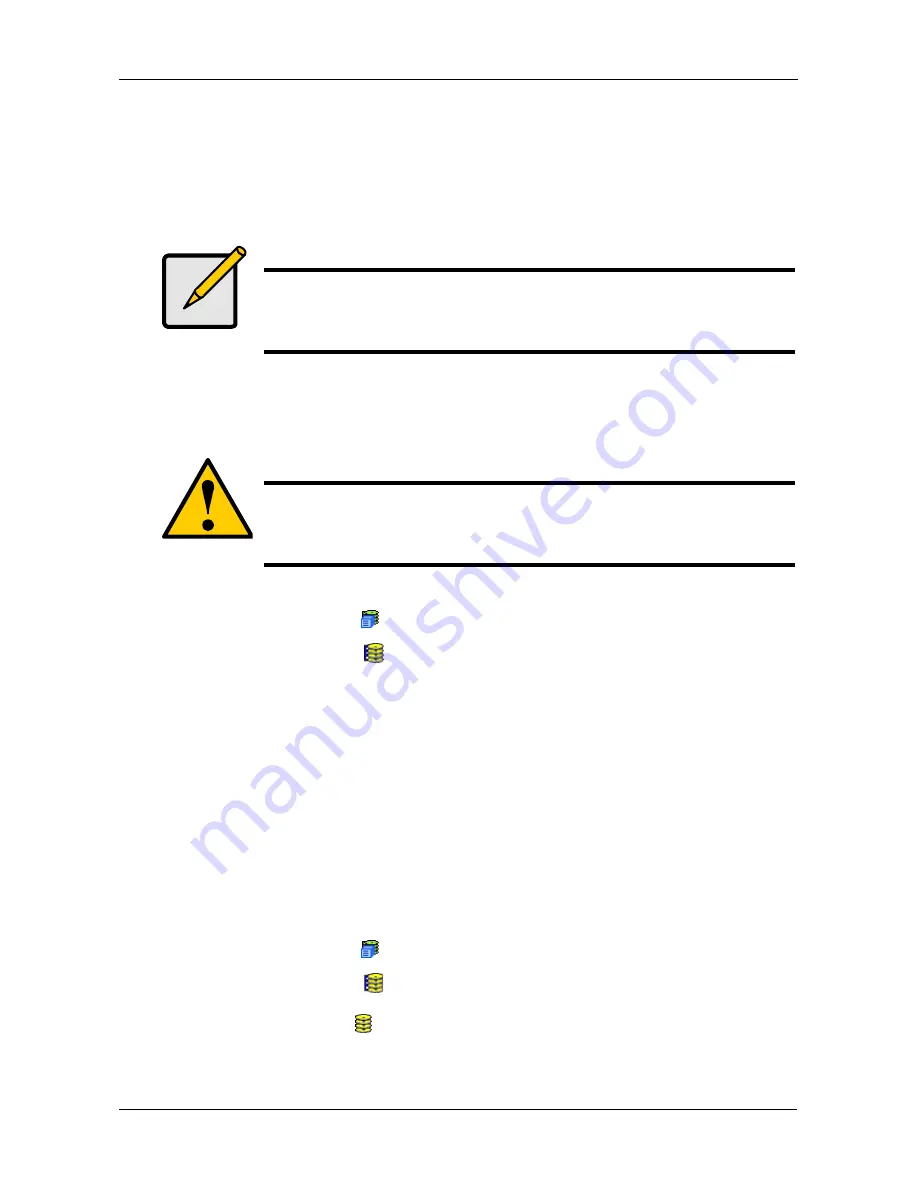
Note
This function does not automatically create a hot spare drive. After
the disk array is created, you can create a hot spare drive for it.
For more information, see “Creating a Spare Drive” on page 134.
Caution
If you delete a disk array, you also delete any logical drives that
belong to it, along with the data in those logical drives. Back up
any important data before deleting a disk array.
Summary of Contents for VessRAID 1720i
Page 1: ...VessRAID 1720i 1730i 1740i 1820i 1830i 1840i Product Manual Version 1 1 ...
Page 16: ...VessRAID 1000i Series Product Manual xvi ...
Page 114: ...VessRAID 1000i Series Product Manual 98 The changes take effect immediately ...
Page 126: ...VessRAID 1000i Series Product Manual 110 Figure 8 Disk Status LED Disk Status ...
Page 154: ...VessRAID 1000i Series Product Manual 138 ...
Page 165: ...Chapter 5 Management with the CLU 149 Figure 4 Controller Status LED Controller Status ...
Page 226: ...VessRAID 1000i Series Product Manual 210 ...
Page 260: ...VessRAID 1000i Series Product Manual 244 ...


