Operation
3-5
3160-A2-GB22-10
December 1996
LCD
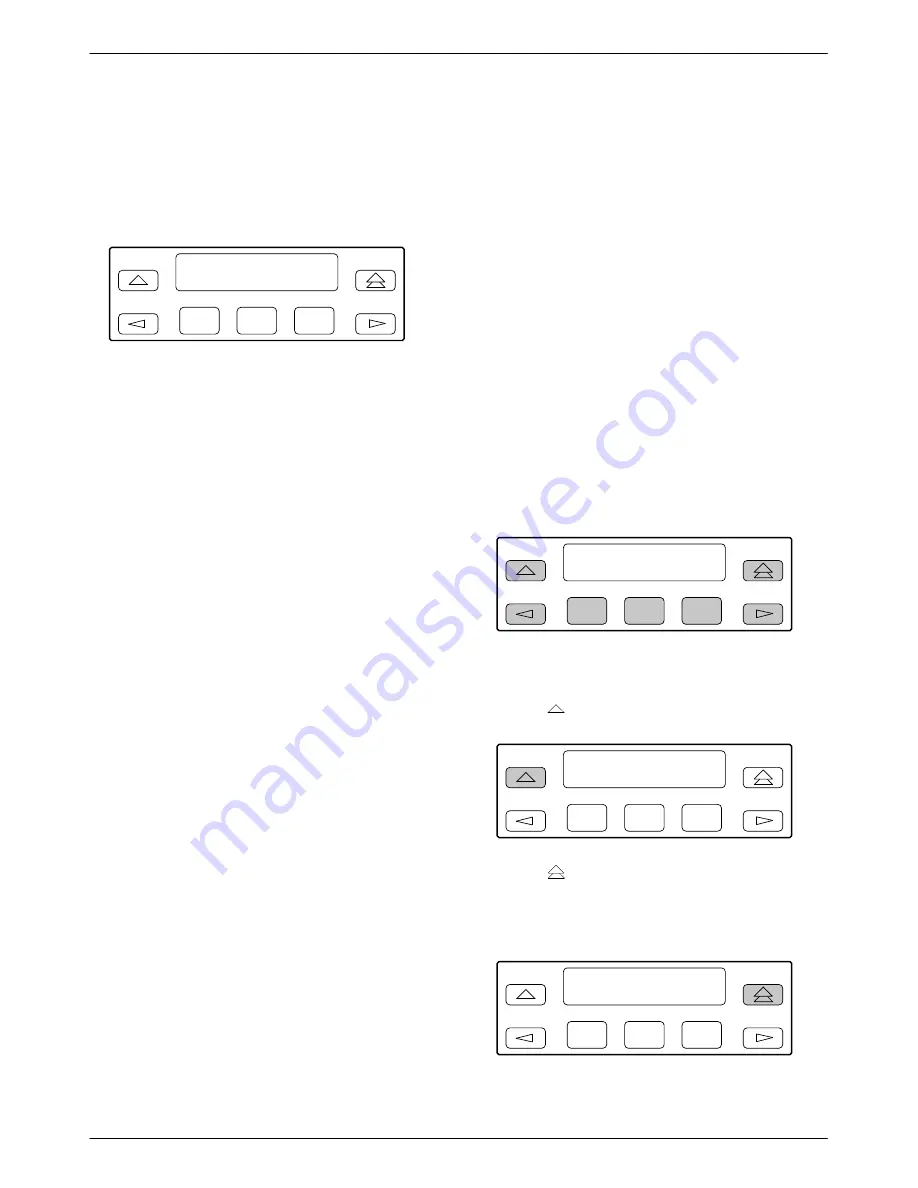
The LCD displays messages and the front panel menu
in an easy-to-read English format, including easily
recognizable abbreviations and symbols (Figure 3-4).
F1
LCD
F2
F3
Figure 3-4. LCD
The LCD displays two types of data:
•
Messages such as alarms, command/test
completion, and action in progress
•
Front panel menu tree information (see
Appendix A, Front Panel Menu)
For 3161 DSU/CSUs, the carrier and slot address is
displayed on Line 1 when the CSU is selected via the
SDCP.
Device Health and Status Messages
The 316x DSU/CSU features status messages that
appear on the front panel LCD. You can request device
health and status via the Device Health and Status branch
of the front panel menu (see the Device Health and Status
section later in this chapter). In addition, the highest level
status message appears on the front panel automatically if
no front panel action has occurred at the DSU/CSU for the
past five minutes.
Other Displays
The LCD also lists commands, configuration options,
and test results. In most cases, the top line shows the
command or option name and default value, while the
second line displays options and responses. When a
response is required, select from the options displayed
directly above the Function keys (F1, F2, F3); make your
choice by pressing the corresponding Function key.
Context-Sensitive Menu
This DSU/CSU is an intelligent device that displays
only valid options for the current configuration.
Therefore, you are only presented with menu choices that
are consistent with the current configuration and
operational state of the DSU/CSU; invalid combinations
of configuration options do not appear. For example,
menus displayed for the Model 3160 (2 ports) and the
Model 3164 (4 ports) differ due to the number of ports
available. Also, if the DSX-1 Drop/Insert T1 interface
selection is disabled, many of the menu choices do not
appear. Be aware that although all options are shown in
this manual, what you see on your DSU/CSU varies with
your configuration.
Keypad
The 7-button keypad enables you to navigate through
the menu tree and select choices presented on the second
line of the LCD (Figure 3-5).
F1
LCD
F2
F3
Figure 3-5. Keypad
Use the
key to move up the menu.
F1
LCD
F2
F3
Use the
key to exit any part of the menu in which
you may be operating. You immediately return to the
top-level menu screen shown on the front panel menu (see
Appendix A, Front Panel Menu).
F1
LCD
F2
F3
Summary of Contents for ACCULINK 316x
Page 4: ...ACCULINK 316x DSU CSU C December 1996 3160 A2 GB22 10 Notices...
Page 23: ...Introduction 1 9 3160 A2 GB22 10 December 1996 Figure 1 6 Auxiliary Backplane...
Page 77: ...Operation 3 35 3160 A2 GB22 10 December 1996 Figure 3 24 Example Channel Allocation...
Page 135: ...A 1 3160 A2 GB22 10 December 1996 Front Panel Menu A...
Page 136: ...ACCULINK 316x DSU CSU A 2 December 1996 3160 A2 GB22 10...
Page 137: ...Front Panel Menu A 3 3160 A2 GB22 10 December 1996...


