Installation
2-17
3160-A2-GB22-10
December 1996
Enabling/Disabling the Front
Panel
You can enable or disable the display of data through
the front panel. This feature is useful for ensuring that
other users do not inadvertently change the device’s
configuration options while you are using the PC or async
terminal interface. The factory default is enable.
NOTE
If you disable the front panel, be
sure not to alter the options for
using the PC or Async terminal
interface. If this happens, you lose
the ability to communicate with
the device. You will need to
contact your service
representative.
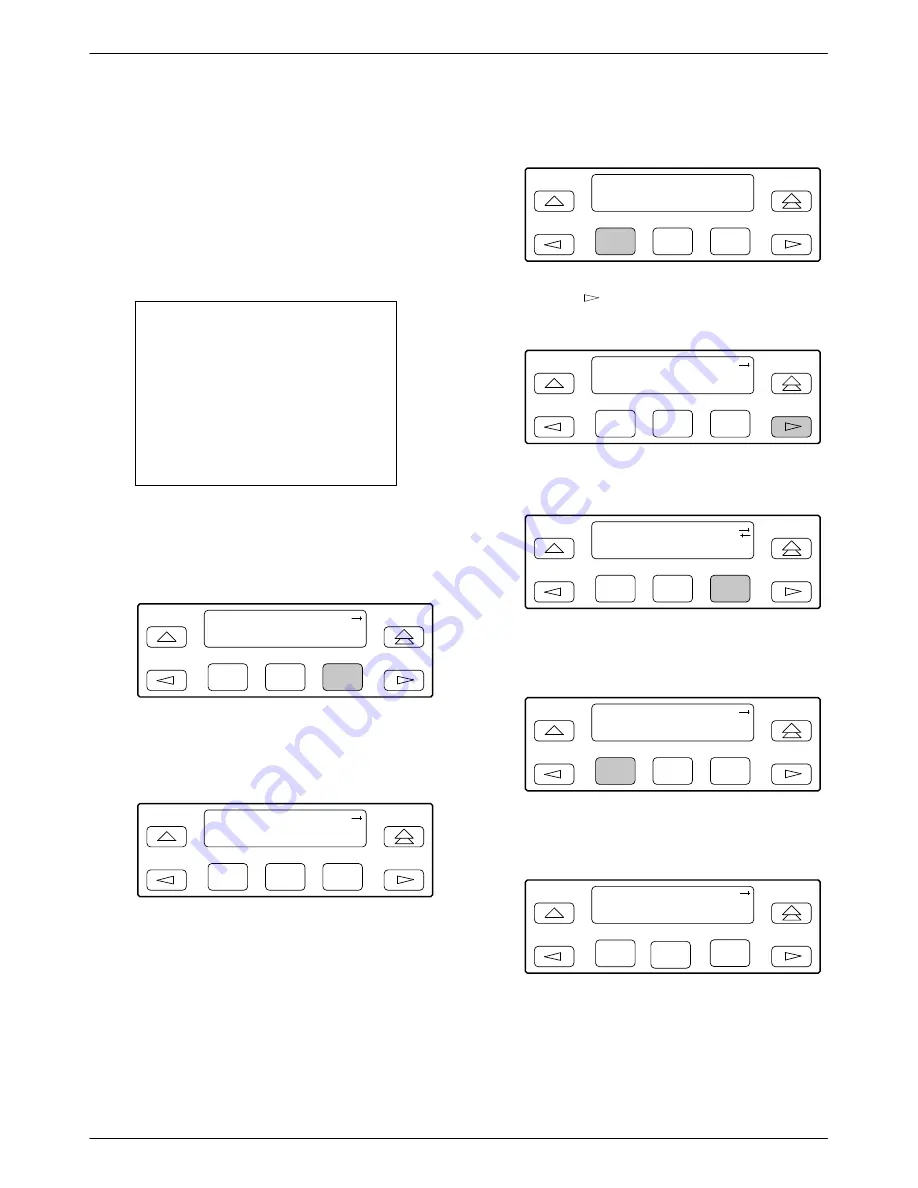
To enable or disable the front panel:
1. Press F3 to select Cnfig from the top-level menu
screen.
F1
DSU ESF
Stat
Test
Cnfig
F2
F3
2. Select the configuration option set to be copied
into the Edit area by using the appropriate
function key. Use the scroll keys, if necessary.
F1
Load from:
Activ
Cust
Fact1
F2
F3
3. Press F1 to select Edit.
F1
Choose Funct:
Edit
Save
F2
F3
4. Press the
key from the Edit screen to display
the User selection.
F1
Edit:
DTE
Port
NET
F2
F3
5. Press F3 to select User.
F1
Edit:
Chan
Gen
User
F2
F3
6. Press the F1 (Next) key until the front panel
access configuration option appears.
F1
Self-Test:Enab
Next
Enab
Disab
F2
F3
7. Press F2 to enable the front panel or F3 to disable
the front panel.
F1
FP Access:
Next
Enab
Disab
F3
F2
Summary of Contents for ACCULINK 316x
Page 4: ...ACCULINK 316x DSU CSU C December 1996 3160 A2 GB22 10 Notices...
Page 23: ...Introduction 1 9 3160 A2 GB22 10 December 1996 Figure 1 6 Auxiliary Backplane...
Page 77: ...Operation 3 35 3160 A2 GB22 10 December 1996 Figure 3 24 Example Channel Allocation...
Page 135: ...A 1 3160 A2 GB22 10 December 1996 Front Panel Menu A...
Page 136: ...ACCULINK 316x DSU CSU A 2 December 1996 3160 A2 GB22 10...
Page 137: ...Front Panel Menu A 3 3160 A2 GB22 10 December 1996...


