ACCULINK 316x DSU/CSU
3-20
December 1996
3160-A2-GB22-10
The bottom of the screen shows the addition of the Edit
and Save functions.
The Save To: field can be populated with Active or
Cust to enable a 1-step copy of one configuration option
set into another when the Save function is subsequently
selected. The default configuration option set is Active
except if Load From: is set to Cust; then Cust is the
default.
To edit the configuration options, select Edit. This
displays the configuration menu shown in Figure 3-15.
The async terminal supports character matching for
entering valid values in fields when editing configuration
options. For example, the valid values for the
main/configuration screen is Activ, Cust, Fact1, and
Fact2. If you enter the character ‘C’, the field
automatically populates with the value that matches the
character criteria. In this case, it would be Cust.
Appendix C provides all the valid values available for
each configuration option. Also refer to the section Using
the Async Terminal Feature for a discussion of the edit
screens.
Saving Edit Changes
Save edit changes to the Active area when you want
those changes to take effect immediately. Save edit
changes to the Customer area when you want to overwrite
the existing Customer configuration options and store
these changes for future use.
To save edit changes,
NOTE
If you attempt to exit the Edit
function after making changes
without performing a Save, the
DSU/CSU prompts you with Save
Options? Choose Yes or No.
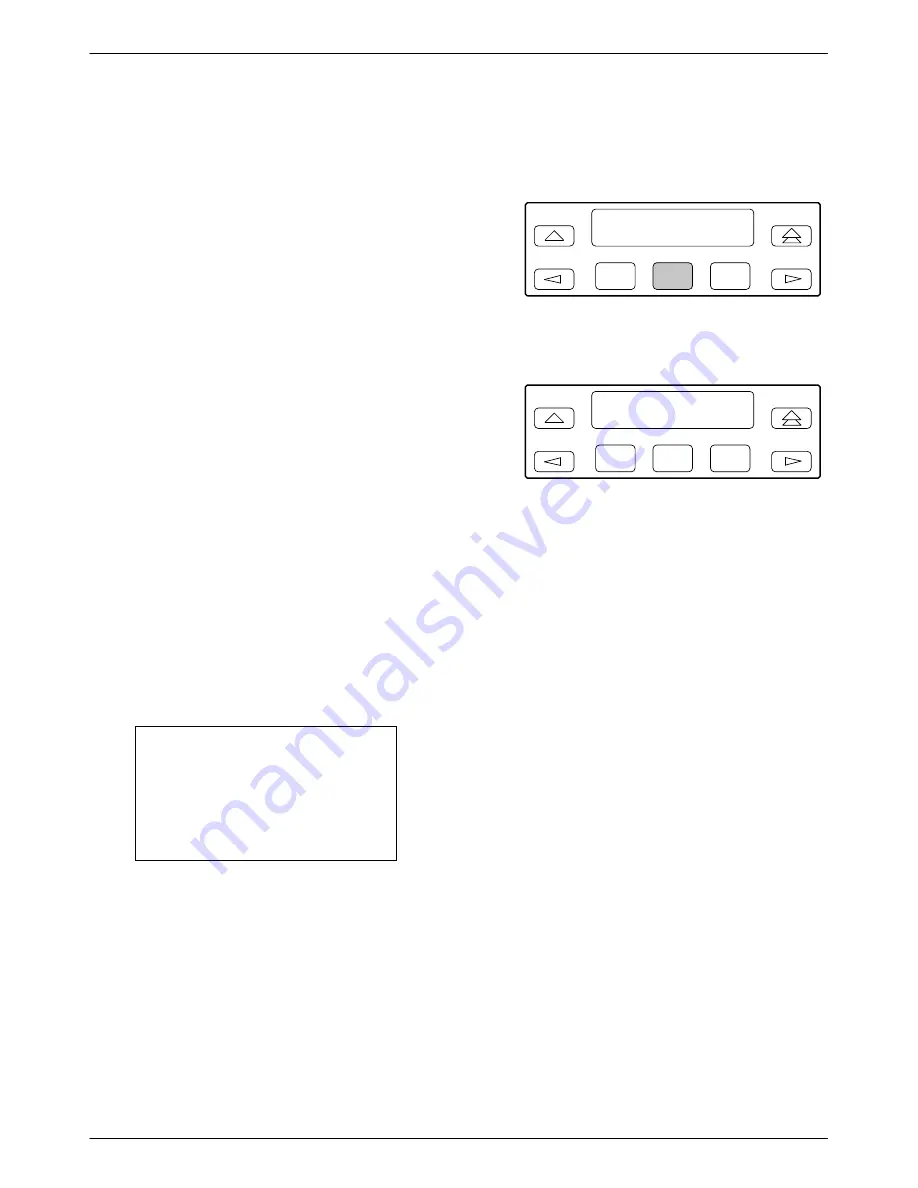
1. From the Choose Function screen (one level above
the Edit screen, two levels below the top-level
menu screen), press F2 to select Save.
F1
Choose Funct:
Edit
Save
F2
F3
2. Press F1 or F2 to choose whether you want to save
to the Active or Customer area.
F1
Save Edit to:
Activ
Cust
F2
F3
Differences Using the Async Terminal: All subsequent
edit screens off the main/configuration menu on the async
terminal provide the Save and Edit functions. When all
edit changes are completed, select Save from the last
screen. It returns you to the main/configuration/load
screen as shown in Figure 3-17. Populate the Save To
field on the main/configuration/load screen and select
Save.
Summary of Contents for ACCULINK 316x
Page 4: ...ACCULINK 316x DSU CSU C December 1996 3160 A2 GB22 10 Notices...
Page 23: ...Introduction 1 9 3160 A2 GB22 10 December 1996 Figure 1 6 Auxiliary Backplane...
Page 77: ...Operation 3 35 3160 A2 GB22 10 December 1996 Figure 3 24 Example Channel Allocation...
Page 135: ...A 1 3160 A2 GB22 10 December 1996 Front Panel Menu A...
Page 136: ...ACCULINK 316x DSU CSU A 2 December 1996 3160 A2 GB22 10...
Page 137: ...Front Panel Menu A 3 3160 A2 GB22 10 December 1996...


