Operation
3-55
3160-A2-GB22-10
December 1996
Displaying Device Health and Status
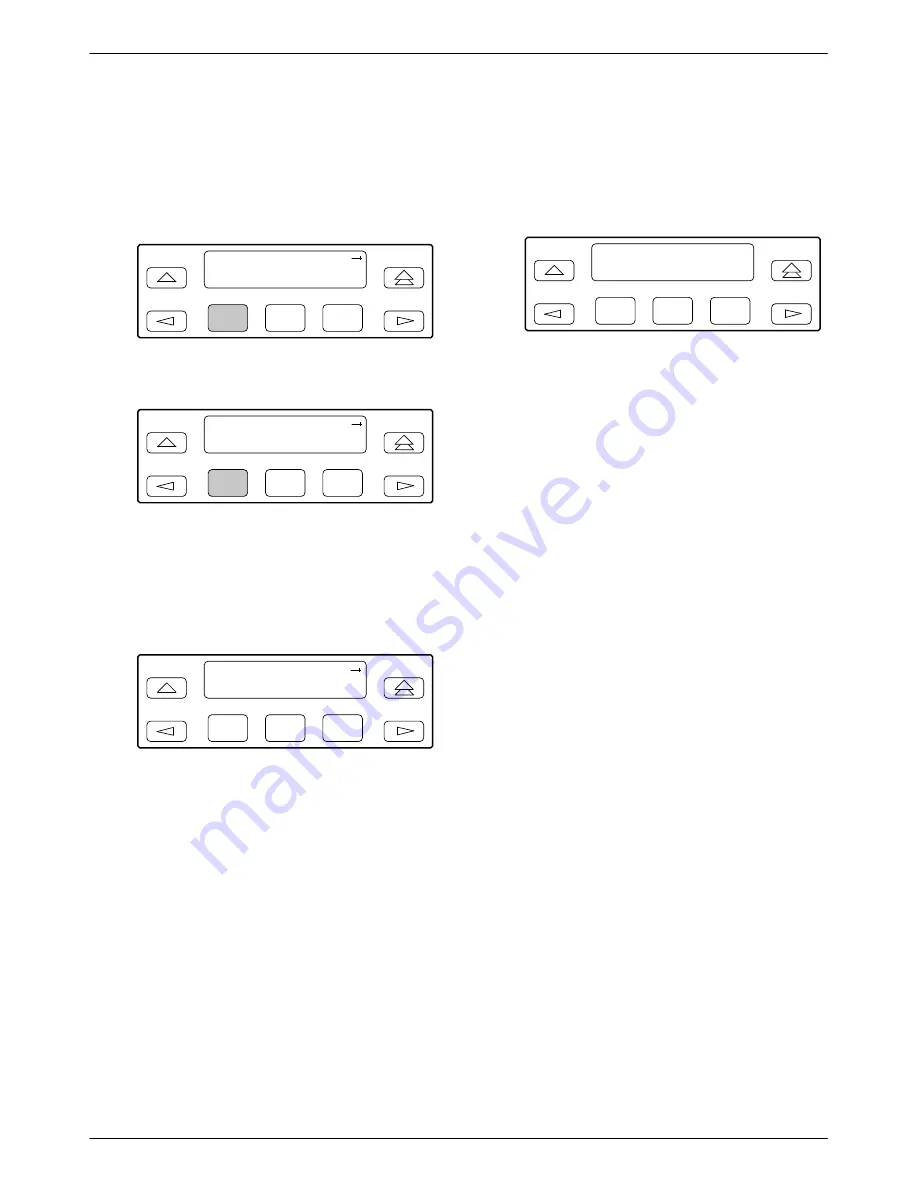
To display device health and status,
1. Press F1 to select Stat from the top-level menu
screen.
F1
DSU ESF
Stat
Test
Cnfig
F2
F3
2. From the Status screen, press F1 to select DevHS.
F1
Status:
DevHS STest
Perf
F2
F3
Alarm/status messages appear on Line 2 of the
LCD in priority order (highest to lowest).
3. Use the scroll keys, if necessary, to scroll
additional device health and status messages onto
the LCD.
F1
Device H/S:
OOF at DTE
F2
F3
The Auto Device Health and Status screen appears
when there is no activity (no keys pressed) on the
active physical interface for five minutes. Only the
highest priority message appears on Line 2 of the
LCD.
F1
Auto Dev H/S
OOF at DTE
F2
F3
Self-Test Health
Use the Self-Test Health command to display the
results of the power-up self-test. Possible messages are
listed in Table 3-10. See Chapter 2, Installation, for the
procedure for performing a power-up self-test.
Differences Using the Async Terminal: To display
device health and status, select Health, Test Status, and
Self Test Results from the main/status menu. This screen
(Figure 2-10 in Chapter 2) displays all the test results on a
device. Note that Auto Device Health and Status is not
supported on the async terminal.
Summary of Contents for ACCULINK 316x
Page 4: ...ACCULINK 316x DSU CSU C December 1996 3160 A2 GB22 10 Notices...
Page 23: ...Introduction 1 9 3160 A2 GB22 10 December 1996 Figure 1 6 Auxiliary Backplane...
Page 77: ...Operation 3 35 3160 A2 GB22 10 December 1996 Figure 3 24 Example Channel Allocation...
Page 135: ...A 1 3160 A2 GB22 10 December 1996 Front Panel Menu A...
Page 136: ...ACCULINK 316x DSU CSU A 2 December 1996 3160 A2 GB22 10...
Page 137: ...Front Panel Menu A 3 3160 A2 GB22 10 December 1996...


