ACCULINK 316x DSU/CSU
2-10
December 1996
3160-A2-GB22-10
Differences Using the Async Terminal: To monitor the
self-test from the async terminal, select Health, Test
Status, and Self Test Results from the main/status menu.
The full screen display capacity provides a complete test
results screen that includes the self-test results.
Figure 2-10 shows an example of this screen.
Customer ID: New Cust
main/status/health_and_status
Model: ACCULINK XXXX
Health and Status
DSU Operational
LOS at Net
LOS at DTE
OOF at Net
OOF at DTE
AIS at Net
AIS at DTE
EER at Net
Yellow at Net
Yellow at DTE
Master Clock Fail
SNMP Link Down
Selftest failed
DevFail yyyyyyyy
Download failed
Alm Retry Disab
Test in progress
Modem Connected
Self Test Results
CPU fail
Device fail
B8ZS/LOS fail
Modem fail
DTE T1 fail
Alarm fail
LCD fail
NET T1 fail
Memory fail
DSU fail
DSU Port 1 fail
DSU Port 2 fail
DSU Port 3 fail
DSU Port 4 fail
Unknown Exp Dev
Failure xxxxxxxx
Passed
Test Status
No Test Active
LLB Test Active
PLB Test Active
DLB Test Active
RLB Test Active
DCLB on Port n
DTLB on Port n
QRSS Test Active
1–8 Test Active
QRSS on Port n
511 on Port n
Monitoring QRSS
Monitoring QRSS, Port n
Monitoring 511, Port n
DLB Test, Extrn
Lamp Test Active
Refresh Down UP Main Previous Cntrl–x to Disconnect
Figure 2-10. Health and Status Results Screen
If a test fails, fail appears next to the component
reporting the failure.
To perform a power or reset of the device, see
Resetting the CSU/DSU in Chapter 4.
Selecting a Model 3161
DSU/CSU
Use the SDCP when accessing a specific circuit card
installed in the 3000 Series Carrier.
To access a 3161 DSU/CSU,
1. Press Select on the SDCP.
2. Enter a valid carrier and slot address. The green
OK indicator on the selected 3161 DSU/CSU
should flash. (It should be the only OK indicator
flashing in the cabinet.)
3. Press Select again. The display on the SDCP
should show the last menu item displayed, or in
the case of a new installation, the top-level menu
on the selected circuit card.
DSU/CSU Identity
The identity of the 316x DSU/CSU (serial number,
model number, software revision level, hardware revision
level, and customer ID) is available through the Status
branch of the front panel menu (see Appendix A, Front
Panel Menu).
The customer ID is the only identity number you can
change.
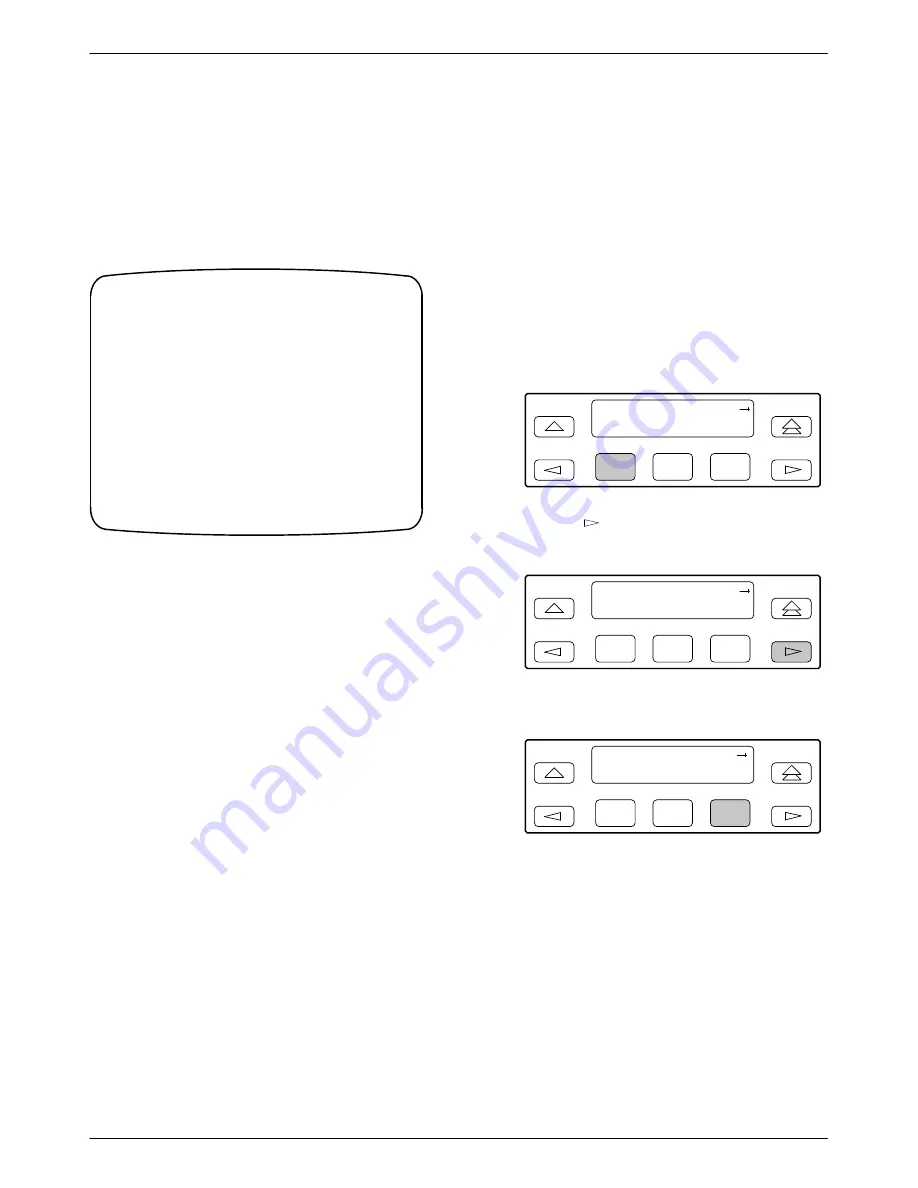
To display the DSU/CSU’s identity,
1. Press F1 to select Status from the top-level menu
screen.
F1
DSU ESF
Stat
Test
Cnfig
F2
F3
2. Press the
key three times on the Status screen
to bring the ID selection onto the front panel LCD.
F1
Status:
DevHS STest
Perf
F2
F3
3. Press F3 to select ID from the Status screen.
F1
Status:
TStat
LED
ID
F2
F3
Summary of Contents for ACCULINK 316x
Page 4: ...ACCULINK 316x DSU CSU C December 1996 3160 A2 GB22 10 Notices...
Page 23: ...Introduction 1 9 3160 A2 GB22 10 December 1996 Figure 1 6 Auxiliary Backplane...
Page 77: ...Operation 3 35 3160 A2 GB22 10 December 1996 Figure 3 24 Example Channel Allocation...
Page 135: ...A 1 3160 A2 GB22 10 December 1996 Front Panel Menu A...
Page 136: ...ACCULINK 316x DSU CSU A 2 December 1996 3160 A2 GB22 10...
Page 137: ...Front Panel Menu A 3 3160 A2 GB22 10 December 1996...


