Operation
3-13
3160-A2-GB22-10
December 1996
Figure 3-8 shows an example of this selection screen.
You can set the front panel LED display to be DTE or a
port.
Customer ID: New Cust
main/control/miscellaneous
Model: ACCULINK XXXX
Save Main Previous Cntrl–x to Disconnect
Miscellaneous Control Options
Front Panel LED Display: _____
Customer Identification Name/Number: _____
Change Password?: _____
Figure 3-8. LED Display Selection Screen
Front Panel Emulation on a PC
The 316x DSU/CSU front panel can be mimicked on
an attached PC. This front panel emulation capability
allows you to access the 3160/3164 DSU/CSU (local or
remote) through a PC connected to the COM or MODEM
port. For 3161 DSU/CSUs, only one slot in the carrier can
be configured as the COM port to provide access for a PC.
This slot provides access to all of the circuit cards in the
carrier.
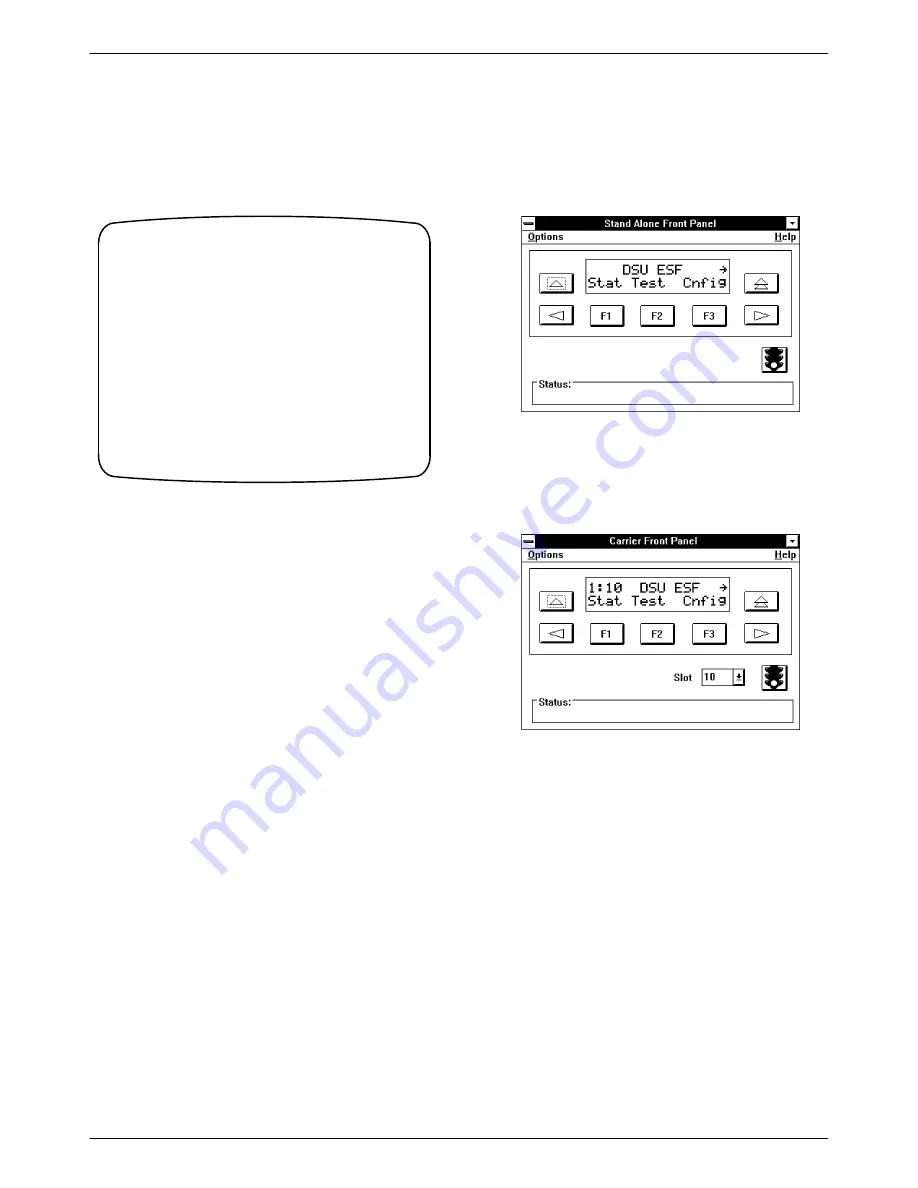
Use the front panel display (Figure 3-9) to control the
DSU/CSU from a PC just as though you are operating
from the DSU/CSU’s own front panel. The PC window is
updated every five seconds to show the current state of the
DSU/CSU.
The 3161 front panel emulation screen (Figure 3-10)
looks the same as the 3160/3164 DSU/CSU screen, except
for the additional function icons defined in Table 3-5.
Figure 3-9. Front Panel Emulation Screen
Models 3160/3164 DSU/CSUs
Figure 3-10. Front Panel Emulation Screen
Model 3161 DSU/CSU
Summary of Contents for ACCULINK 316x
Page 4: ...ACCULINK 316x DSU CSU C December 1996 3160 A2 GB22 10 Notices...
Page 23: ...Introduction 1 9 3160 A2 GB22 10 December 1996 Figure 1 6 Auxiliary Backplane...
Page 77: ...Operation 3 35 3160 A2 GB22 10 December 1996 Figure 3 24 Example Channel Allocation...
Page 135: ...A 1 3160 A2 GB22 10 December 1996 Front Panel Menu A...
Page 136: ...ACCULINK 316x DSU CSU A 2 December 1996 3160 A2 GB22 10...
Page 137: ...Front Panel Menu A 3 3160 A2 GB22 10 December 1996...


